You have added a <!-- fs-richtext-ignore --><radio button> to your native form on Webflow and you want to give it a unique design? It's possible. Follow the guide with a "How to Webflow"!
Reminder 1: In Webflow, anything is possible (or will be 🚀)
Video Tutorial to Customize a Webflow Radio Button
Step-by-Step Text Tutorial
Step 1: Click on the <!-- fs-richtext-ignore --><radio button>
Select your button and click on the radio button circle in your Webflow designer.
Step 2: Open the "Settings"
Click on the ⚙️ settings icon to the right of "Radio Button," which will open the specific settings for this button.

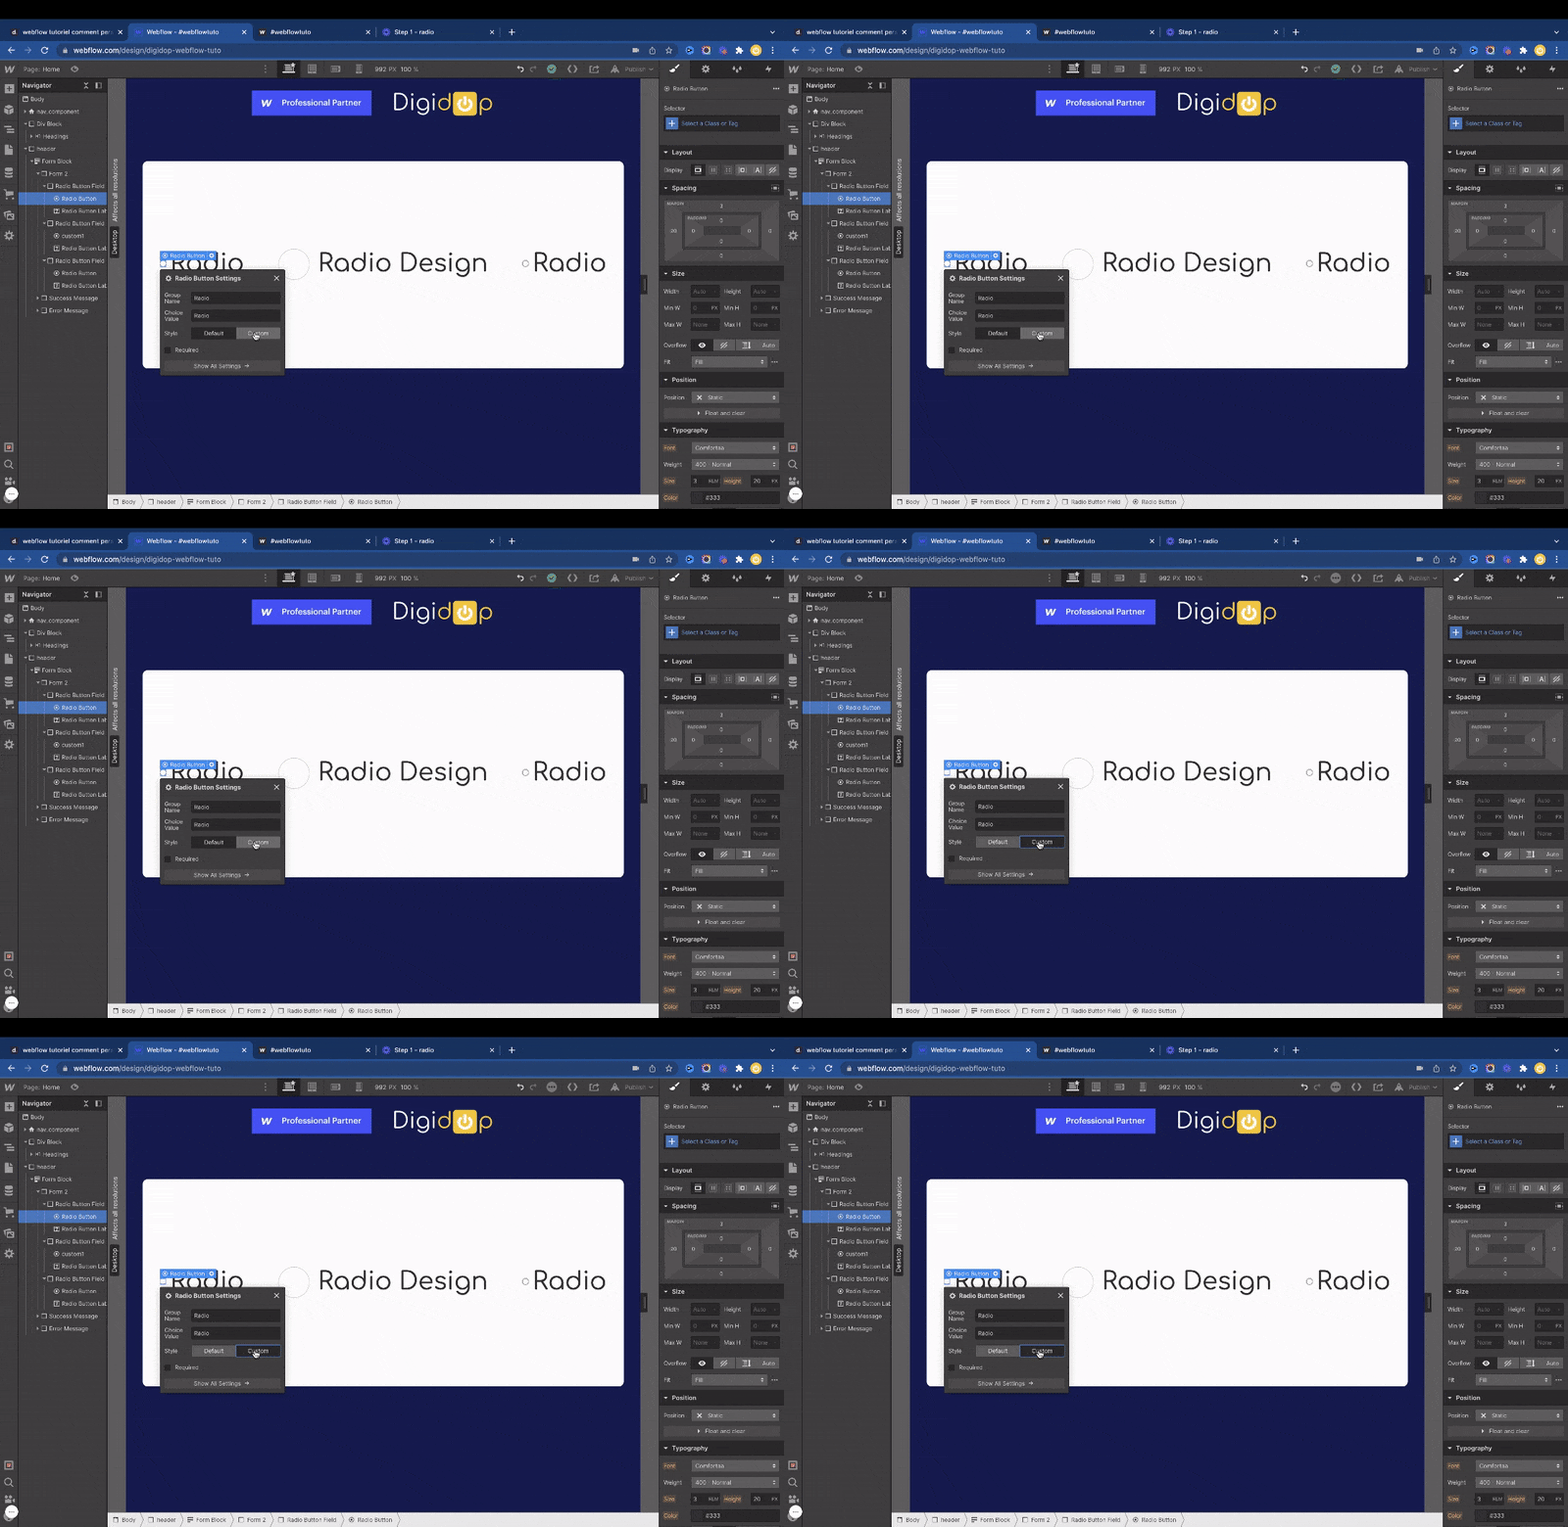
Step 3: Change the Style to "Custom"
By default, radio buttons in Webflow come with an activated default style. To design them, you need to click on Custom. Switch easily between styles by clicking on Custom or Default.

Step 4: Name This Class
Green, red, blue, pink, yellow... big or small! What is your favorite color? Let your creativity shine :)
Step 5: Remember to Set the Style for the "Checked" State
Here, you can define the style when the button is checked and disable it when it is not checked ✅

There you go, all that's left is to create captivating buttons for your Webflow forms!
Want to learn more about Webflow? Check out plenty of Webflow tutorials in French on our YouTube channel 🍿


.jpg)

