The Search Console is an essential tool from Google if you want to monitor the organic performance of your website. You have access to numerous reports that provide an overview of your SEO statistics. The advantage of this tool is that for the same property, you can add different users.
Today's article will focus on the method to add users in Google Search Console.
Step 1: Logging into Search Console
The first step is, of course, to log in to your Search Console property.
To add new users, it is important to keep in mind that this can only be done if you are a verified owner of the property (domain name) in question. If this is not the case, you'll need to reach out to a property owner to carry out the action.
Step 2: General Settings
Once you are logged in (as a verified owner), you need to navigate to the settings of the relevant property in Search Console.
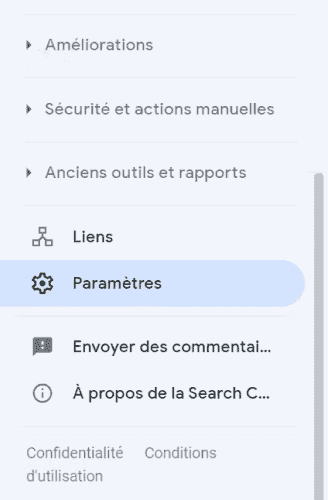
The settings are accessible via the menu on the left side of the interface. By scrolling down to the bottom, you will find the “Settings” section below “Links”. Just click on it.

Step 3: Property Settings
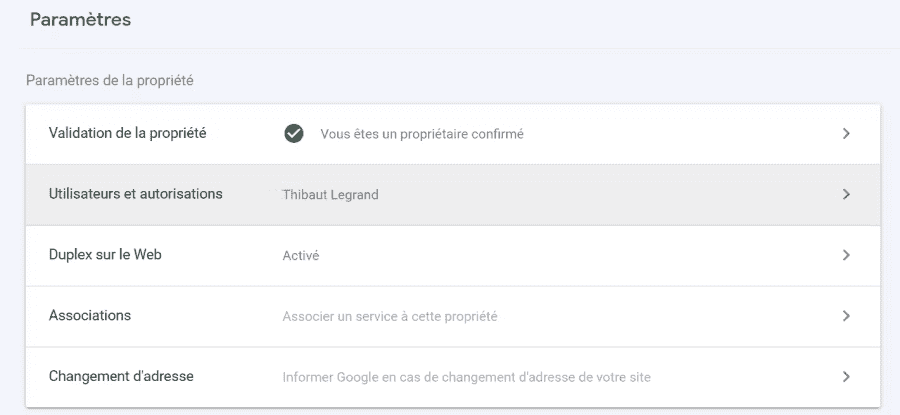
Once in the settings, several sections will be displayed. The one we are interested in is the first one, “Property Settings.” In this section, if you are a verified owner, you will see a box named “Users & Permissions.” This is where you can manage the users of your property, so click on it!

Step 4: Managing Property Settings
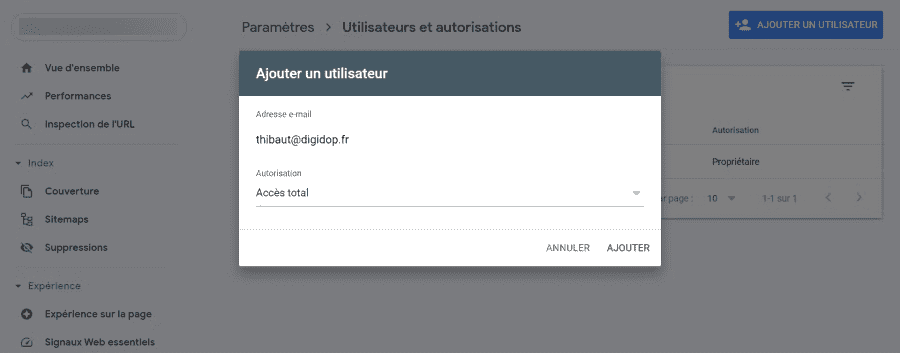
In “Users & Permissions,” you will see a list of all the people who have access to your property in Search Console, along with their access types (full, limited, or owner).
You can easily modify roles and add a user using the dedicated buttons. Just enter an email address, define a role, and click on add.

That's it! You now know how to manage your users in Google Search Console. Additionally, if you want to optimize the SEO performance of your Webflow site, Digidop is here to help you.


.webp)


.jpg)
