
The Figma community is an online platform that brings together designers, developers, educators, design agencies, and even illustration enthusiasts who can upload and share various design projects in the web design field. Every file shared within the community serves as a practical guide or source of inspiration.
You can find examples of projects shared by community members that you can easily download for free. Just click on them, and you’re good to go! Not only can you duplicate them, but we also encourage everyone visiting the Figma Community to share their own projects!
Thousands of projects are shared daily within the Figma community, showcasing the strength of this no-code tool. Don’t miss out on this active no-code community that is always ready to listen and is a true wellspring of inspiration!
To further strengthen this community, we explain in this article how to share your Figma projects with the Figma Community:
- File Sharing
- Plugin Sharing
- Widget Sharing
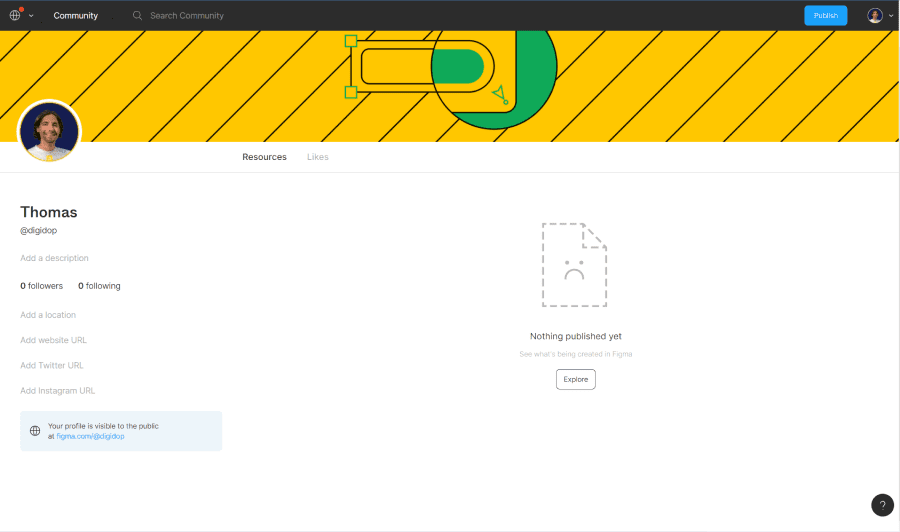
Step 1: Create Your Figma Community Public Profile
By default, your Figma account is private. This means that all the projects you create are visible only to you and the people you share them with. To share your files with the community, you’ll need to start by creating a public profile on Figma.
See our article on this topic 👇
How to Join the Figma Community to Share Your Designs?
Step 2: Choose the Figma Project to Share
Once your Figma profile is created, you can start sharing your first designs. In fact, you can share three types of content with the Figma community:
- File Sharing
- Plugin Sharing
- Widget Sharing
In this example, we will focus on the most common need, which is sharing a file with the community.
- Click on the “Files” tab (generally the default tab)
- Click on the project you wish to share

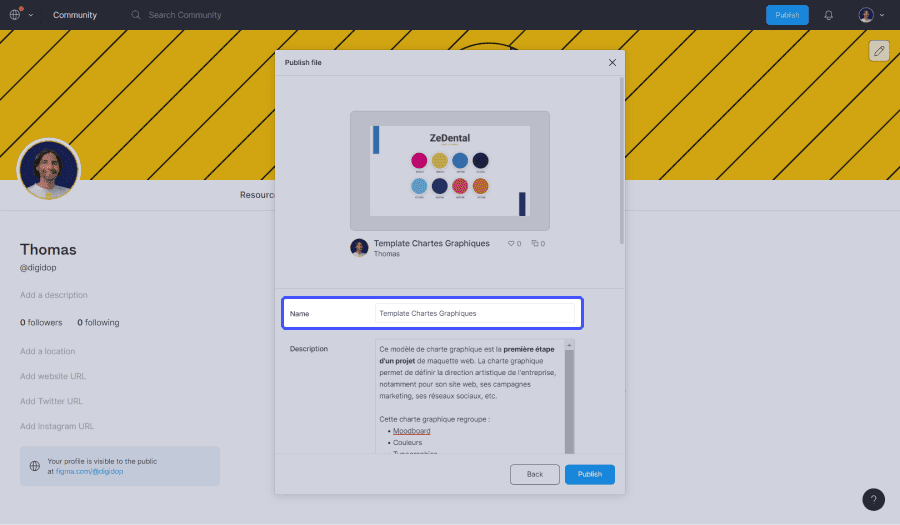
Step 3: Configure the Publication of Your Figma Design
- Add a Title: We recommend using keywords that best represent your file. Be impactful and concise, as Figma limits the maximum character count.
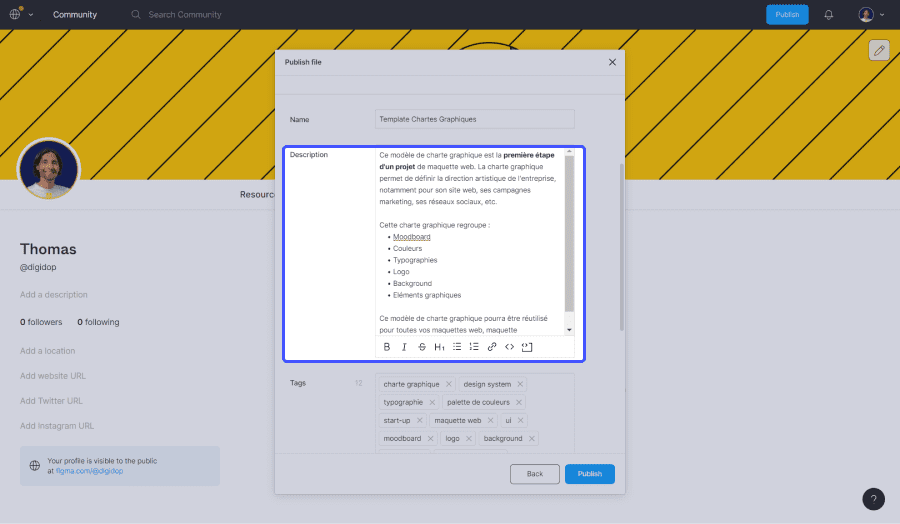
2. Add a Description: Figma gives you great freedom in describing your file. You can elaborate and format your text as needed.
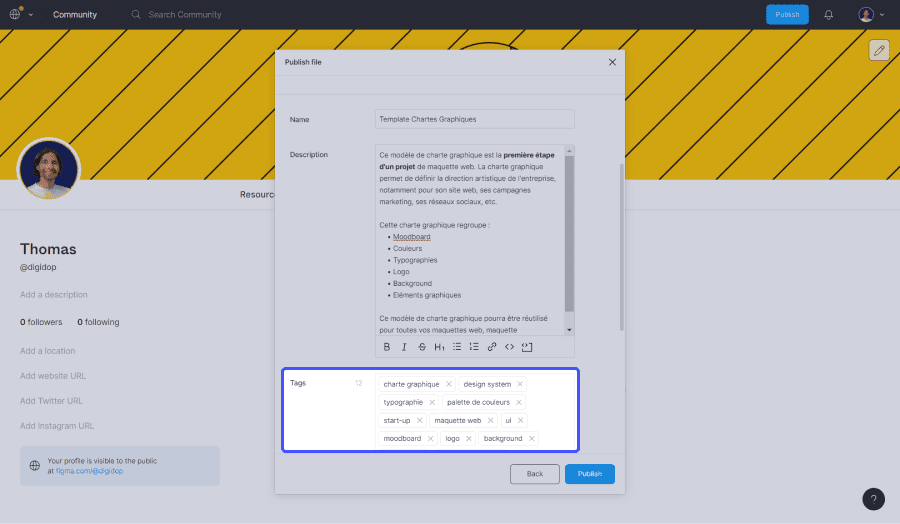
3. Add Tags: To make your Figma project easy to find within the community, you can add “Tags.” These are keywords that best define your shared file. For instance, if you share a web mockup, you might use keywords such as: web mockup, web design, wireframe, website, UX, UI, etc.
Step 4. Publish Your Project with the Figma Community
Your publication is ready, click “Publish” to share your design with the Figma Community! 🤩
Find Digidop in the Figma community
.webp)

.jpg)

.jpg)
