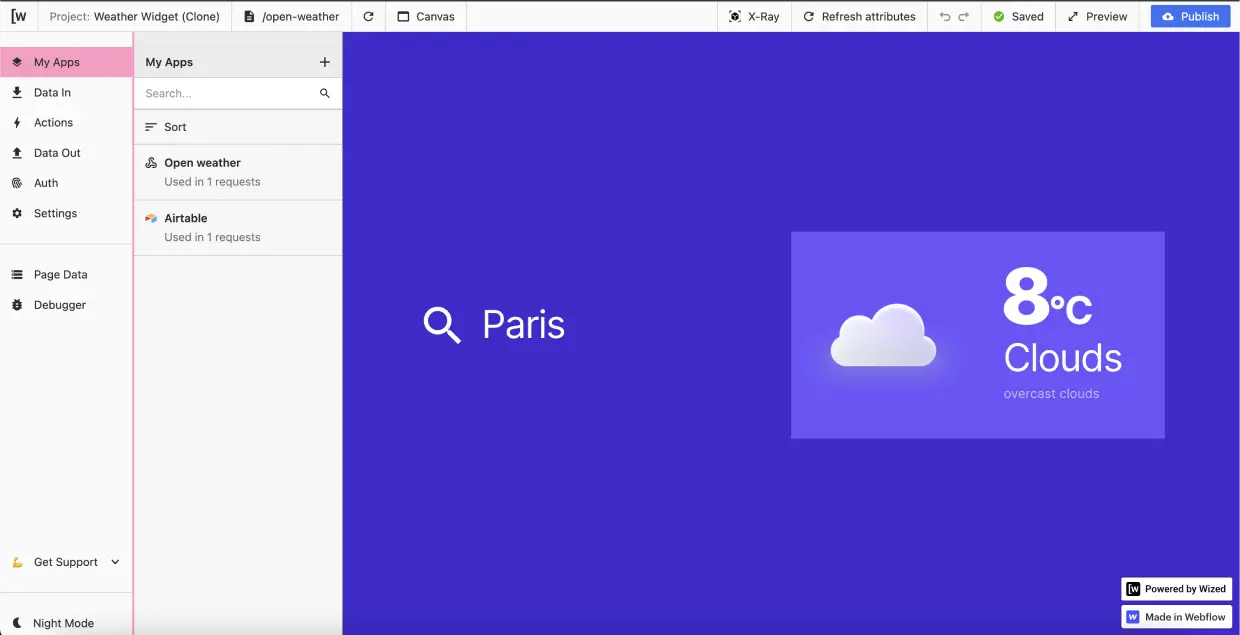
I just spent the day deeply diving into Wized! 🪂
So, I finally started by creating my first web application with Webflow: a weather app. And it was really enjoyable. Let me share the details with you!

Learning to create a web application with Emanuel
To kick off my #WizedJourney, I followed the guide, Emanuel! With a fantastic 4-step tutorial accompanied by a YouTube tutorial.
.png)
My initial observations on the Web App tool
- Creating a web application with Wized follows the same logic as using Finsweet attributes on Webflow,
- It's quite intuitive to establish a connection between an API or a database and the tool,
- There are numerous triggers offering advanced customization of features,
- I love the "debug" feature that indicates where your errors are and helps you fix them.
I believe that the best way to form an opinion is to try it yourself, but Wized has already exceeded my expectations and clearly opens a new market for Webflow: web applications. And with some great advantages! Unlike Bubble, by connecting to Webflow, Wized allows you to create fully customizable web applications in terms of design, optimized for search engine optimization (SEO), fast, and with an incredible responsive feature that provides the best possible experience for your users.
To learn more, check out the tools I used to replicate this weather web application on Webflow with Wized 👇
The 4 tools I used:
1 - Webflow
Webflow to design a unique and responsive front-end for my interface. Bonus? I can optimize it for search engine optimization (SEO).
2 - Wized
Wized connects the front-end of my site on Webflow to my back-end (database and API).
3 - OpenWeatherMap (API)
A fantastic API for getting live weather updates from anywhere in the world ☀️
Discover OpenWeatherMap
4 - Airtable
Airtable is a robust no-code database! I was able to store the weather icons to represent the live weather!


