
Google News can be a powerful tool for driving traffic. Additionally, being featured on this platform significantly enhances your credibility with internet users. In this article, we will highlight the various steps to become a reliable news source on Google News.
In the past, to have your site appear on Google News, you needed to submit a lengthy application to Google. Fortunately, that era is over! Nowadays, you only need to follow a few simple steps to be considered a source within the American firm's application.
Important Disclaimer: Before we begin, it's essential to clarify that we must distinguish between the Google News platform and the News tab that appears when you conduct a search on the search engine. Furthermore, we will focus here on how to be present on the platform, rather than how to be well-ranked. Lastly, we should mention that it's up to Google's “goodwill” to feature you in the “Top Stories” and “News” tabs. However, don’t worry; we will soon publish an article on how to optimize your ranking on Google News.
Step 1: Go to Google Publisher Center
The Publisher Center is where you can manage all the settings for your organization and content. The first step is to visit the site and sign in with a Google account.
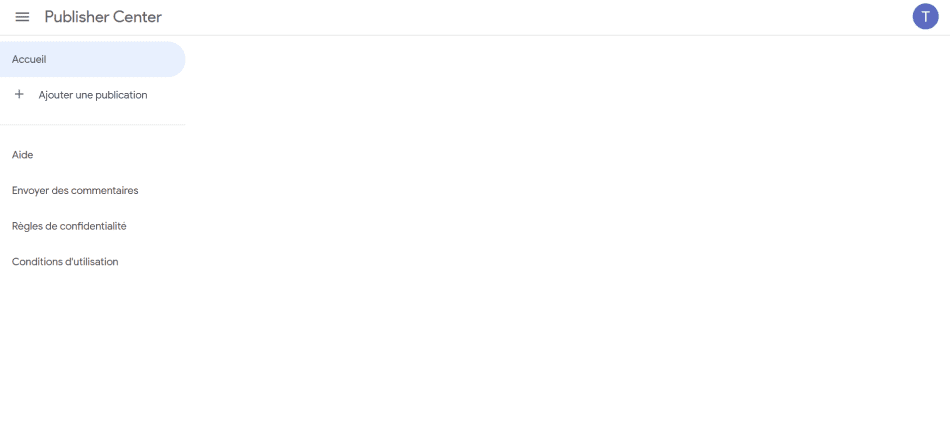
Step 2: Add a Publication for Your Site
Once logged into the “Publisher Center” platform, you will need to add a new publication. To do this, simply click on “+ Add a publication” below “Home”.
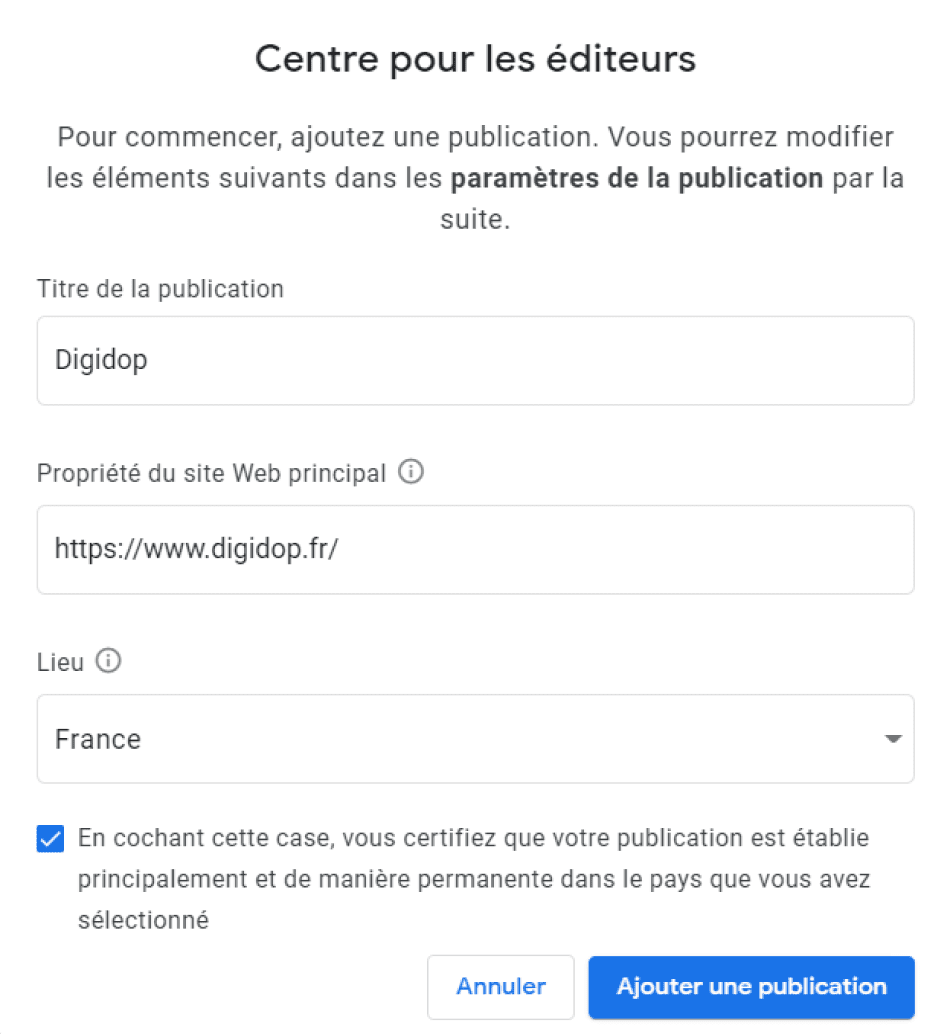
Fill in the various fields of the form (the information can be altered in the future). Then click on “Add a publication”.
You will then see the following interface:
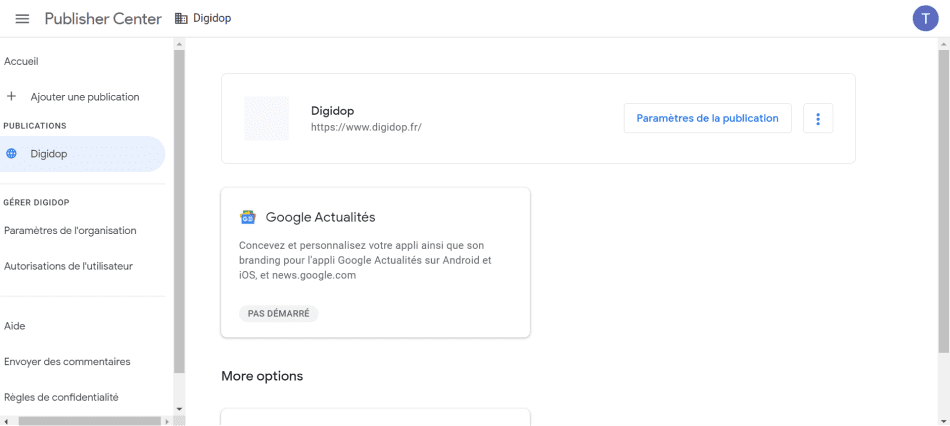
Step 3: Manage Your Publication Settings
You can now configure and customize your publication/organization. To do this, click on “Publication Settings” in the first rectangle on the "Publications" page (as seen above).
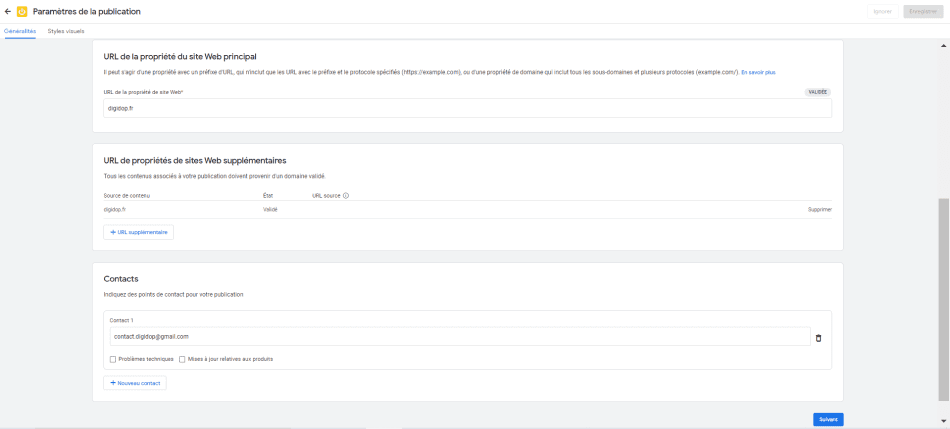
Now, you will be able to fill in the various information provided to personalize the publication to reflect your brand identity.
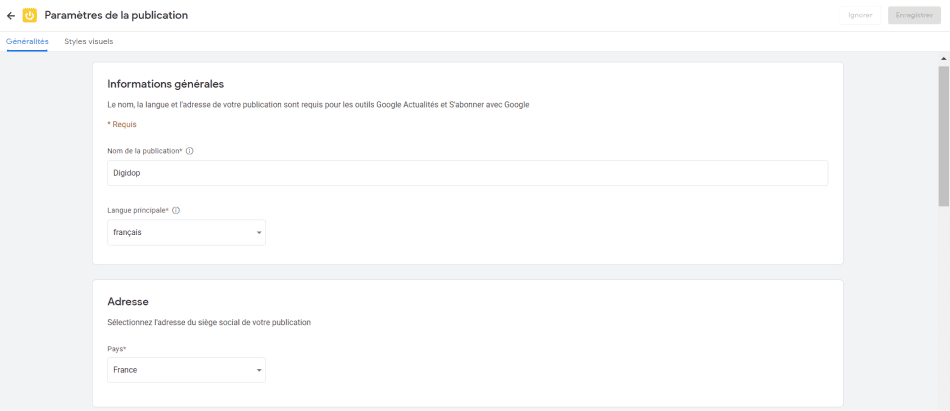
You will need to verify the URL of your primary website property by entering your domain name and clicking on “validate in Search Console”. Of course, you must be an administrator of the Search Console to validate the URL of the website property.

Once verified, a small green box saying “Validated” will replace the “Not Validated” status.
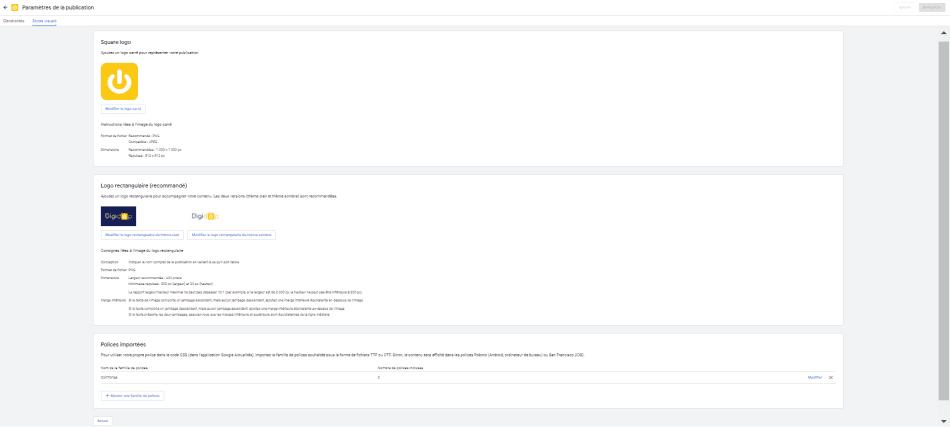
Next, click on “Next” at the bottom of the page to configure your visual styles.
You will then be able to:
- Add a square logo (Maximum 1,000 * 1,000 px)
- Add a rectangular logo (The maximum width-to-height ratio cannot exceed 10:1)
- For the “Light Theme” version
- For the “Dark Theme” version
- Upload fonts (Click on “Add a font,” type its name, upload the font file, and click “Add”)

Finally, click the “Save” button in the top right corner. Congratulations, you've just created your identity!
Step 4: Manage Your Google News Account
You can now fill out your Google News account and define various sections. To do this, click on the “Google News” rectangle (the one you clicked below previously).

You will be able to enter your general information, create sections, and finally preview and publish your publication.
General Information
In the “General Information” section, you can:
- Provide a description of the publication
- Choose a category
- Modify the distribution settings
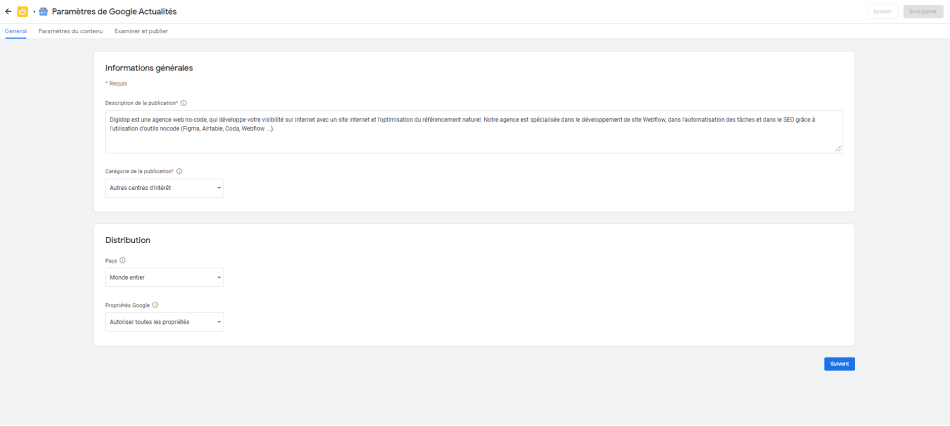
Then click “Next” to proceed to content settings.
Content Settings
In this tab, you will manage the content you will make available on Google News. You will also be able to create sections. To create a section, click on the blue button “+ New Section.” Several options will then be offered to you:
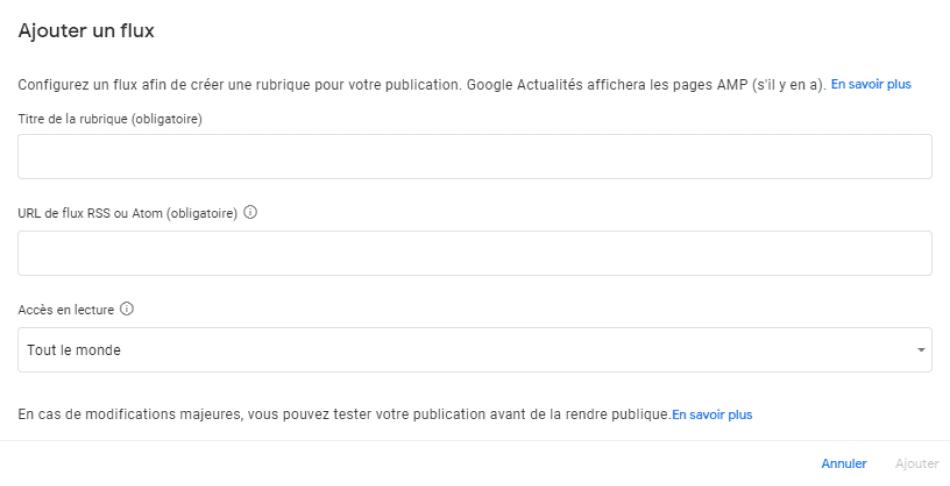
1 - Feed: Create a section from an RSS feed (the content will update automatically)
- Enter a Title
- Enter the RSS feed URL (here's how to create an RSS feed with Webflow)
- Define read access (Everyone or access group: In the “Content Settings” tab, you can create access groups to restrict content to certain people.)
- Click “Add”
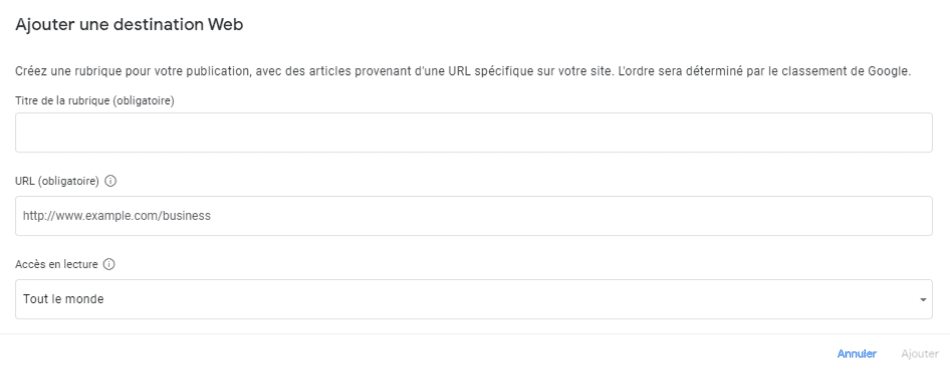
2 - Web Destination: Create a section with custom articles from a specific URL of your website
- Enter a Title
- Enter the URL
- Define read access (Everyone or access group)
- Click “Add”
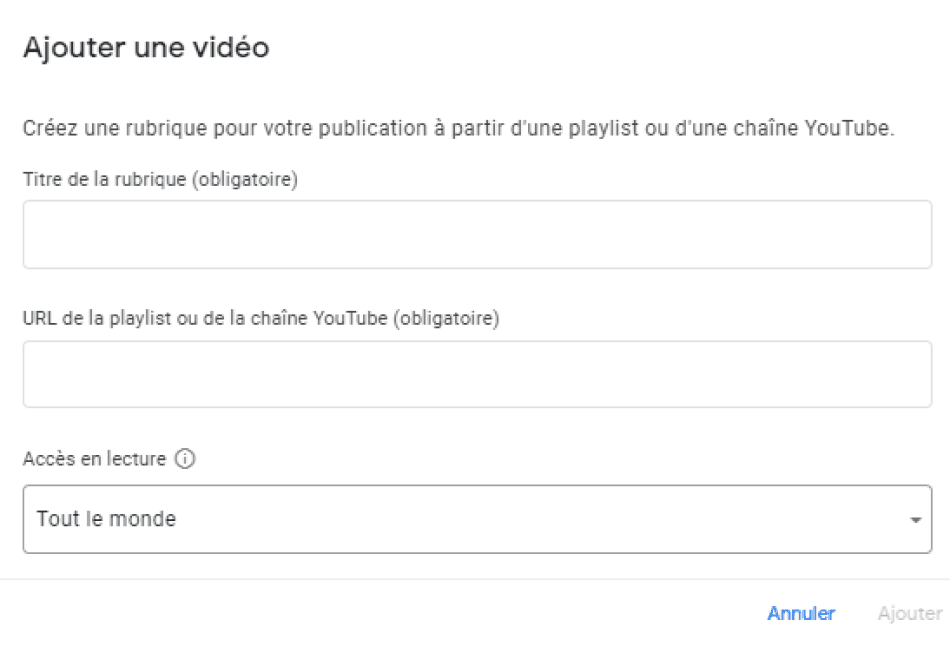
3 - Video: Create a section with YouTube videos (from your channel or a playlist)
- Enter a Title
- Enter the URL of the playlist or YouTube channel
- Define read access (Everyone or access group)
- Click “Add”
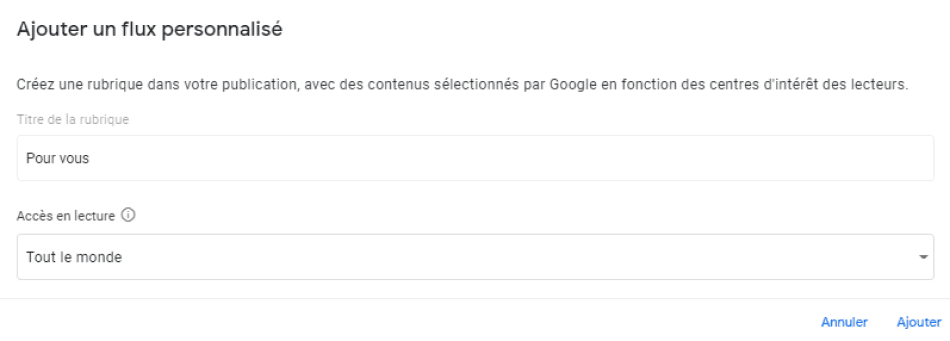
4 - Custom Feed: Create a section with customized content for readers that Google will select
- Define read access (Everyone or access group)
- Click “Add”
There you go; you have now defined your sections, and you should have a tab that looks somewhat like this:
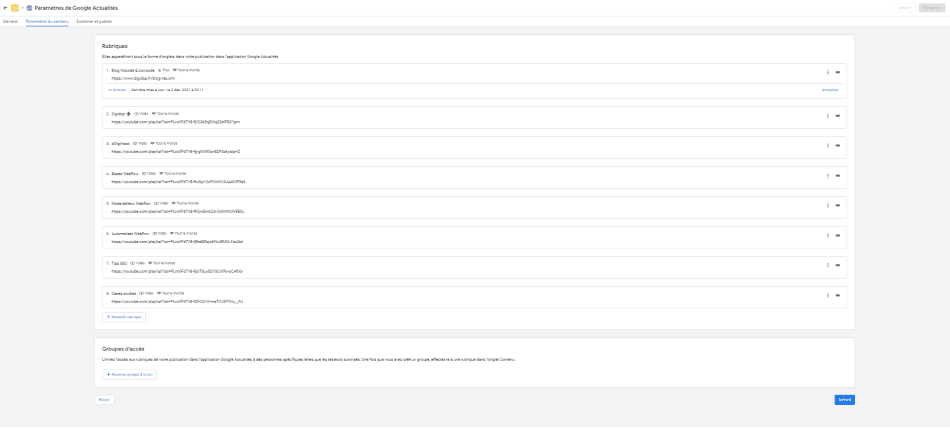
Don’t forget to save your changes gradually (Button in the top right).
Review and Publish
In this last tab, you will be able to preview your different sections with your content inside.
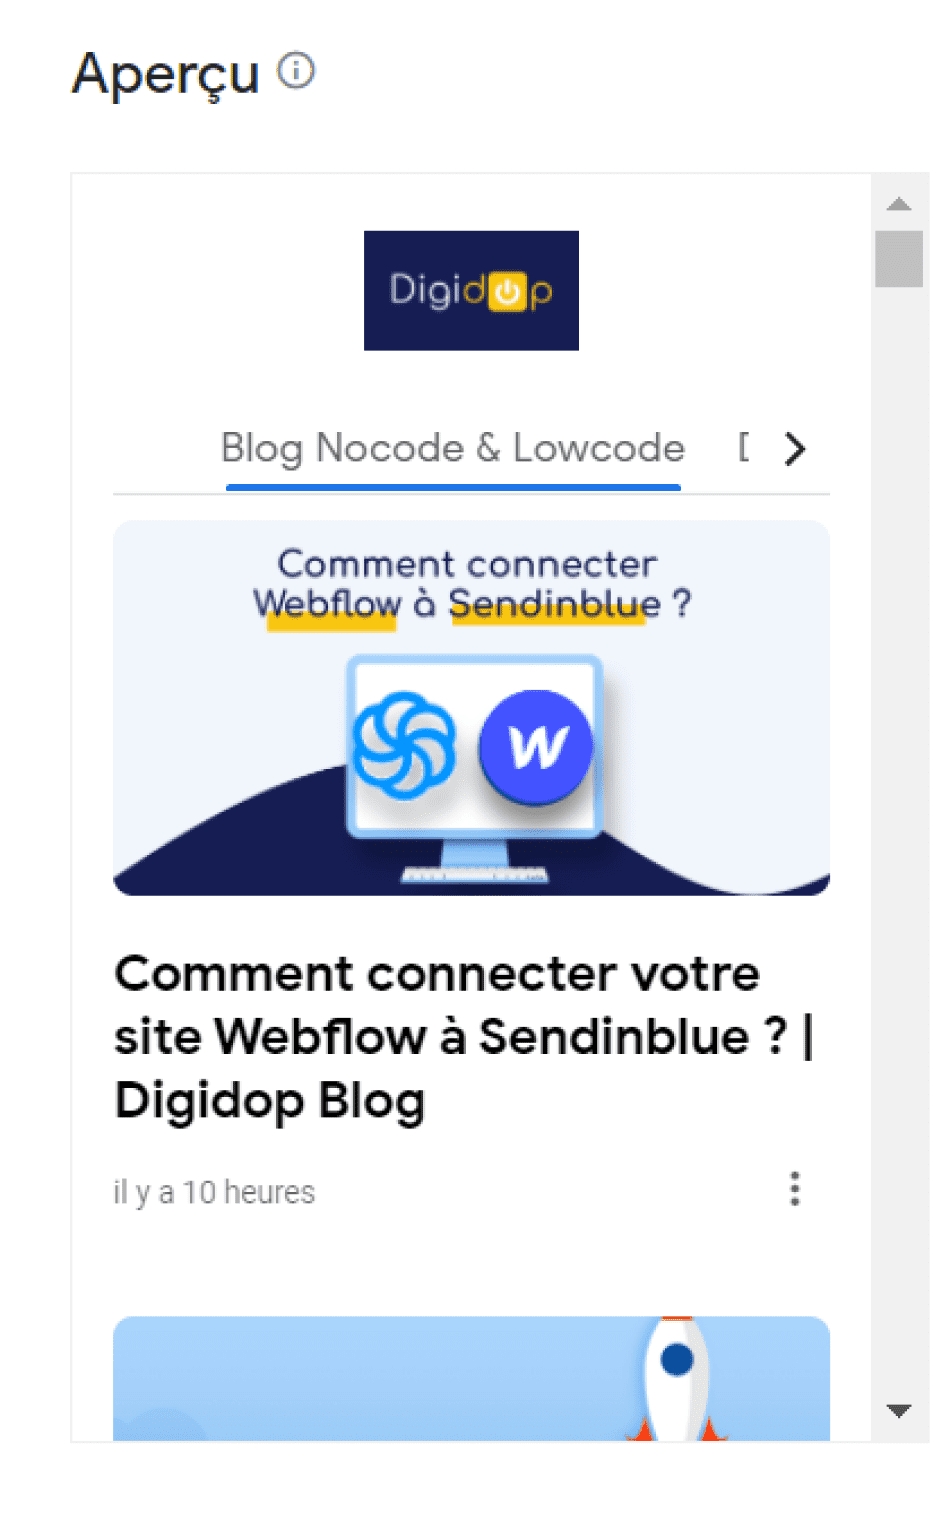
Note: Once you have created your sections, you will not see your various articles/videos in the preview. Approximately two days are needed to view your content in the sections.
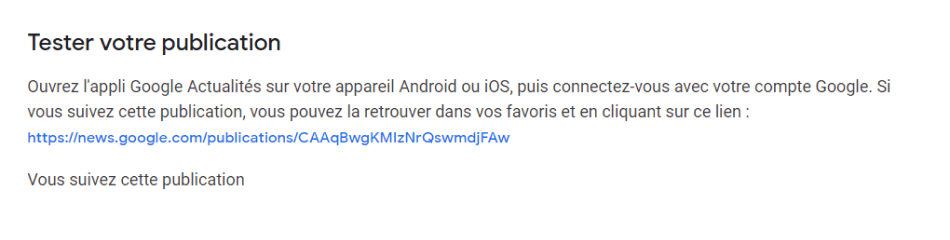
You can also test your publication to see how you will appear on Google News. Just click the link. (You will likely have to wait another two days to see the actual result).
Finally, in “Publication Status in the Google News App,” you will see the status of your publication. Initially (when created), your status will be “Draft,” and you will need to complete the various information mentioned earlier to submit your publication for review. In order to transition from “Online” to “Draft,” you must submit your publication for verification to Google. To do this, in the “Publication Status in the Google News App” section, a button will allow you to validate your content. You will have the status “Under Review” for a few days or even a week, after which your publication will be “Online.”

Your content must, of course, adhere to the general search engine guidelines:
1 - General Google Guidelines
- No dangerous content
- No deceptive practices
- No harassment-related content
- No hate-inciting content
- No manipulated multimedia content
- No terrorist-related content
- No explicit sexual content
- No violent and bloody content
- No vulgar language (including profanity)
2 - Ads and Sponsored Content
- Should not take up more space than the content itself
- Full transparency with readers about sponsored content and sponsors
3 - No Deceptive Content (Clickbait)
4 - Transparent Content (your content must include):
- Clear dates and signatures
- Information about authors/publications/editors
- Information about the company
- Contact details
That's it! After completing these steps, you will finally appear in Google News. You can always modify your information and sections to customize your account. Thus, you become a “news source”!

Step 5: Manage User Access
This step can be done at any time. The Publisher Center allows you to manage your publications with collaborators. This way, you can add/edit/delete users for both your publications and your organization.
To manage access:
- Open “User Permissions” (below “Organization Settings”)
- Choose either the entire organization or a specific publication
- Add a user from an email address and define their access type (Reader/Editor/Owner)
- Modify or remove access
- Save

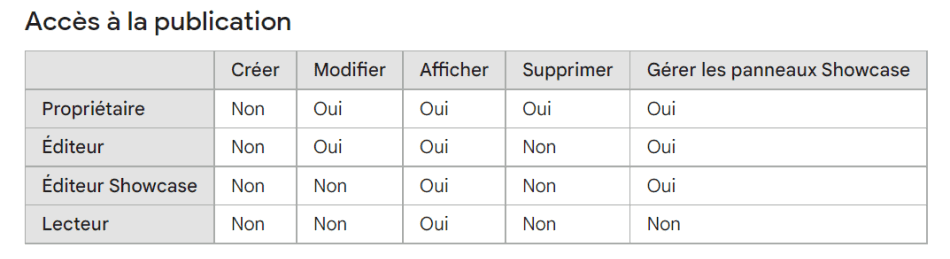
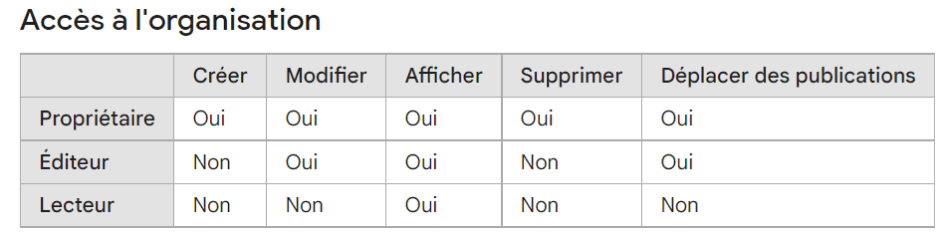
The different permissions based on access type:
Now you know how to manage the “Publisher Center” platform to appear in Google News. If you seek more information, you can refer directly to the Google News Publisher Help. In the meantime, don’t miss your chance to become a news site and stay tuned for tips on optimizing your natural ranking (SEO) in Google News.
You can also subscribe to our Digidop Google News account!
.webp)


.jpg)
