In this article, we will show you how to add translation rules in the Weglot website translation tool.
These translation rules allow you to instruct Weglot to:
- Never translate a specific word or group of words
- Always translate a word (or group of words) into a word (or group of words) that you define
Step 1: Log in to Weglot
The first obvious step is to go to the Dashboard of your Weglot project.

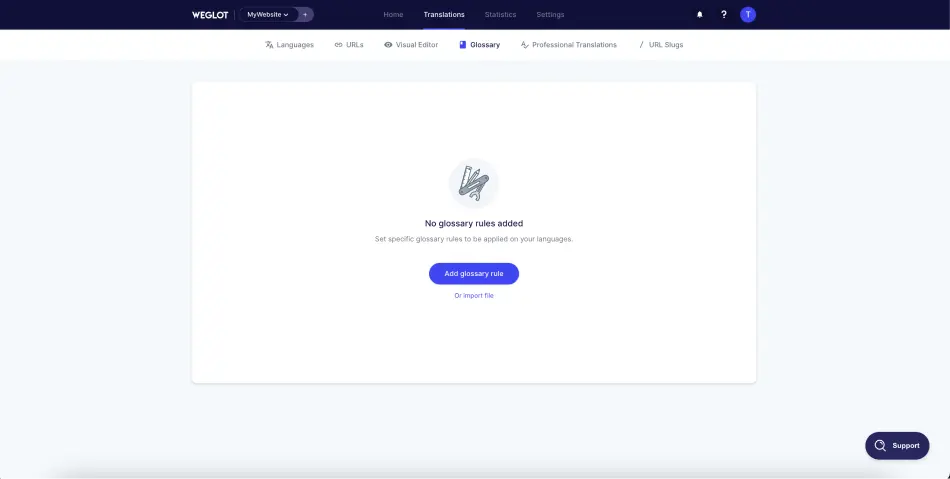
Step 2: Navigate to the "Glossary" section
Once you are logged into your project, you will need to:
- Click on the "Translations" tab
- Click on the "Glossary" tab
This is where you will be able to view all your rules or add/remove them.
Step 3: Add a translation rule
Option 1 - Manually add a rule
The first option allows you to add translation rules manually. You will need to add each of your rules one after the other.
To do this, click on "Add Glossary Rule".
Then, you have two possibilities:
1. Never translate a word
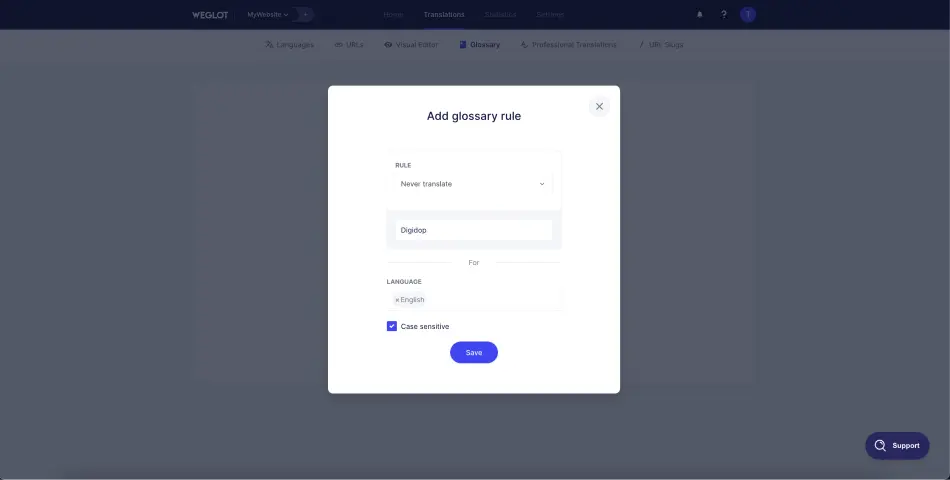
If you want a word to never be translated (for example, the name of your company), you should:
- In "Rule", select "Never translate"
- Add the word or group of words to never translate in "Enter Word"
You can customize this rule by choosing specific languages in the "Language" field. For instance, you might want to specify that a word should not be translated only in the Spanish version of your website. In that case, select "Spanish" in the language field. To apply the rule to all languages, leave the field empty.
There is also an option to check if you would like the word you inserted to be case-sensitive (to differentiate between lowercase and uppercase letters).
2. Always translate a word to another
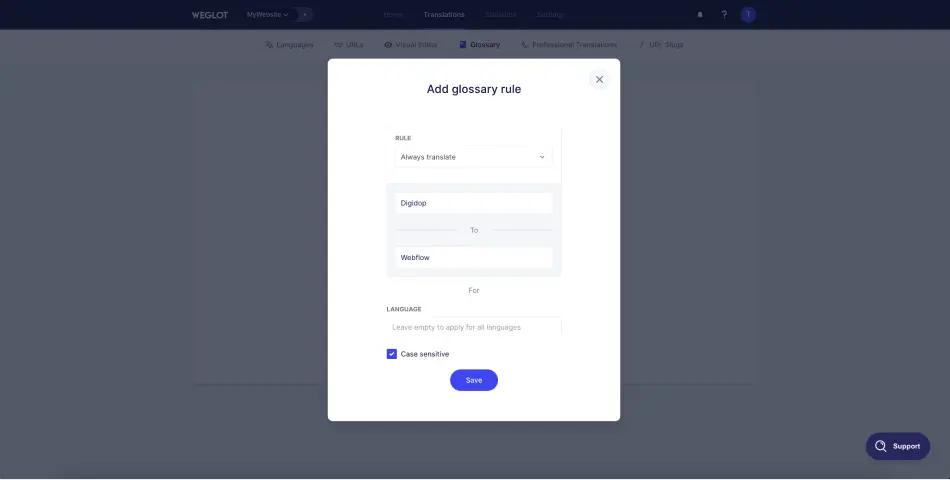
This option allows you to always translate a phrase (a word) into another phrase (another word) that you will define.
In this second rule option, you need to:
- In "Rule", select "Always translate"
- Add a word (or group of words) to translate in the first box
- Add the translation in the second box (under "To")
Again, you can add language options or case sensitivity settings.
Option 2 - Import a CSV file containing rules
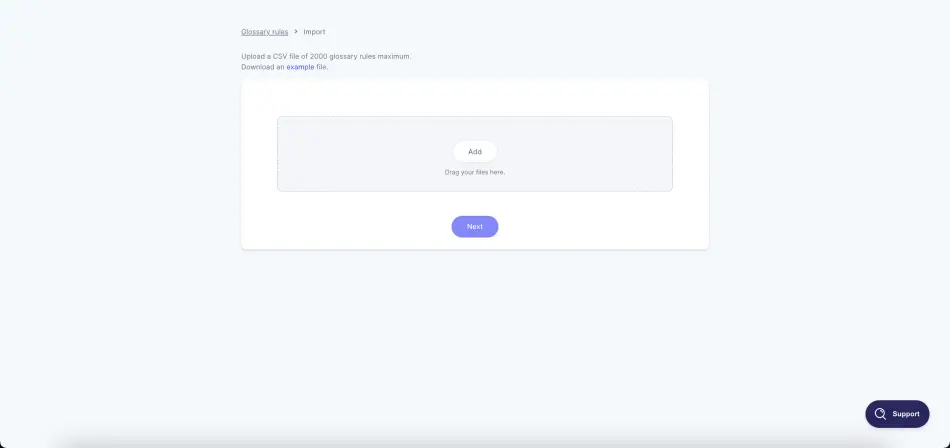
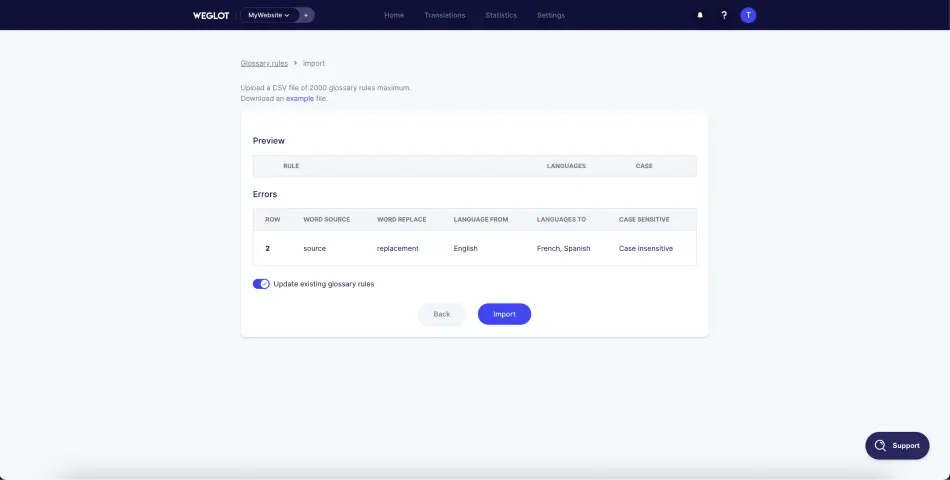
The second option is to import a CSV file that contains all of your rules directly into Weglot.
To do this, you should:
- Click on "import file" (or "Actions" then "Import" if you already have rules)
- Insert your CSV file
- Click on "Next"
- Review the rules
- Click on "Import"
Before importing, you can download a working example of a CSV file and choose whether to update existing rules or not.
Step 4: Manage your translation rules
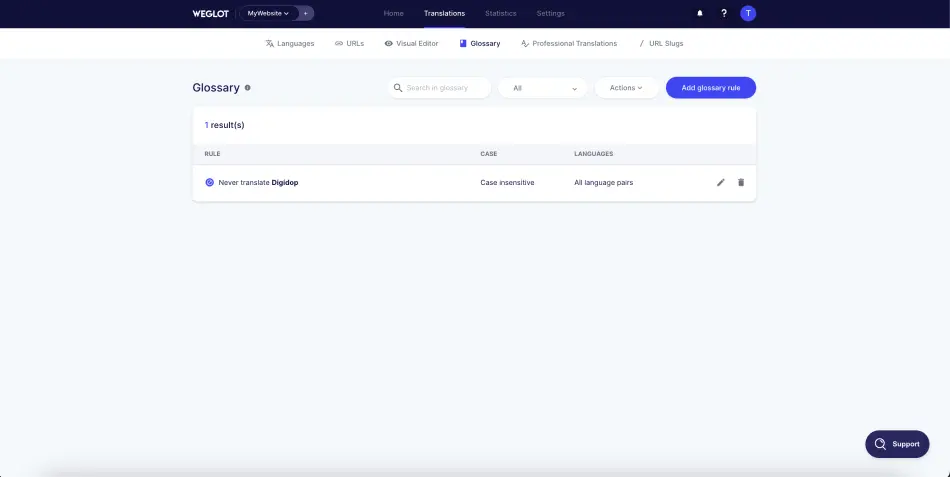
Once you add a translation rule (or several) in Weglot, you can view and manage it individually. You can modify it by clicking on the pen icon or delete it by clicking on the trash can icon.
That concludes this tutorial on how to create "automatic" translations with Weglot. If you are interested, you can find our articles on translating your Webflow site with Weglot or hiding an element based on language via Weglot.
You can also enjoy a 20% discount on all your new subscriptions by adding the code DIGIGLOT to your project!


.webp)


.jpg)

