Do you want to enhance your presence on social media and drive more traffic to your website? Today, we will teach you how to set up social sharing buttons or links on your website pages using Webflow. This will be particularly useful for your dynamic pages (like blog posts, for example).
This solution is made possible thanks to the clonable Webflow by Refokus.
Discover Webflow clonables that optimize your productivity in Webflow!
1. Add code to the pages where you want to include sharing links
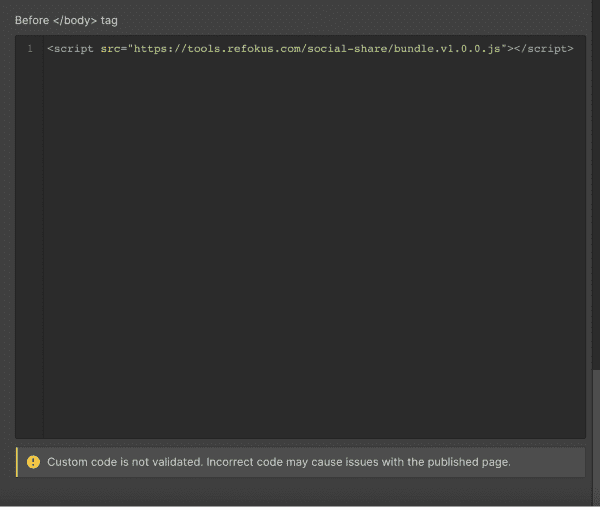
The first step is simply to copy and paste code into all the pages where you want to implement a social sharing system.
You will just need to go to your page settings and then copy and paste the code below into the "Before <!-- fs-richtext-ignore --></body> tag" section.
2. Add your links in Webflow
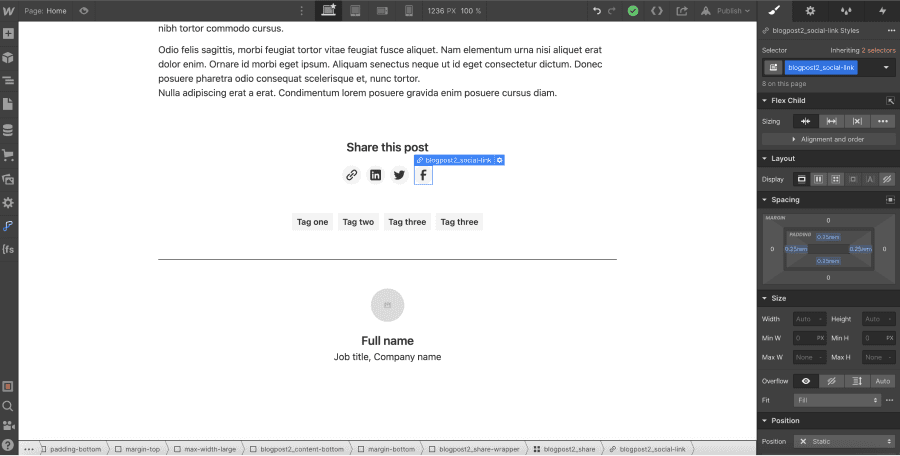
Once you have added the code, you can now include links in your pages. These elements will allow users to share the respective page across different social media platforms. You have the freedom to customize your links, but it is essential to include a link block or a button.
3. Add attributes to your links
After adding your links to your project, you will need to assign custom attributes to each of them.
PS: Do not add external or internal links in these elements.
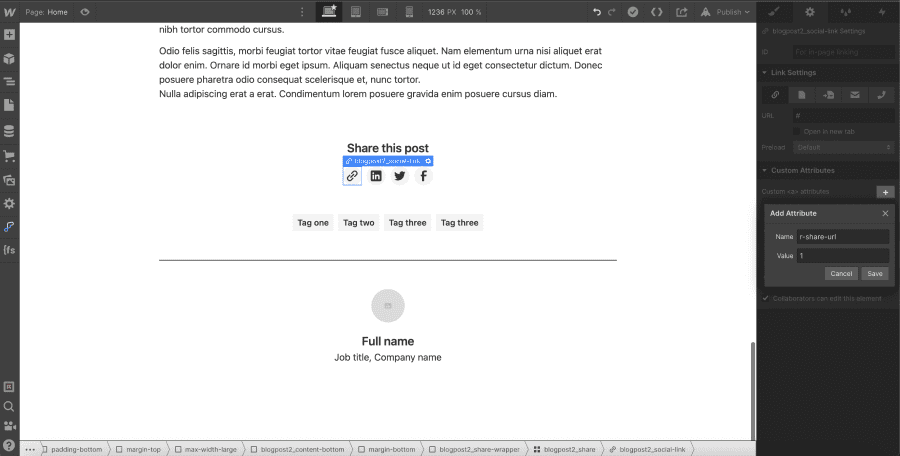
3.1 For a share link copying the URL to the clipboard
You will need to add the following attribute to your link: r-share-url with a value of 1
3.2 For a share link on LinkedIn
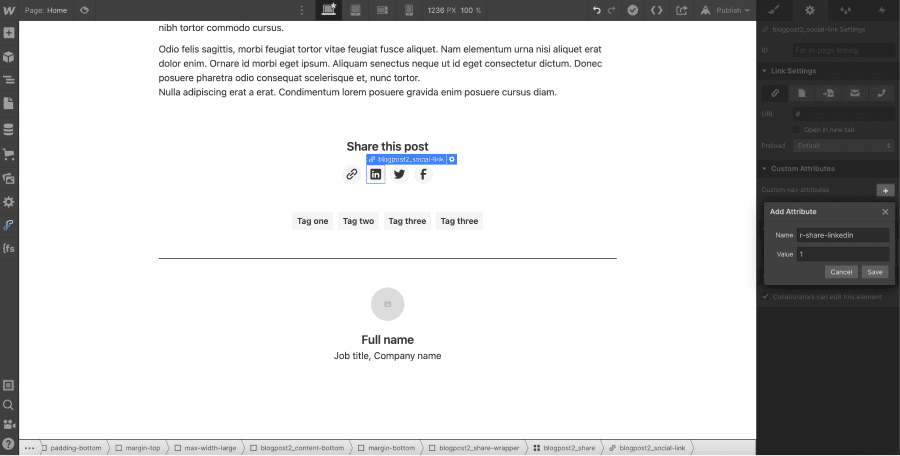
You will need to add the following attribute to your link: r-share-linkedin with a value of 1
3.3 For a share link on Twitter
You will need to add the following attribute to your link: r-share-twitter with a value of 1

3.4 For a share link on Facebook
You will need to add the following attribute to your link: r-share-facebook with a value of 1

4. Publish your project
Now, all you have to do is publish your project on your website and enjoy this lovely feature!
Discover more Webflow tutorials!


.webp)

.jpg)
.jpg)
