When you own a website, depending on the information you collect and your location, you must comply with various regulations. One of the most well-known regulations pertains to the protection of user data from the European Union: the GDPR.
In this article, we will explore one of the essential rules to ensure compliance with the GDPR: the storage of cookie consents. We will examine how, on our Webflow site, it is possible to store cookies using Finsweet Cookies Consents and Cloudflare in a completely free manner to meet the current standards.
GDPR, Cookies, Storage, and Website Compliance?
General Rule
If you are a business or another entity based in the European Union (EU) and own a website, you must comply with the GDPR (General Data Protection Regulation). This requirement also applies to businesses or entities located outside the EU that collect data on users residing in the European Union.
The GDPR imposes numerous rules to protect and safeguard users' personal information. If you manage a website that needs to comply with the GDPR, you will inevitably face the question of cookie compliance for your site.
Definition - Cookies : small text files that websites place on your browser to remember your preferences and provide a more personalized online experience.
These cookies represent information and data collected by websites about you. According to the GDPR, they must be protected and stored. But why store cookie consents? It's much more than just ticking boxes to comply with the law. Here’s why it’s crucial, summarized in a few key points:
- Respect for Privacy : Storing consents means that you respect your users' private space, much like knocking on a door before entering.
- Building Trust : Users want to be assured that their data is in good hands. By storing consents, you establish a trust relationship.
- Avoiding Legal Troubles : Poor data management can lead to legal issues. Properly storing consents serves as a legal shield for your site.
- IP Address Anonymization : Let’s not forget about IP addresses. By anonymizing them, you enhance data protection, akin to blurring a map to protect treasure.
New Regulations 2024
As of March 2024, regulations have evolved for managing cookie consents with Google tools. If you use solutions like Google Analytics or Google Ads, you will need to implement a cookie management solution compatible with Google Consent Mode V2.
Guide to Google Consent Mode V2
How to Store Cookie Consents for My Webflow Site?
1 - Prerequisites for Storing Cookie Consent Data
Before we dive into the details, you will need to prepare a few elements in advance:
- Have a Webflow project.
- Integrate the Finsweet Cookie Consent solution into your project (Please note that this article will not detail how to integrate the Finsweet Cookie Consent solution in Webflow but rather how to store the consents once the solution is already in place).
- Have a free Cloudflare account.
2 - Creating a Cloudflare Account
If you are new to the Cloudflare ecosystem, let’s discover how to quickly create an account together.
Tool - Cloudflare : Cloudflare is a cloud service platform offering solutions for security, performance, and content distribution, contributing to improved availability and protection of websites.
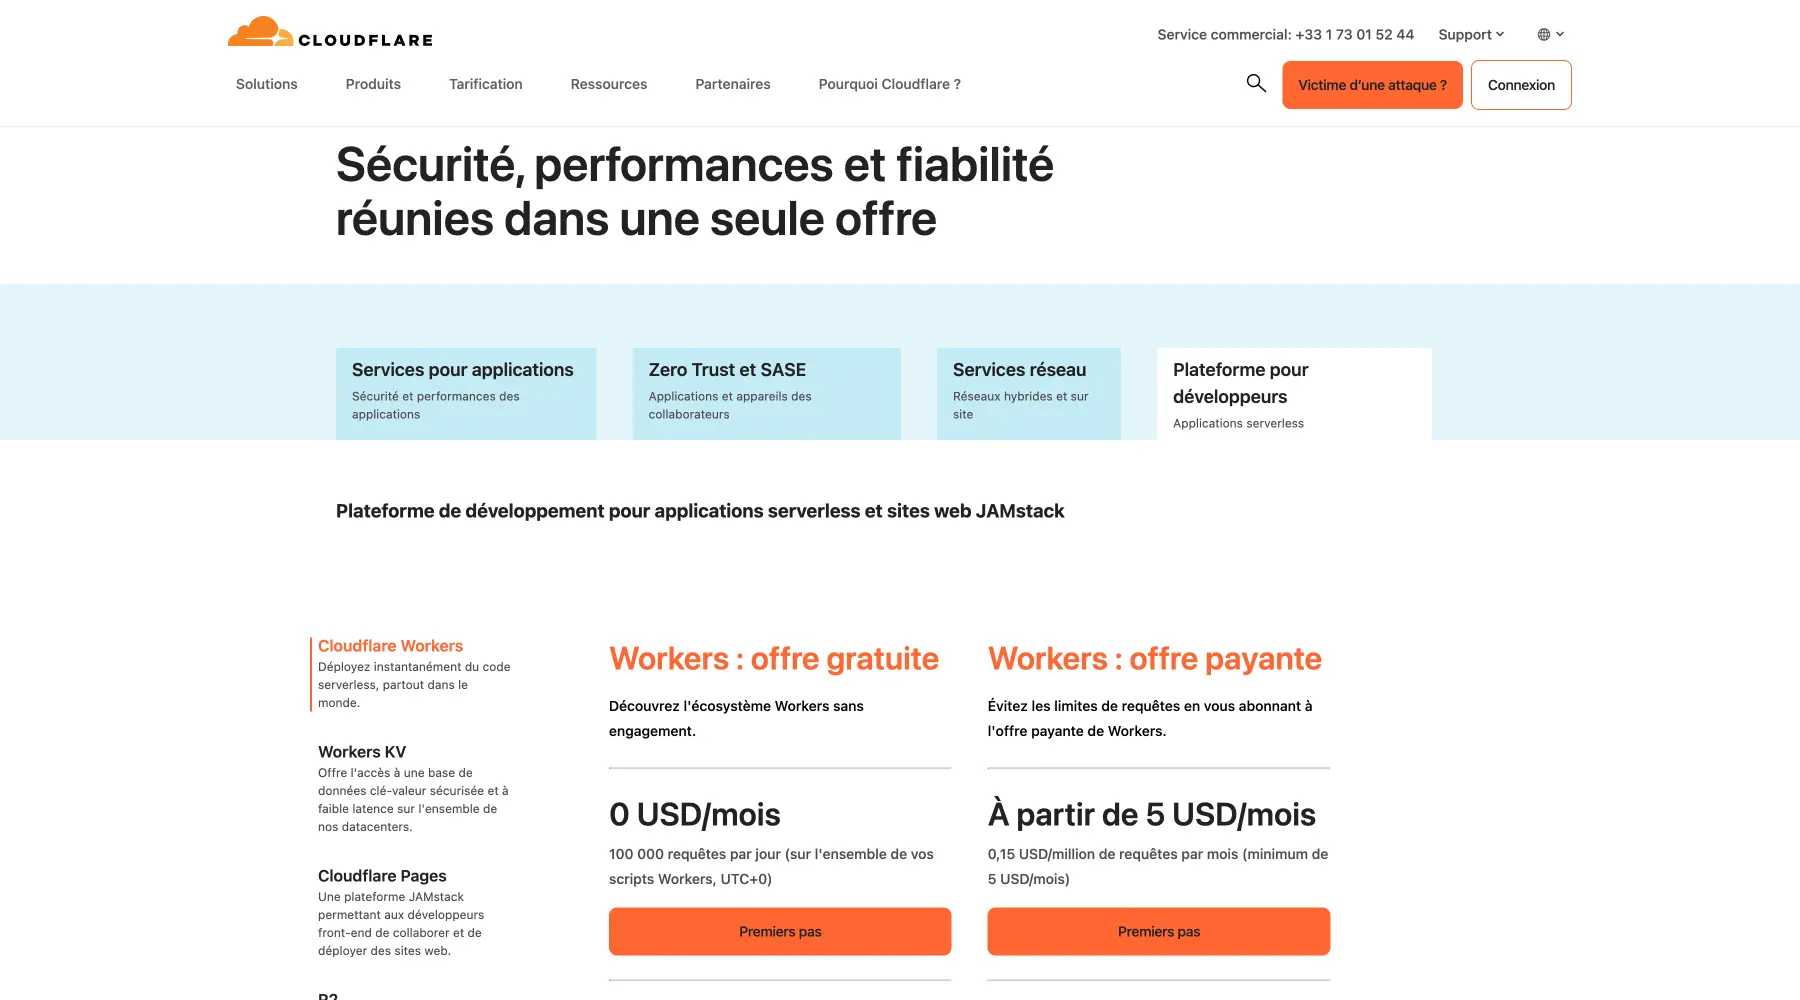
To get started, visit the Cloudflare sign-up page. In the "Developer Platform" tab, select the free offer "Workers: free plan".
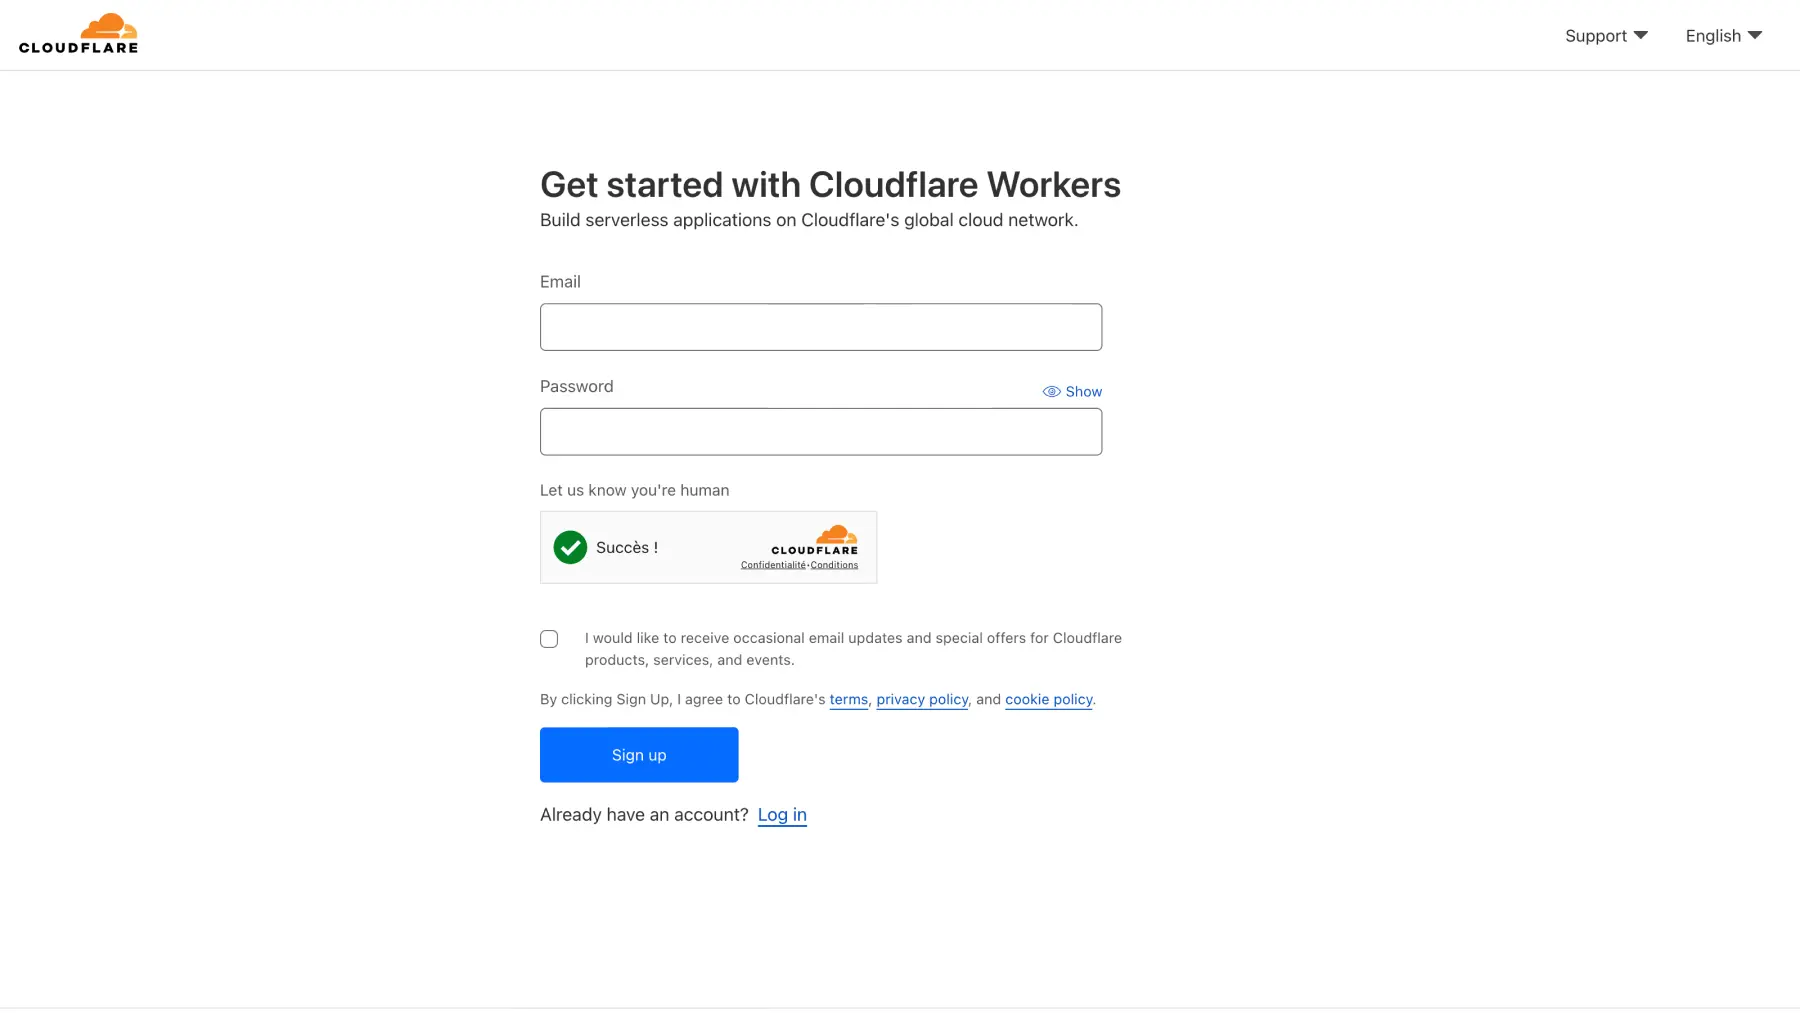
Next, you will be directed to a page where you can create your account by providing an email address and password.
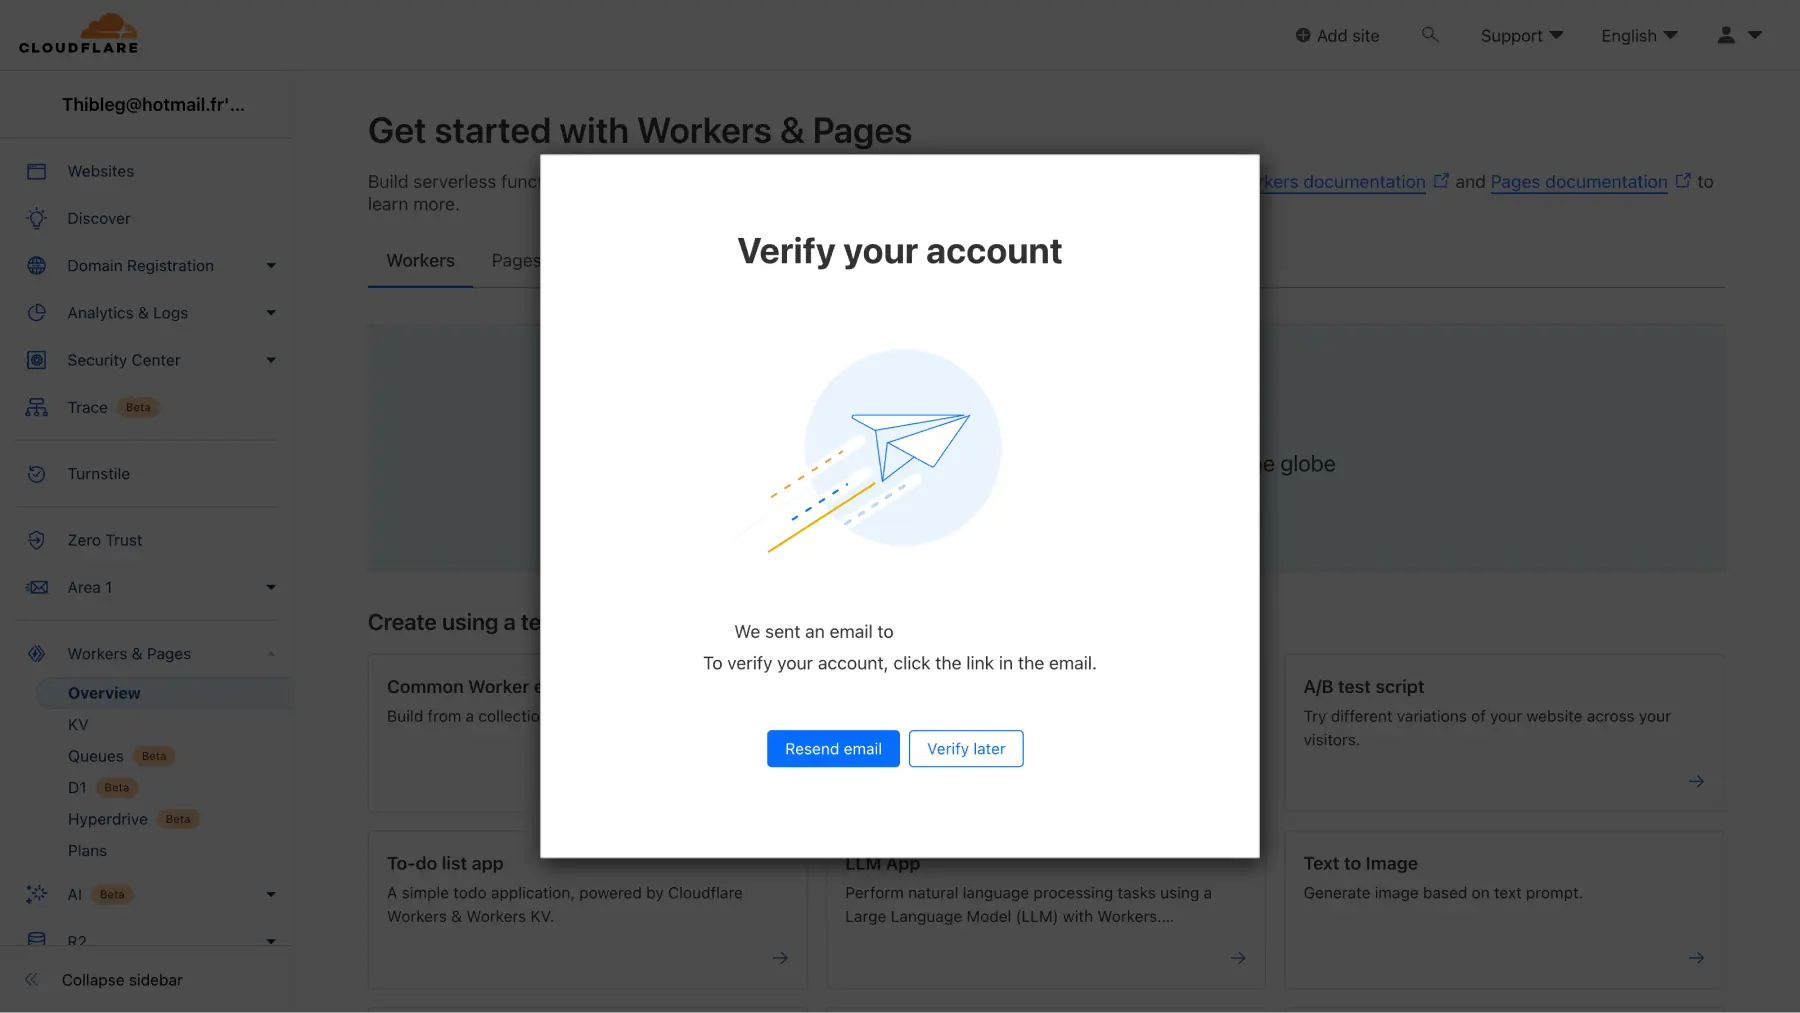
Once your account is created, make sure to verify it according to the provided instructions.
3 - Configuring Data Recording - Technical Part
3.1 - Create a Cloudflare Worker
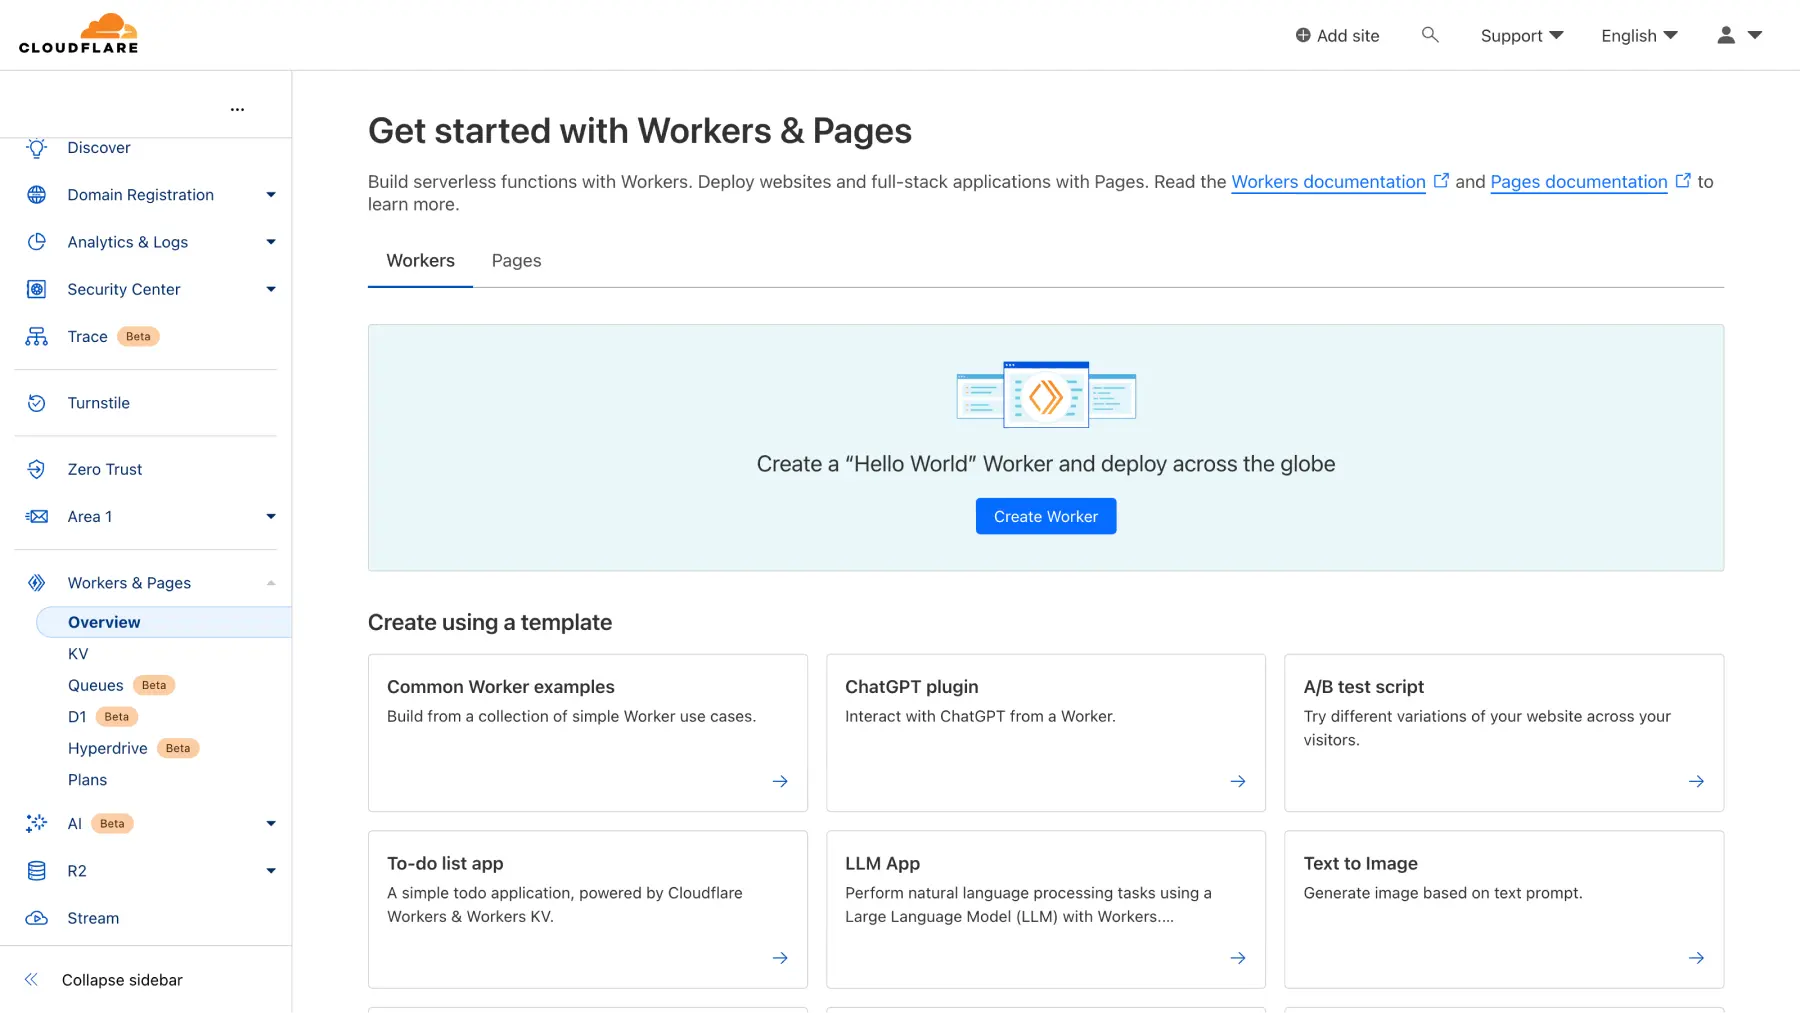
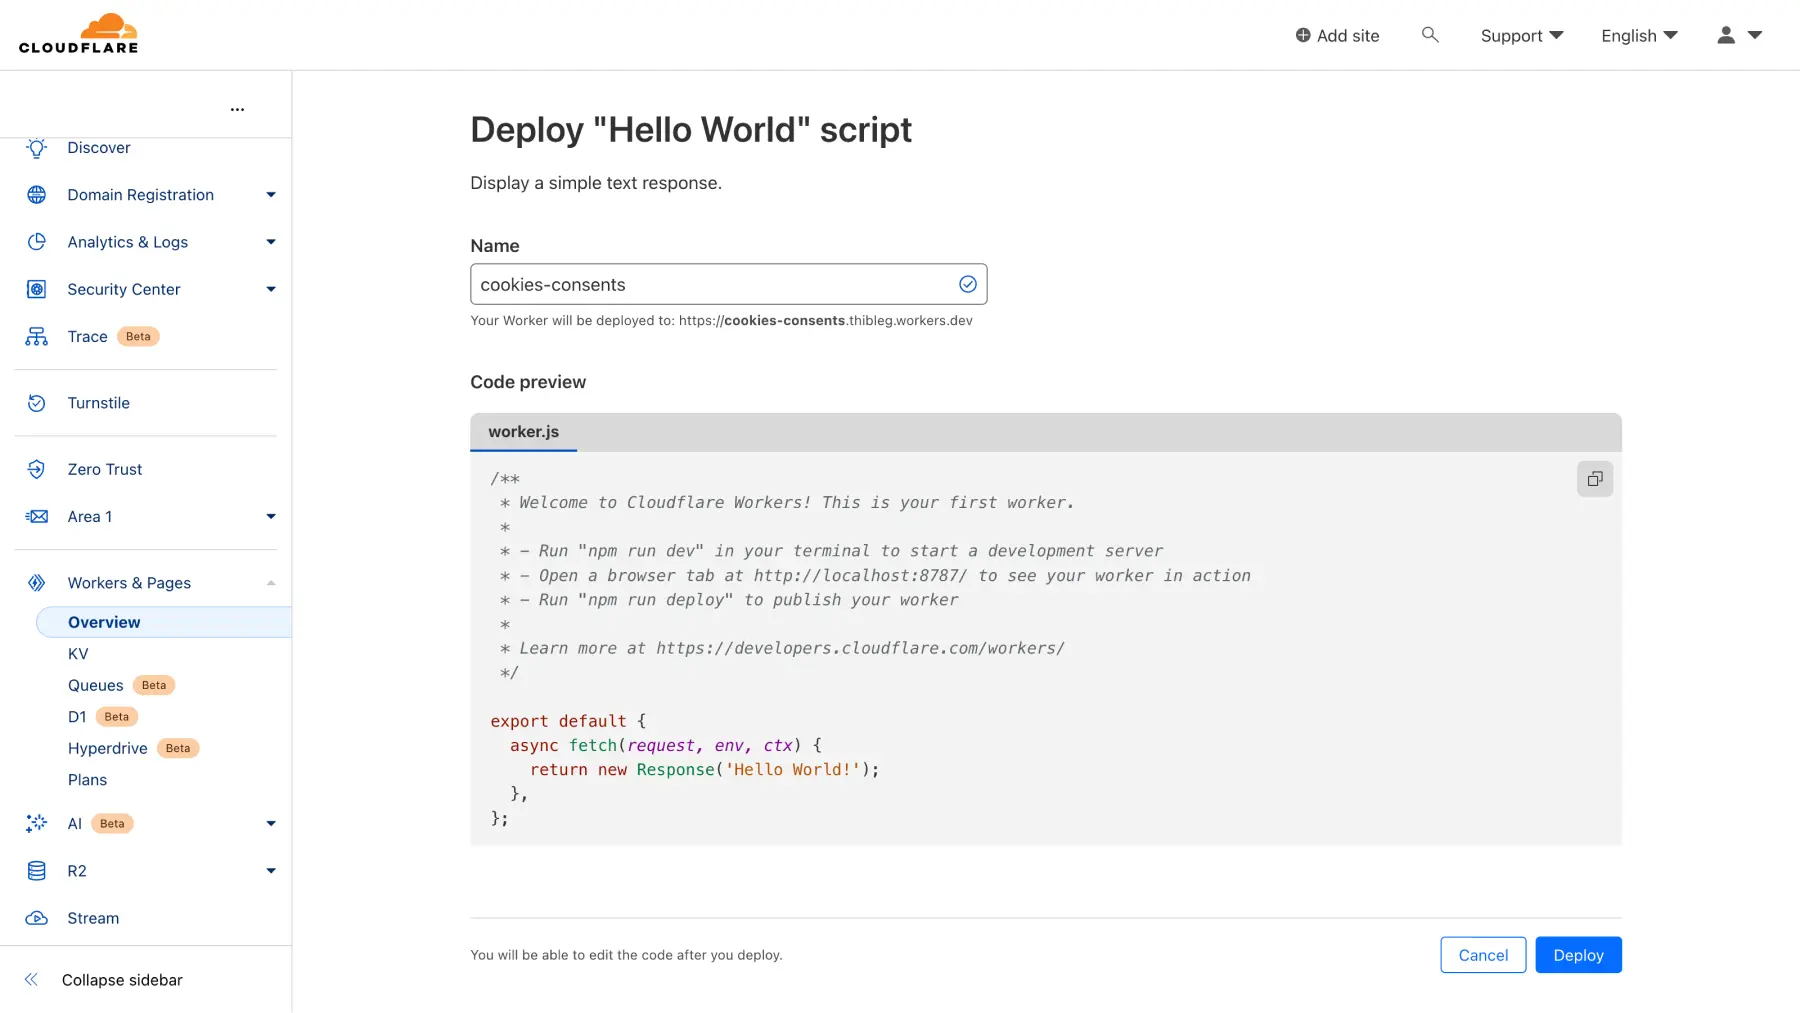
After validating your Cloudflare account, navigate to the "Workers & Pages" section and create a new "Worker" by clicking on "Overview" then "Create Worker".
Definition - Worker: a small program that runs directly on Cloudflare's servers, allowing you to add custom functionalities to websites without having to modify the original server code.
After clicking the create Worker button, give it a name, preferably descriptive. Then, further down the page, click on "Deploy" to deploy the newly created Worker.
3.2 - Create a Namespace for Cloudflare KV
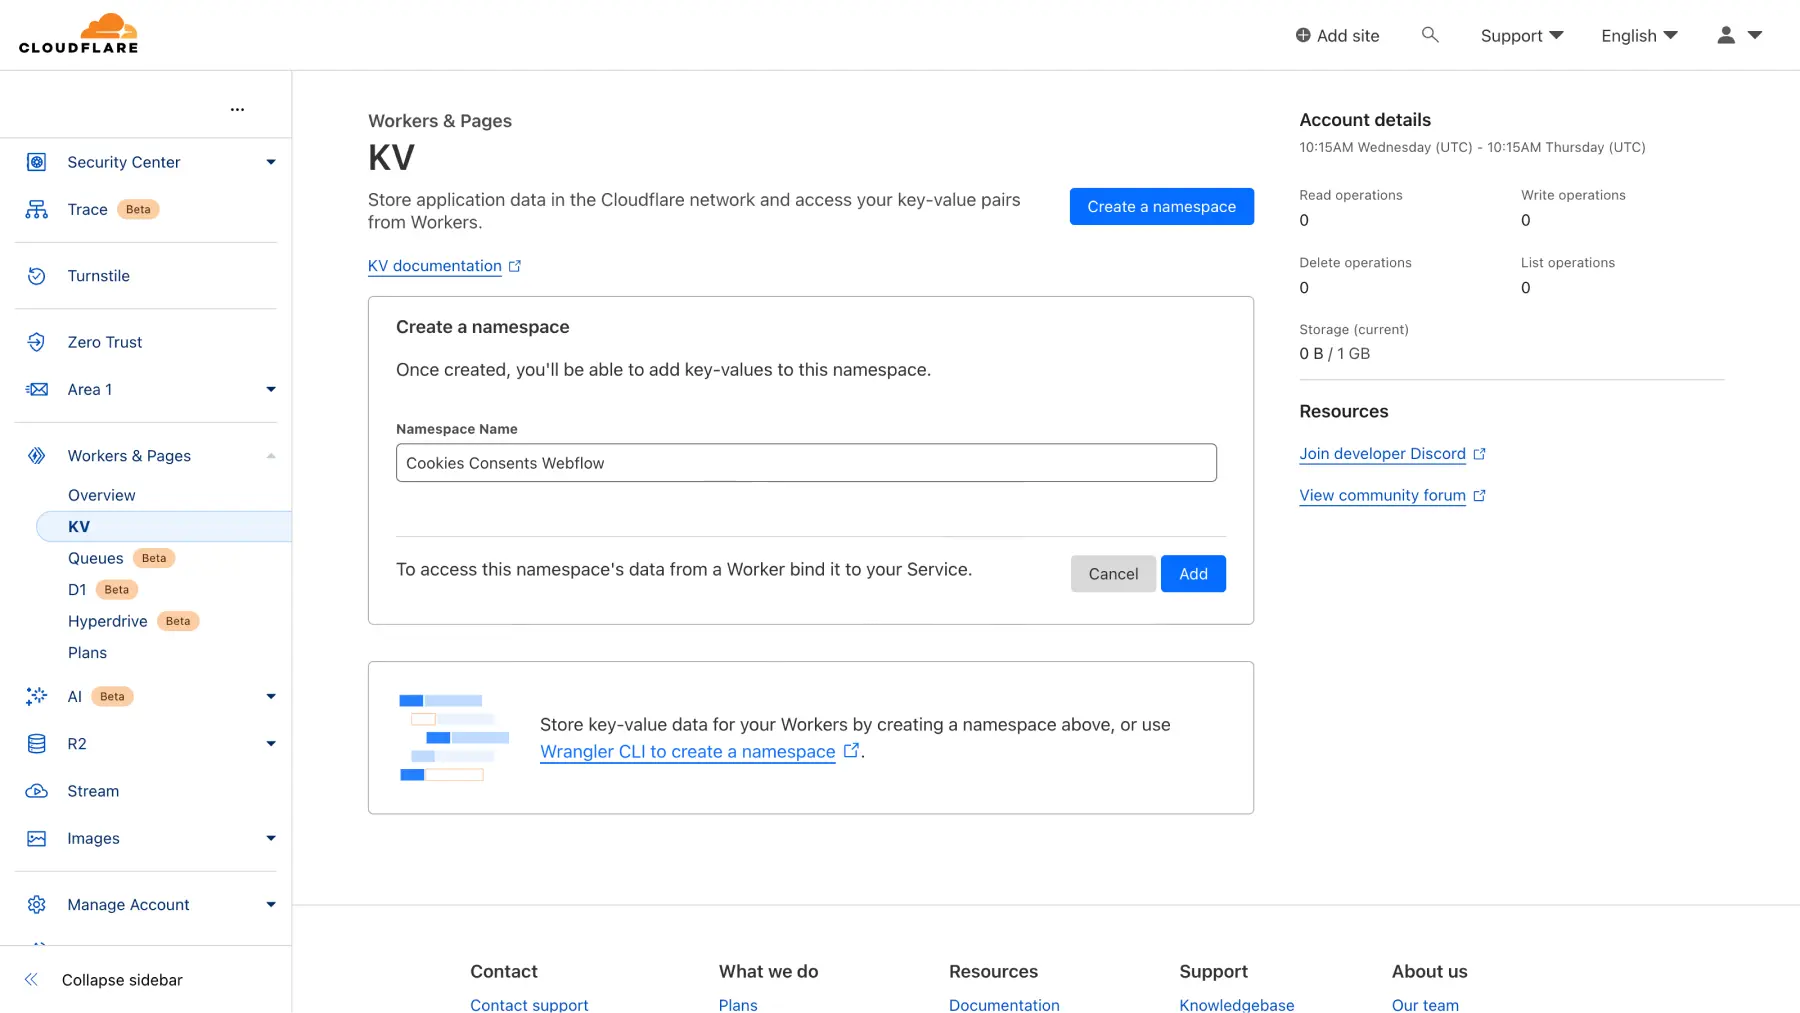
After creating the Worker, go to the "KV" tab (still in the "Workers & Pages" submenu).
Definition - KV (Key-Value Store) : an abbreviation for key-value storage, it is a database that stores information in the form of pairs (key-value, where a key is linked to a value), providing a fast and efficient way to store and retrieve data. It's often used with Cloudflare Workers for dynamic information management.
On the KV page, create a "namespace" by clicking on "Create a namespace". Then, assign a name to your namespace and click "Add".
Definition - Namespace: a dedicated storage space for a specific set of data within Cloudflare's Key-Value (KV) database. It helps to organize and structure data distinctly, providing better management and isolation of the information stored in the KV store.
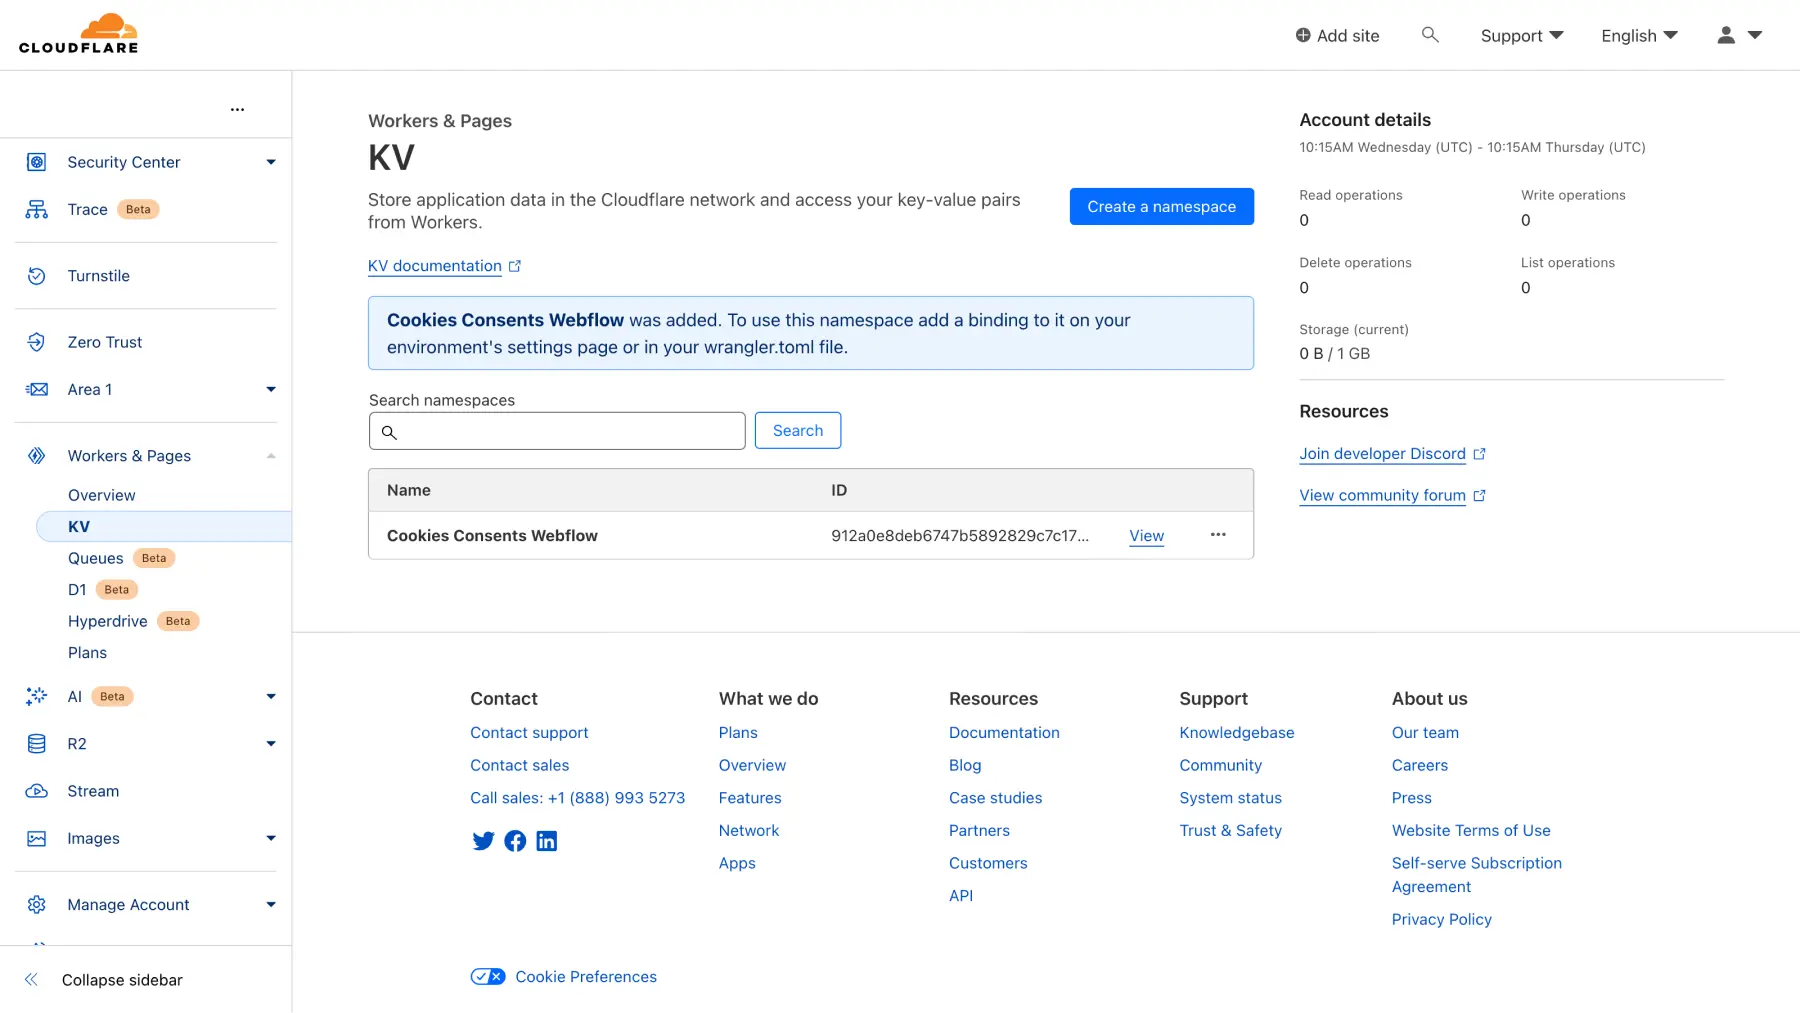
Your namespace has now successfully been created.
3.3 - Modify Your Worker with the Finsweet Cookie Consents Script
Now, return to the "Overview" section to locate your "Worker". Click on it to access the edit mode.
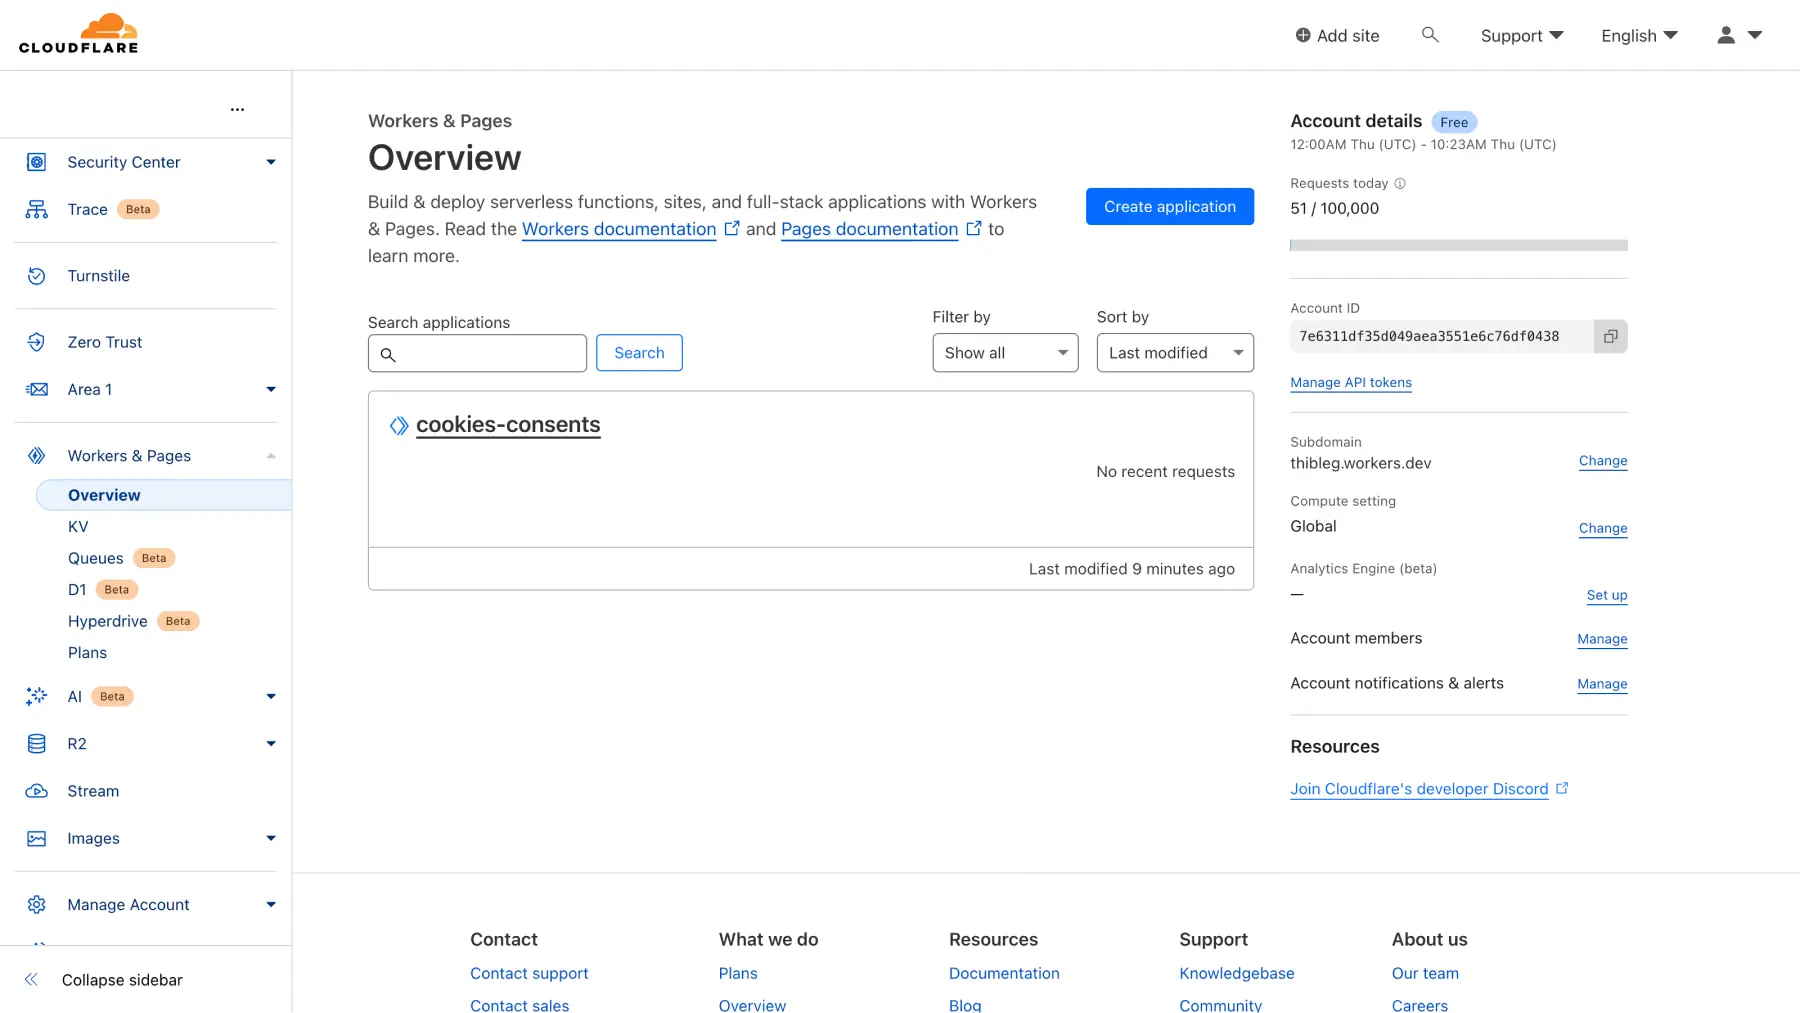
In the Worker editing interface, find the "Quick edit" button at the top right and click on it.
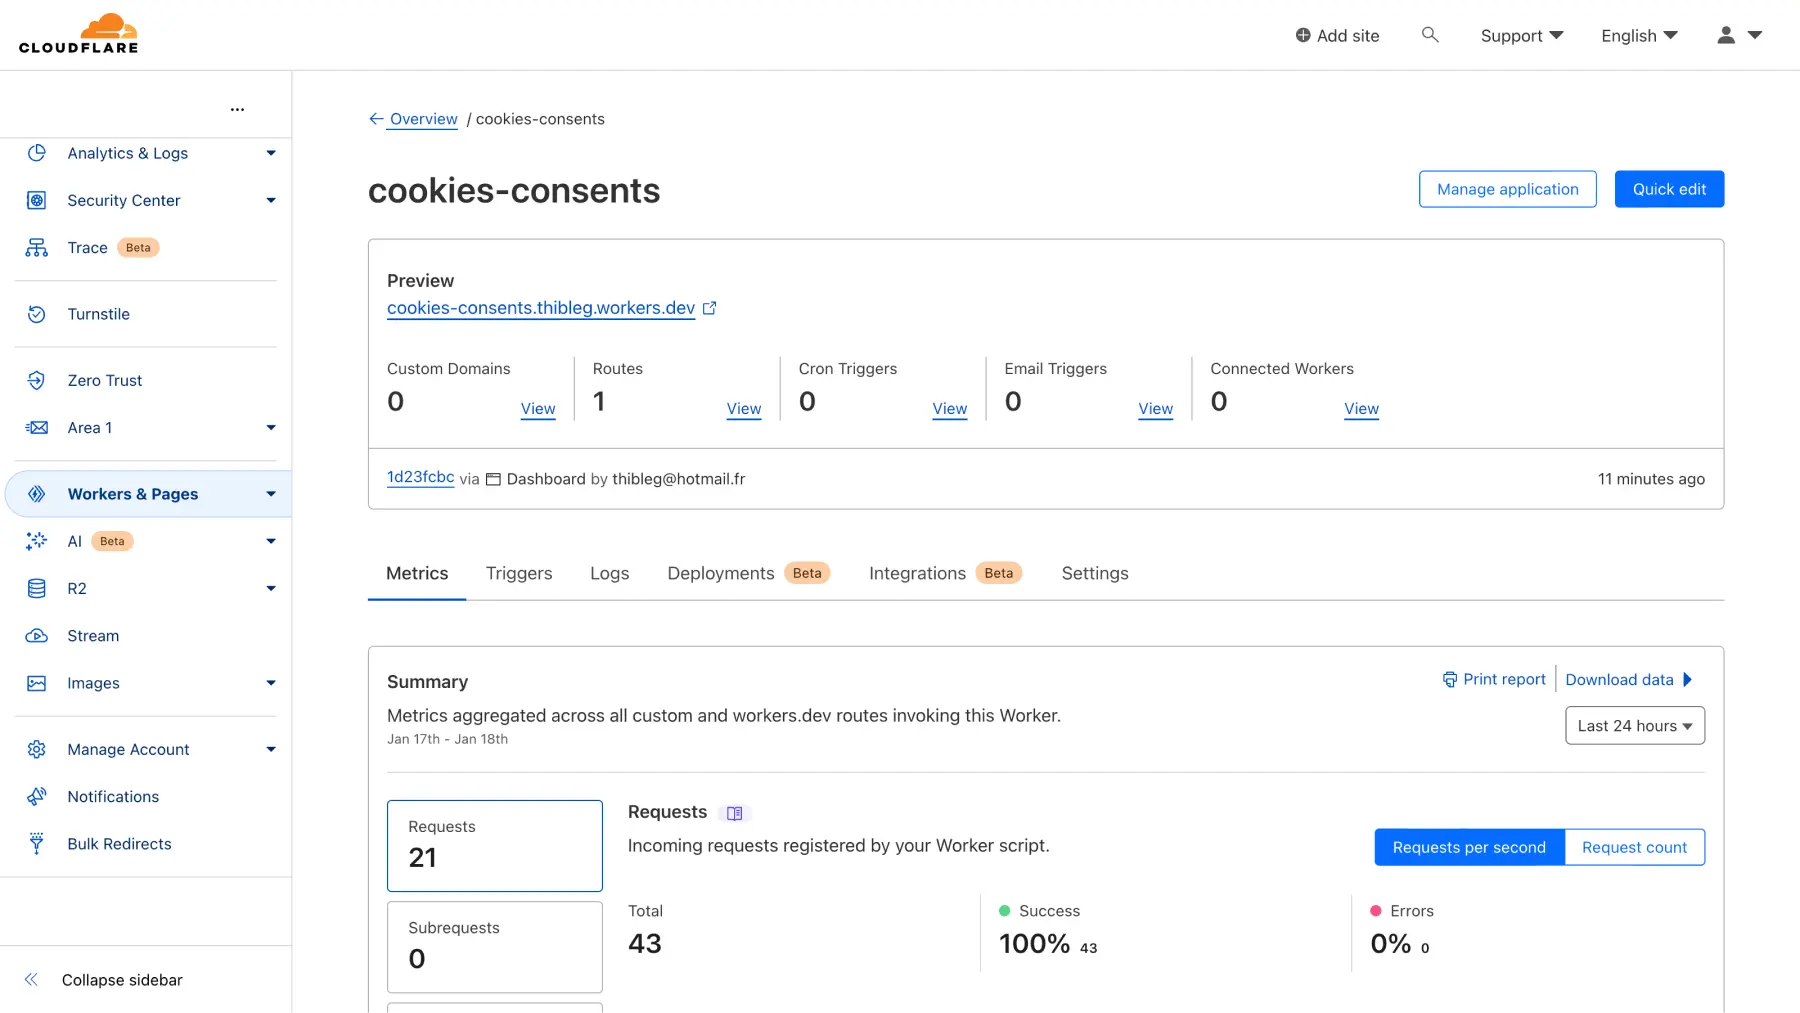
Once you're in the code section, delete the existing code.
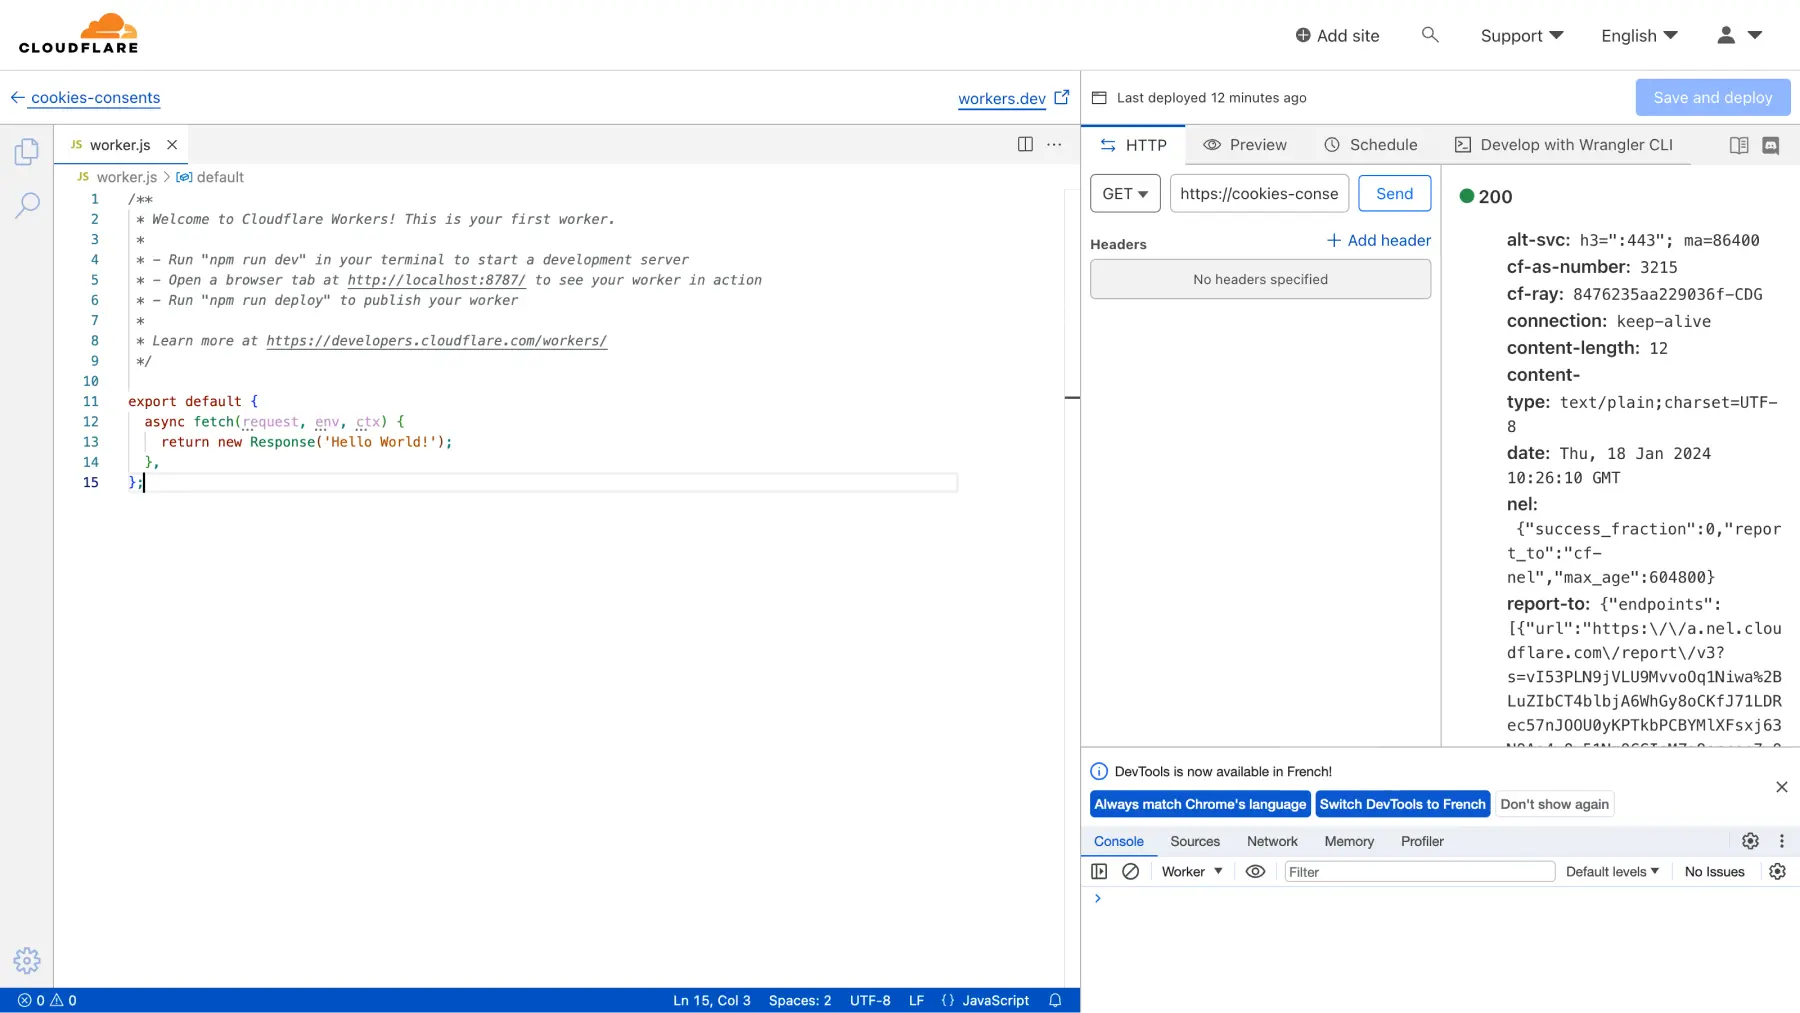
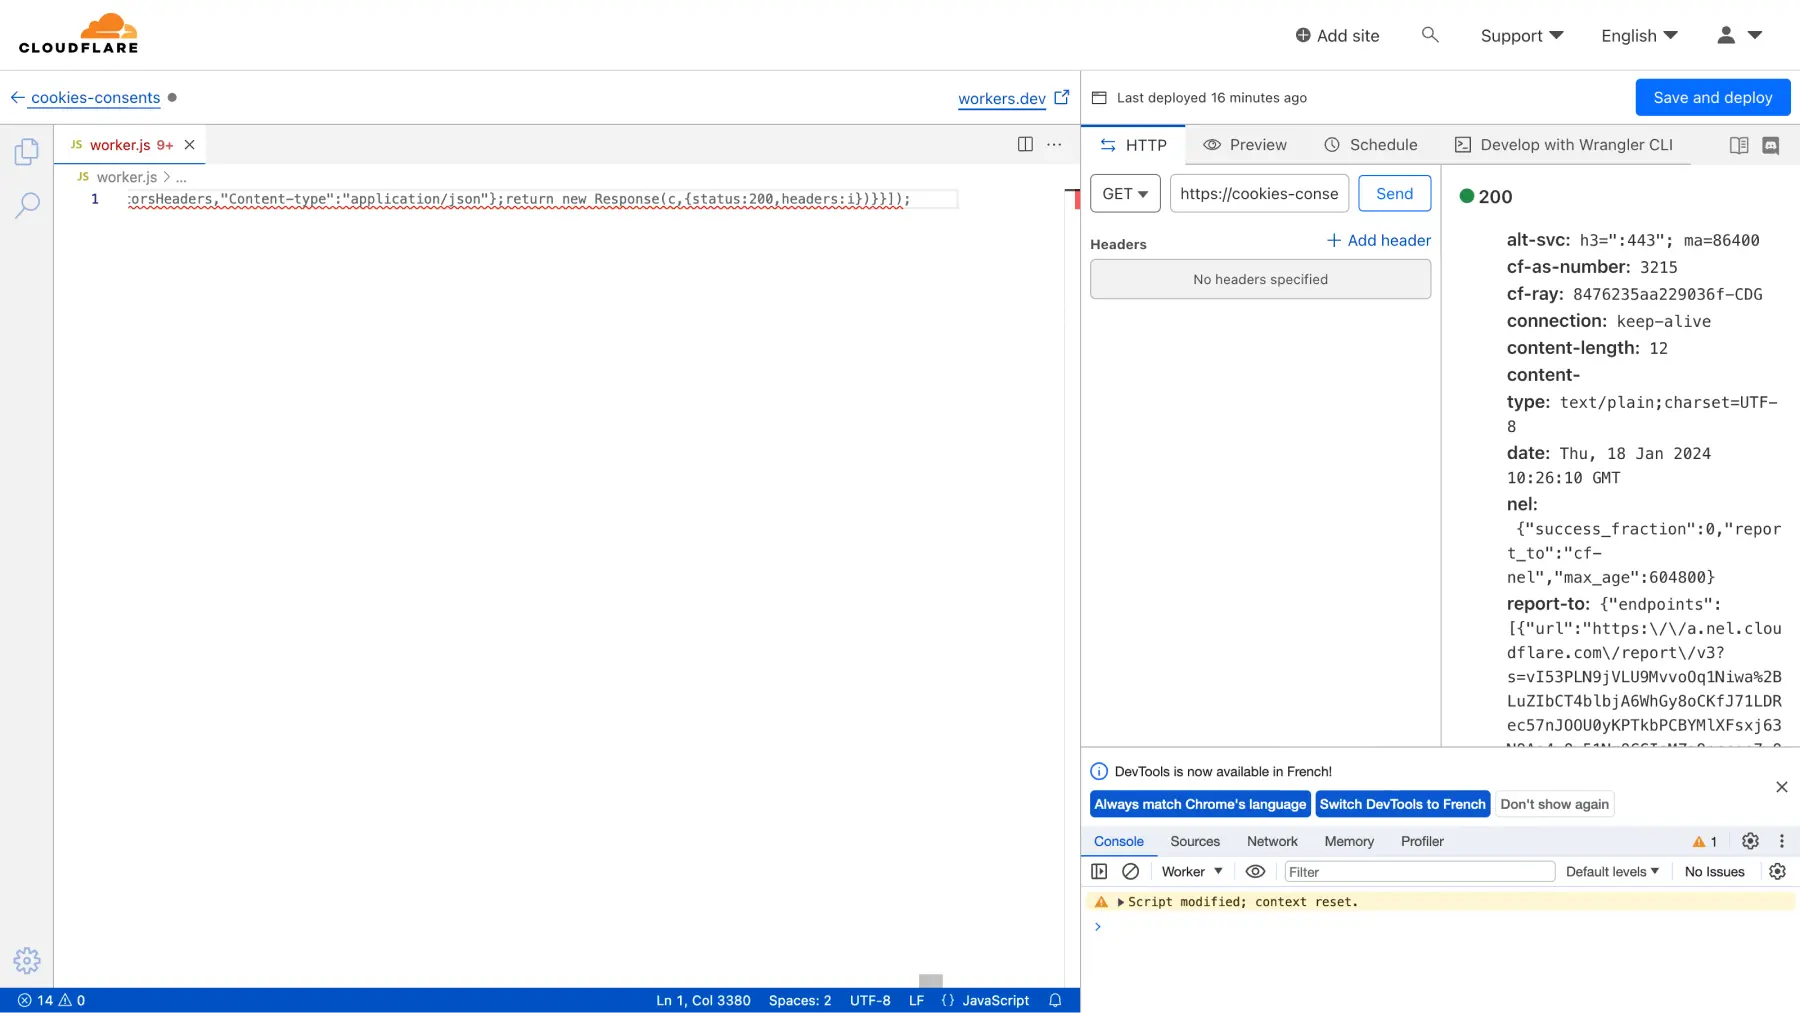
Then, paste the Finsweet Cookie Consents script code :
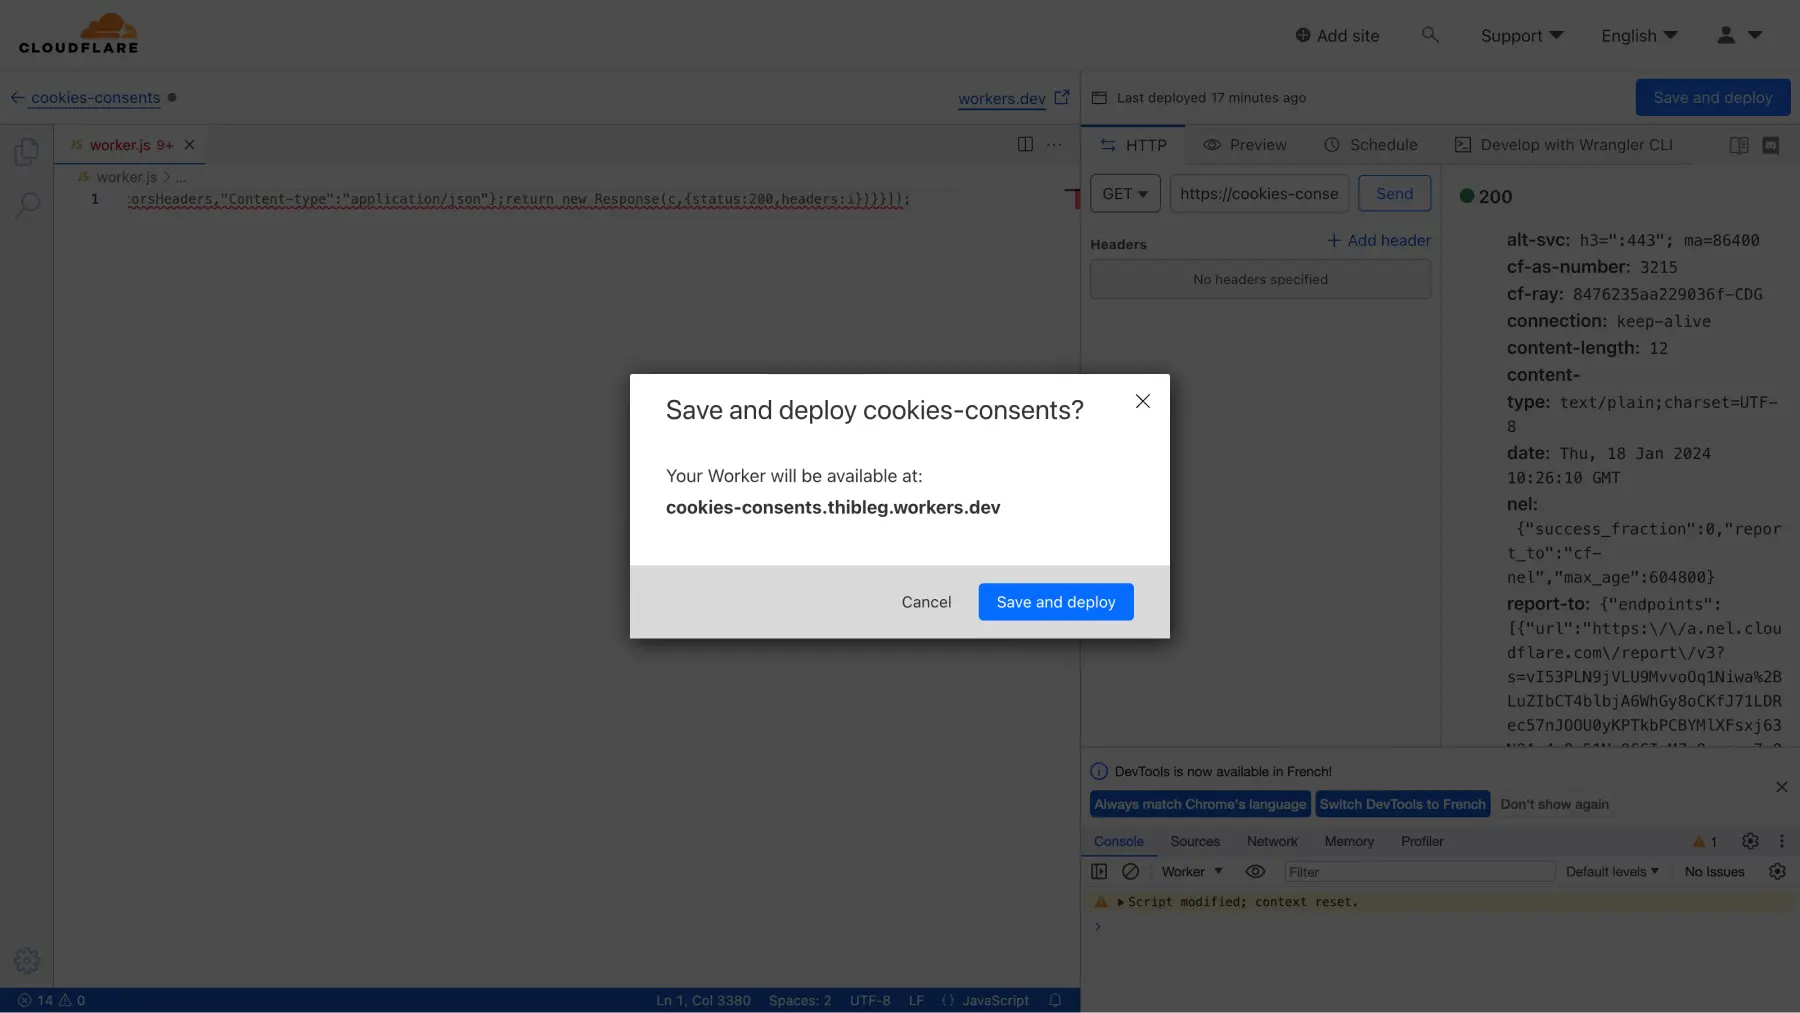
Finally, click on the "Save and deploy" button at the top right.
3.4 - Link the Worker to the KV
After saving and deploying the Worker, go back to the Worker editing interface.
Now, navigate to the "Settings" section and then to "Variables".
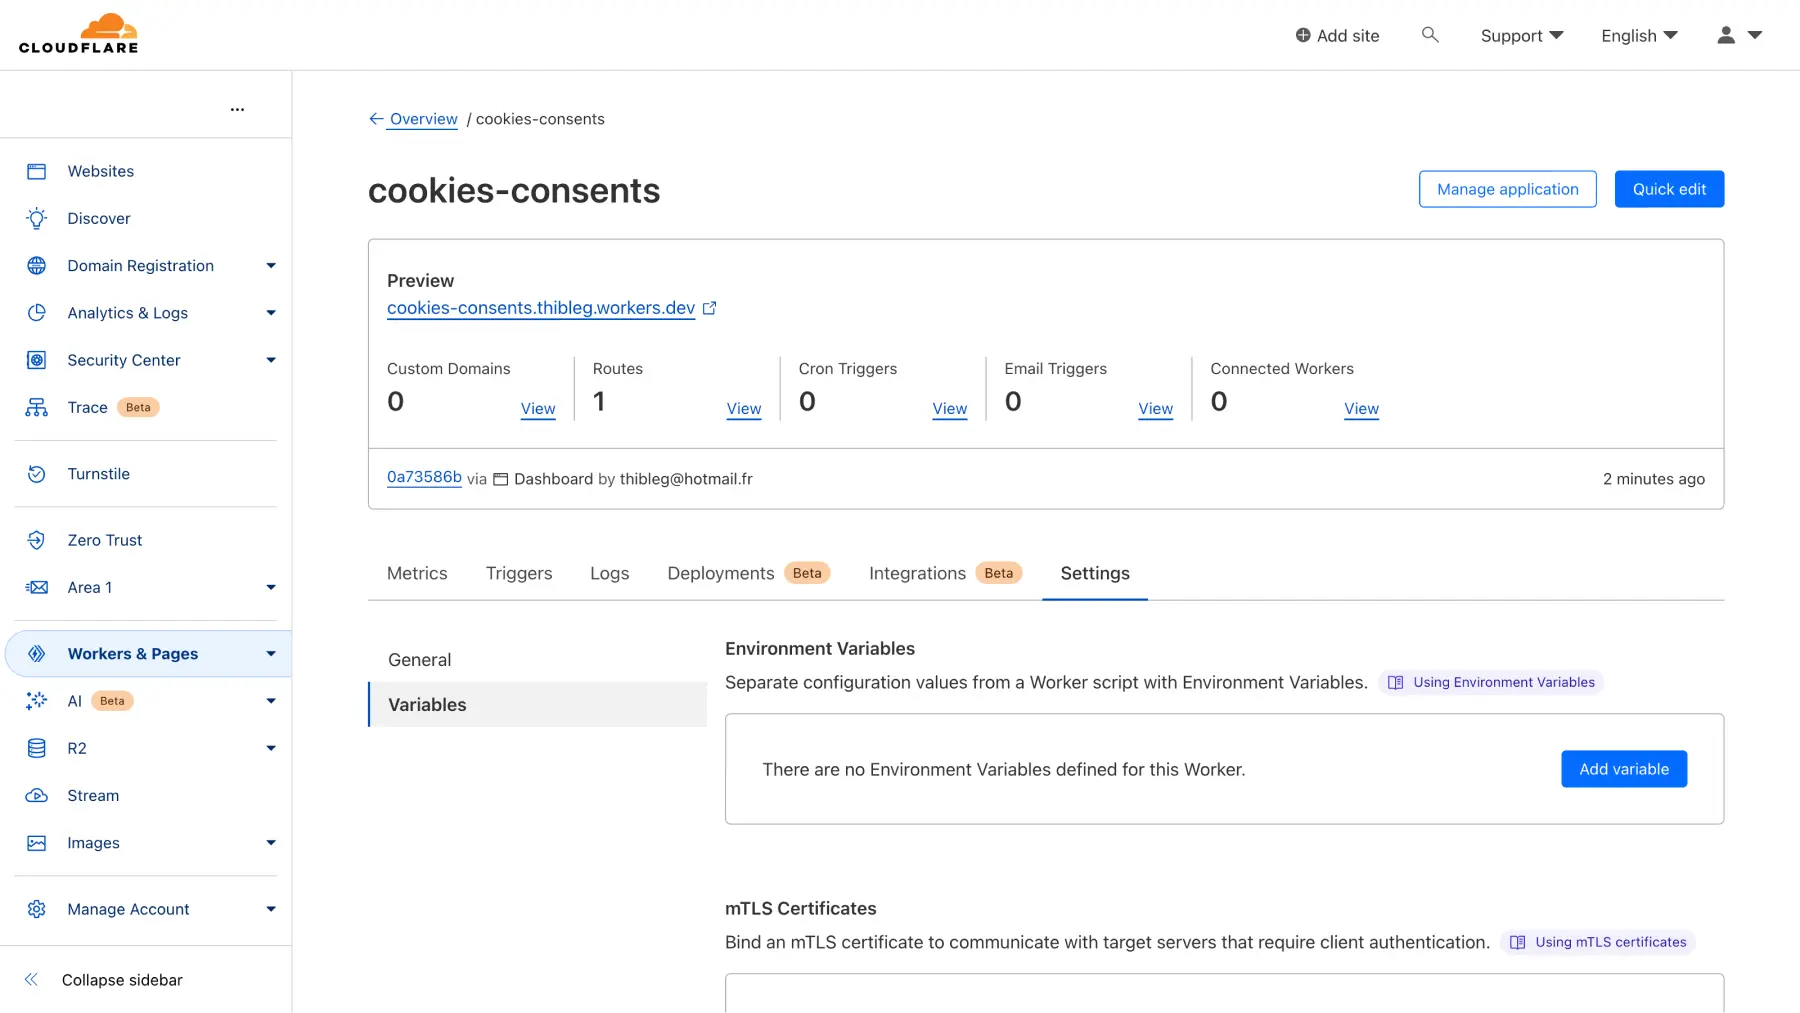
Scroll down a bit and locate the section titled "KV Namespace Bindings".
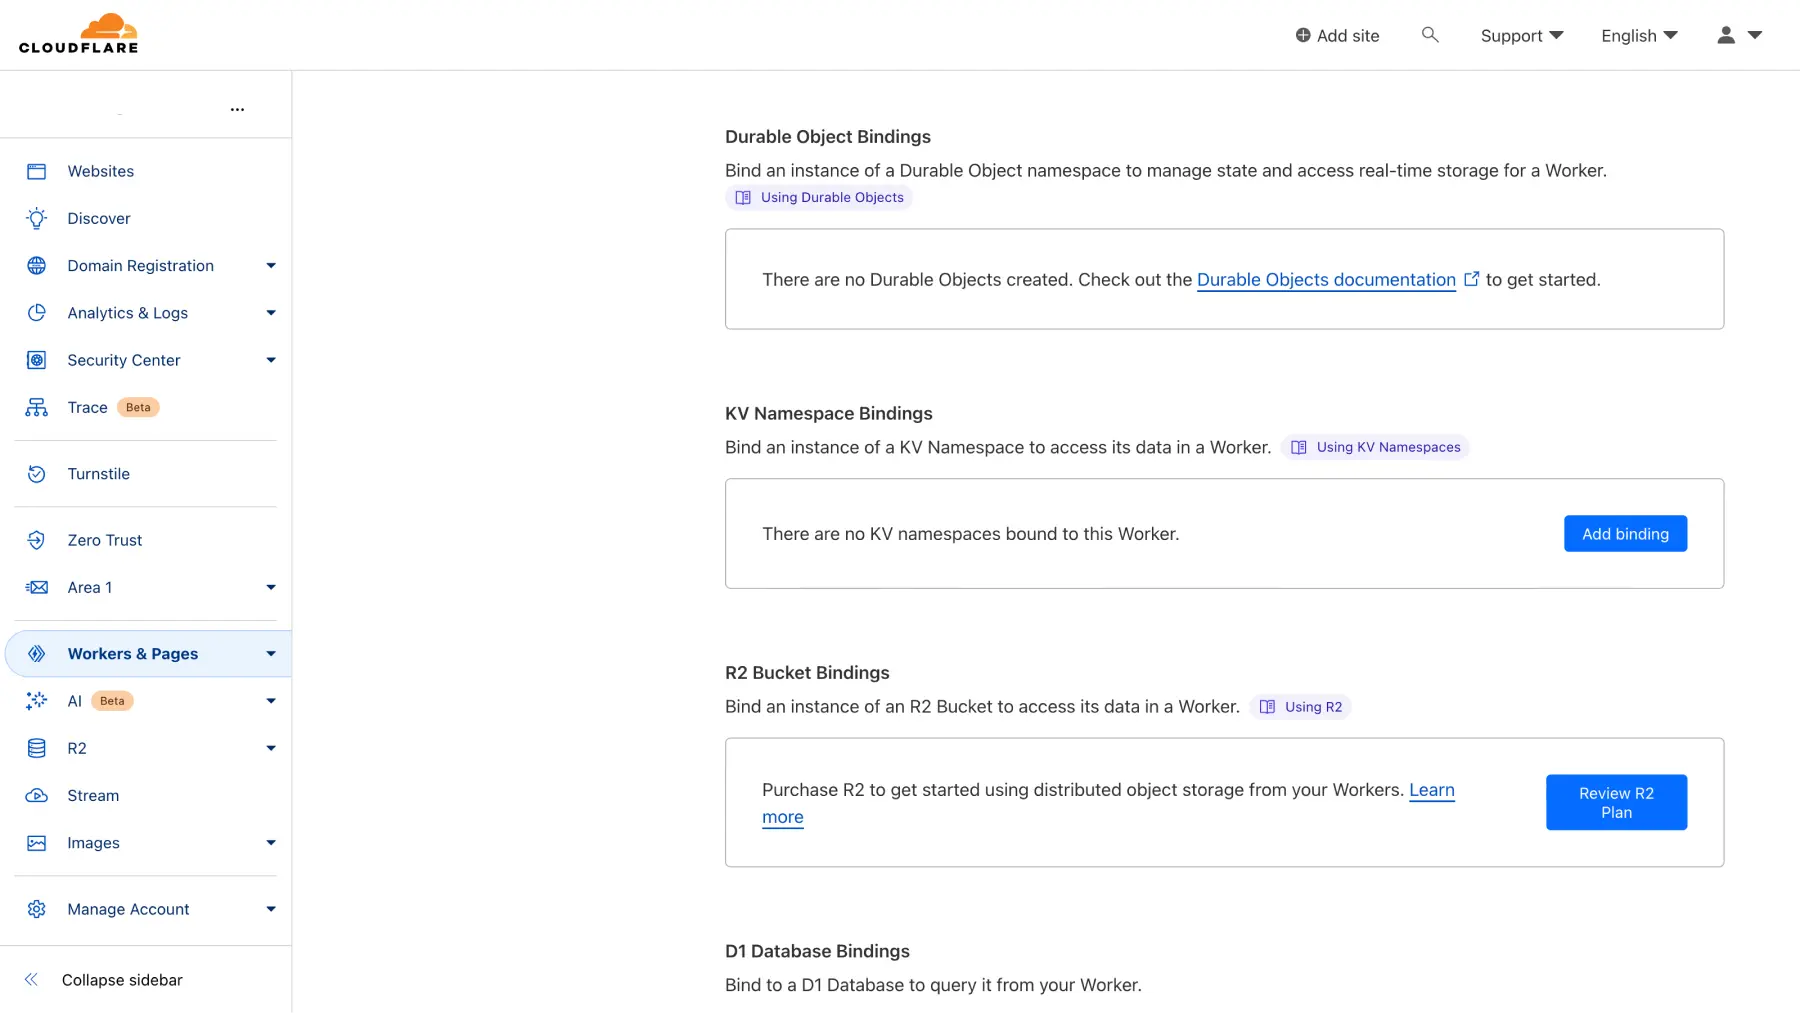
Click on the "Add binding" button. Be careful, as:
- For the variable name, use "CONSENTS" in uppercase.
- For "KV", select the "KV" you created earlier.
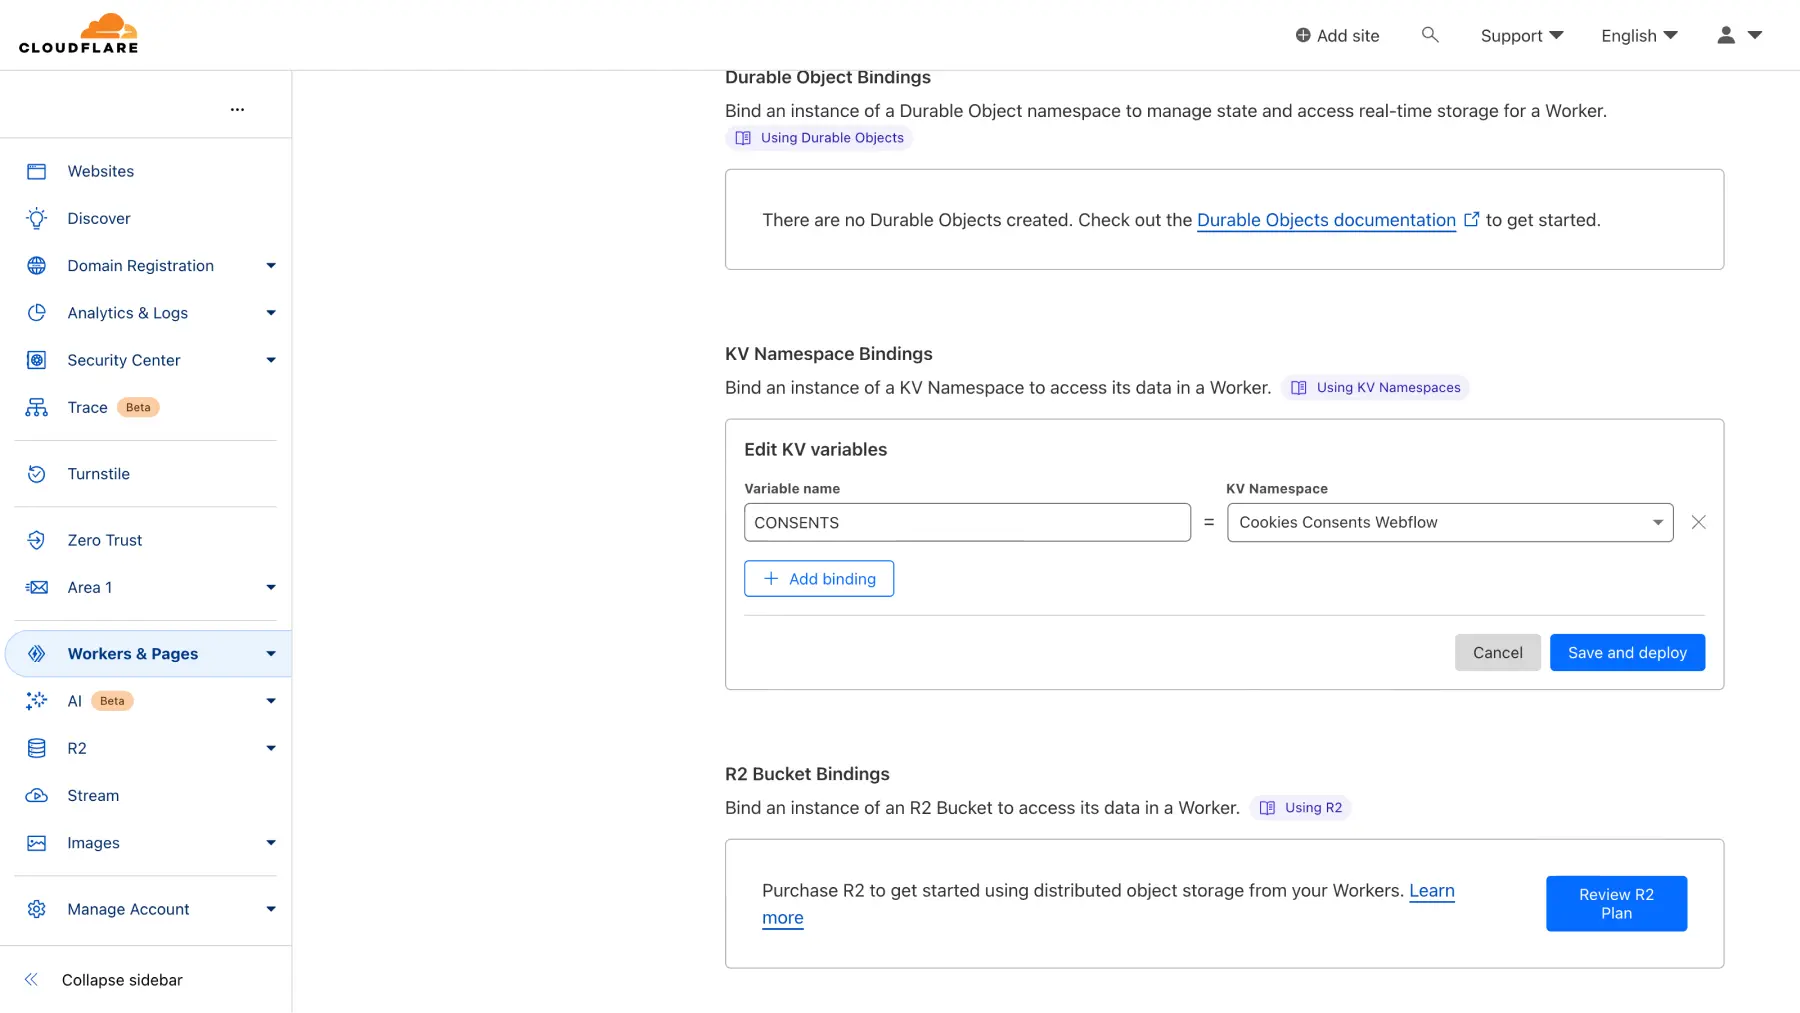
Finally, click "Save and deploy"!
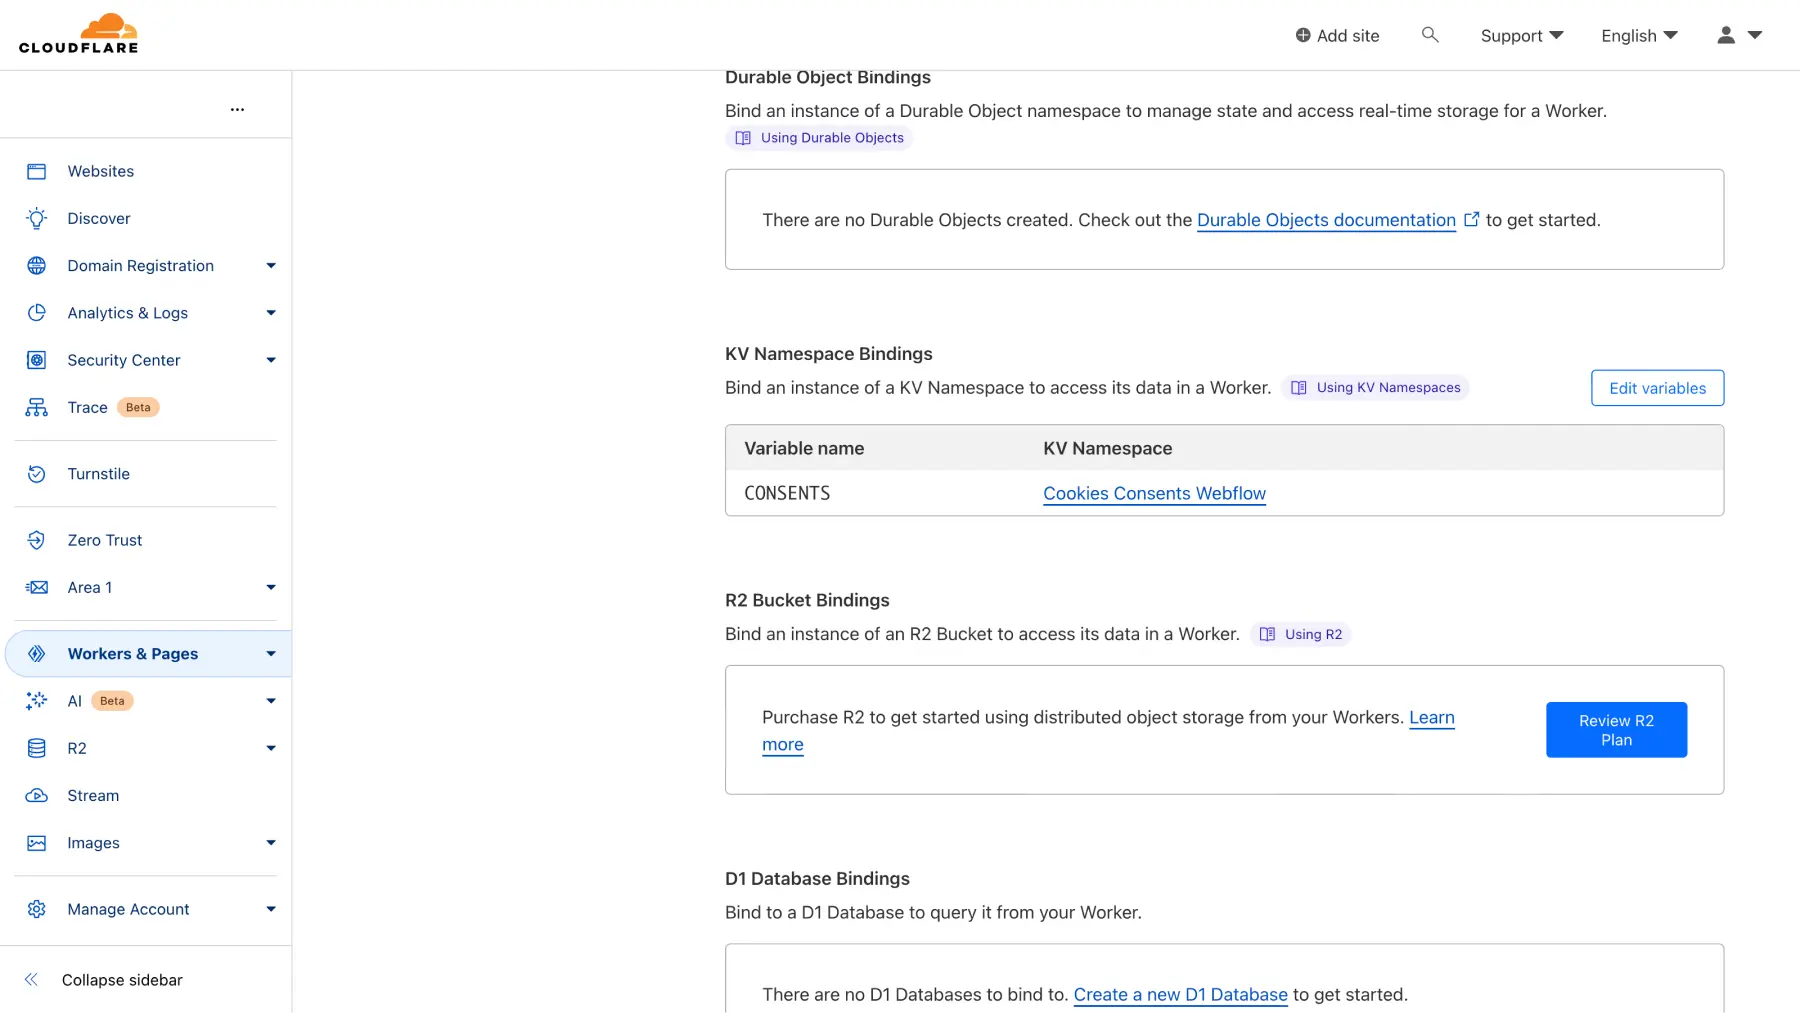
3.5 - Retrieve the Endpoint URL of Your Worker
When you are in your Worker’s editor, locate a preview link at the top of the page. This is your endpoint URL.
Definition - Endpoint: An endpoint is a specific URL or unique access point in an API (Application Programming Interface) or web service. It serves as the destination where requests can be sent to interact with an application or access specific features. Endpoints are defined to perform operations such as retrieving, modifying, adding, or deleting data from a resource through the API. In essence, an endpoint is a designated address enabling communication between applications or services via HTTP or similar protocols.
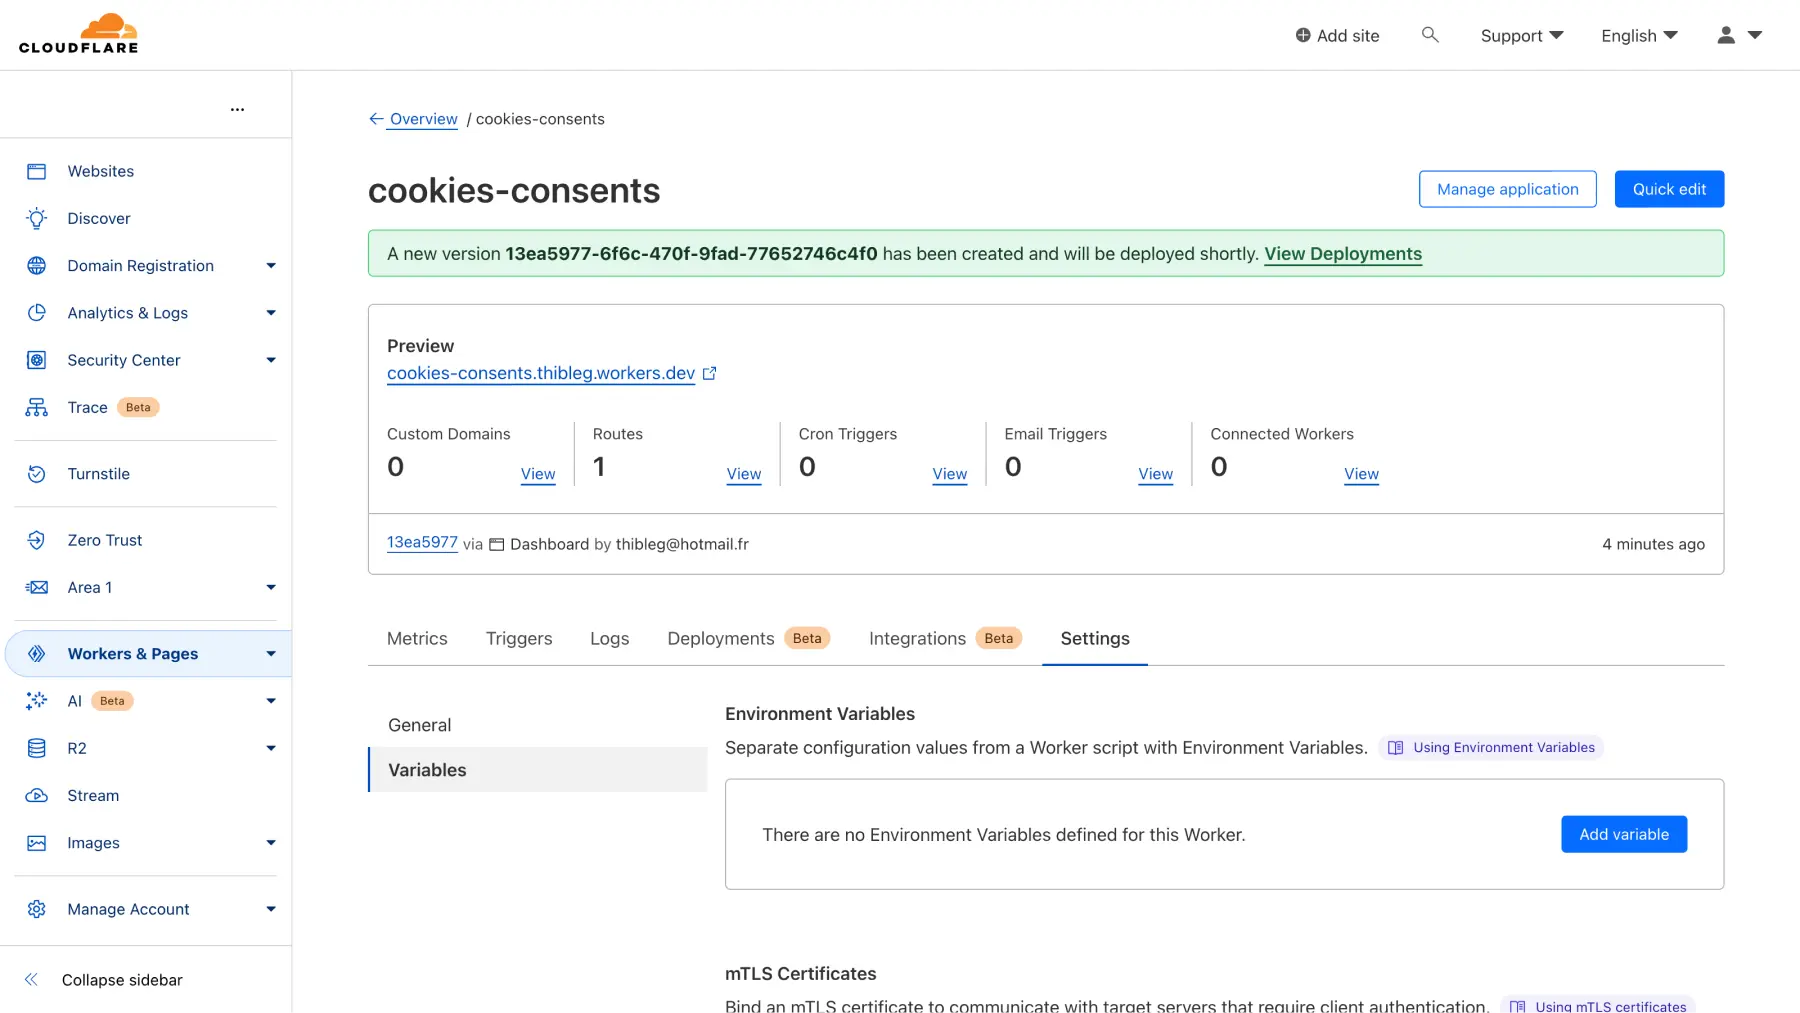
In this step, you will need to:
- Open the endpoint URL in a new tab (IMPORTANT).
- Copy the endpoint URL from the new tab.
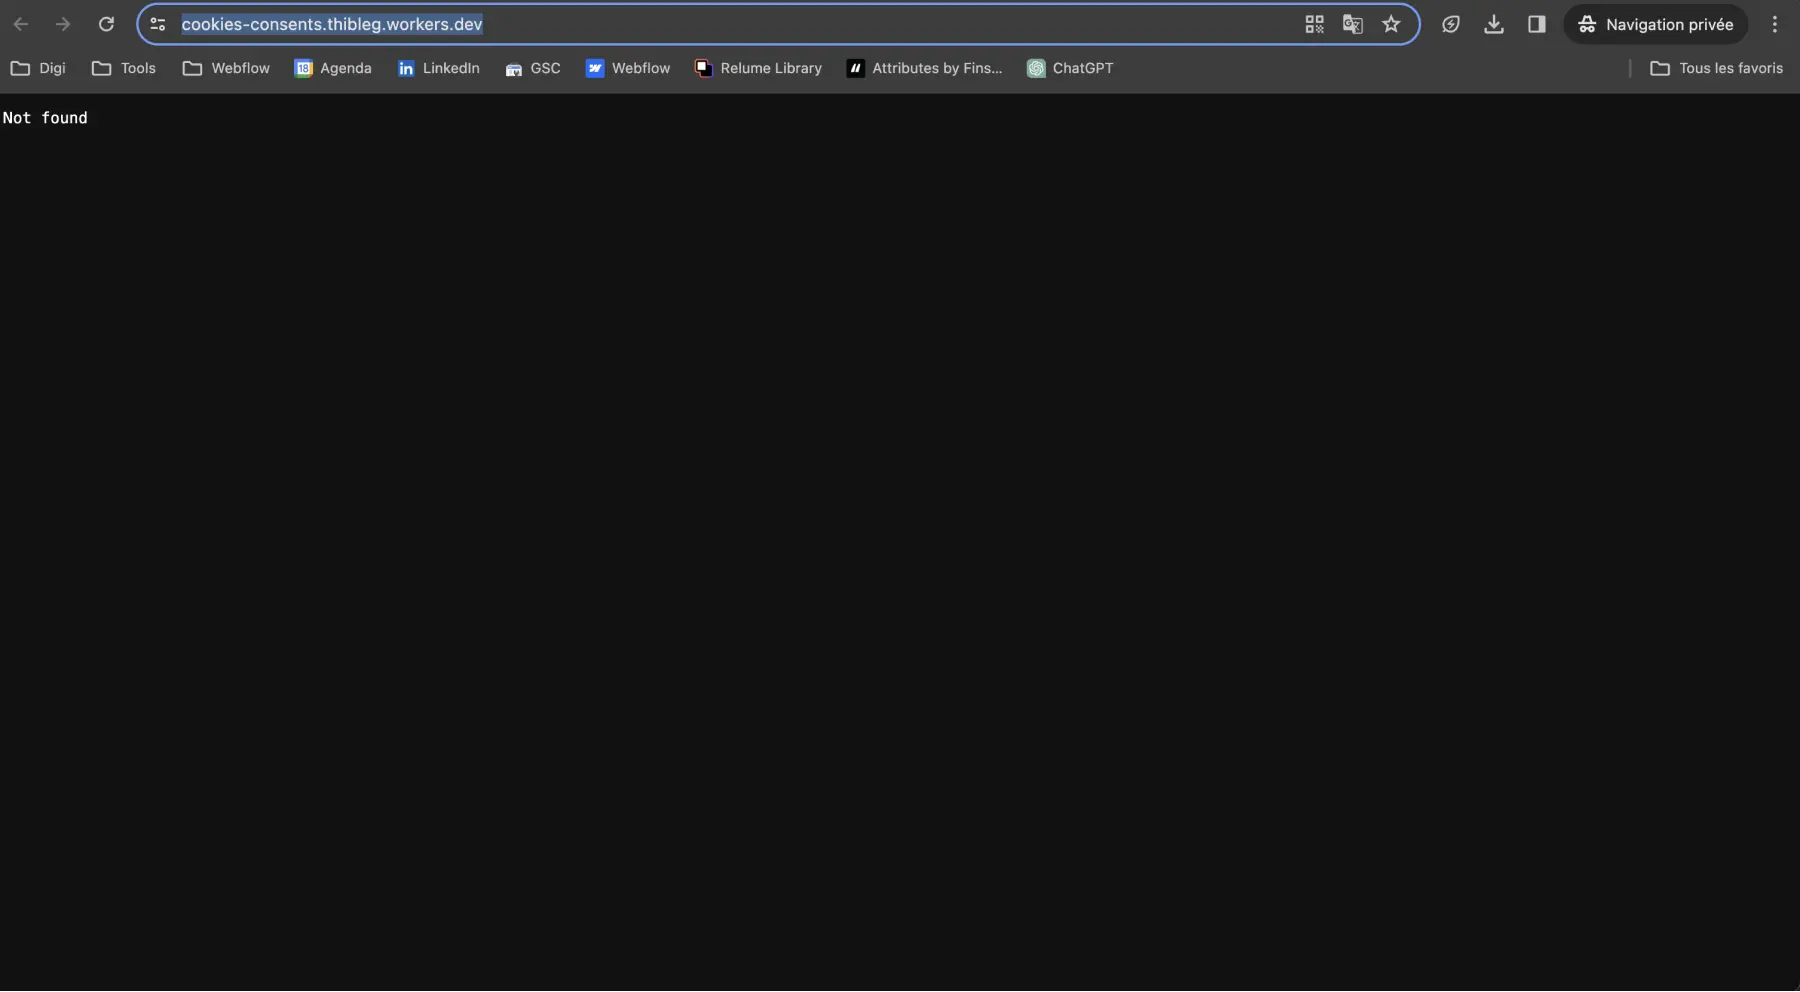
3.6 - Configure the Finsweet Cookie Consent Script in Your Webflow Project
The last step of this tutorial is to return to your Webflow project and access the "custom code" section where you integrated the Finsweet Cookie Consent script.
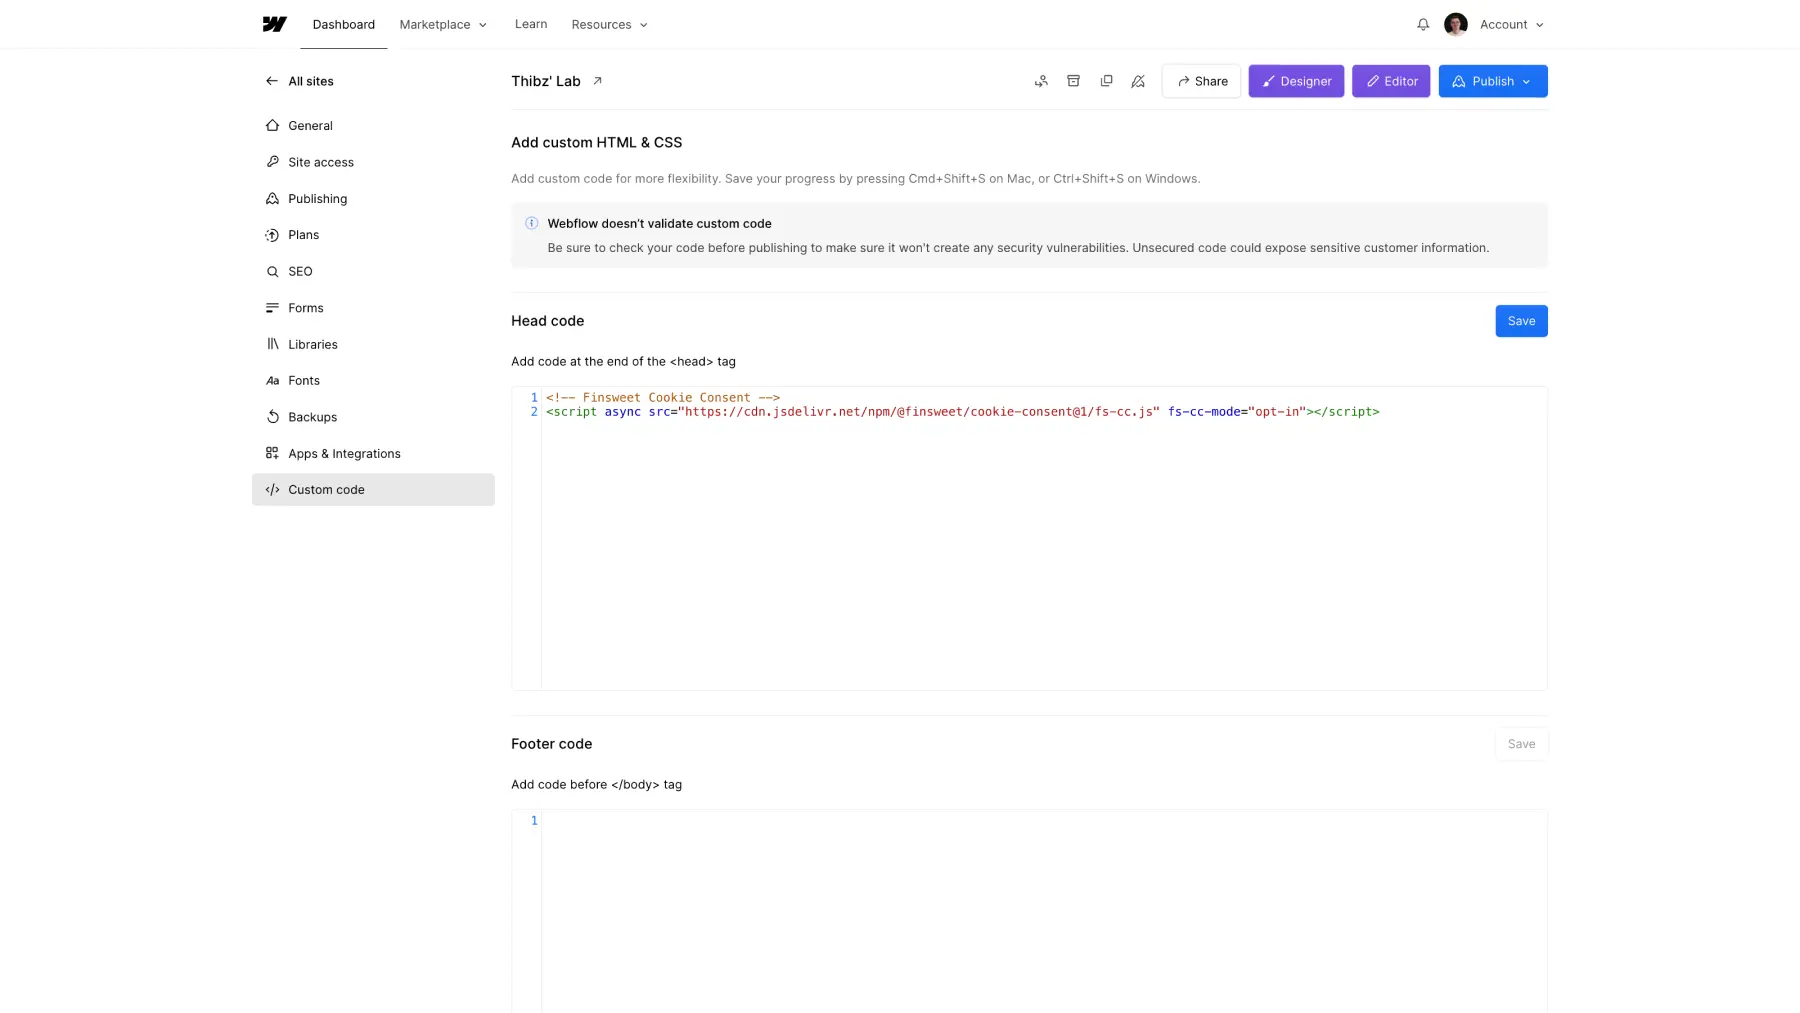
Edit this script by adding fs-cc-endpoint="[Cloudflare endpoint URL]" within it, replacing [Cloudflare endpoint URL] with the URL you copied earlier.
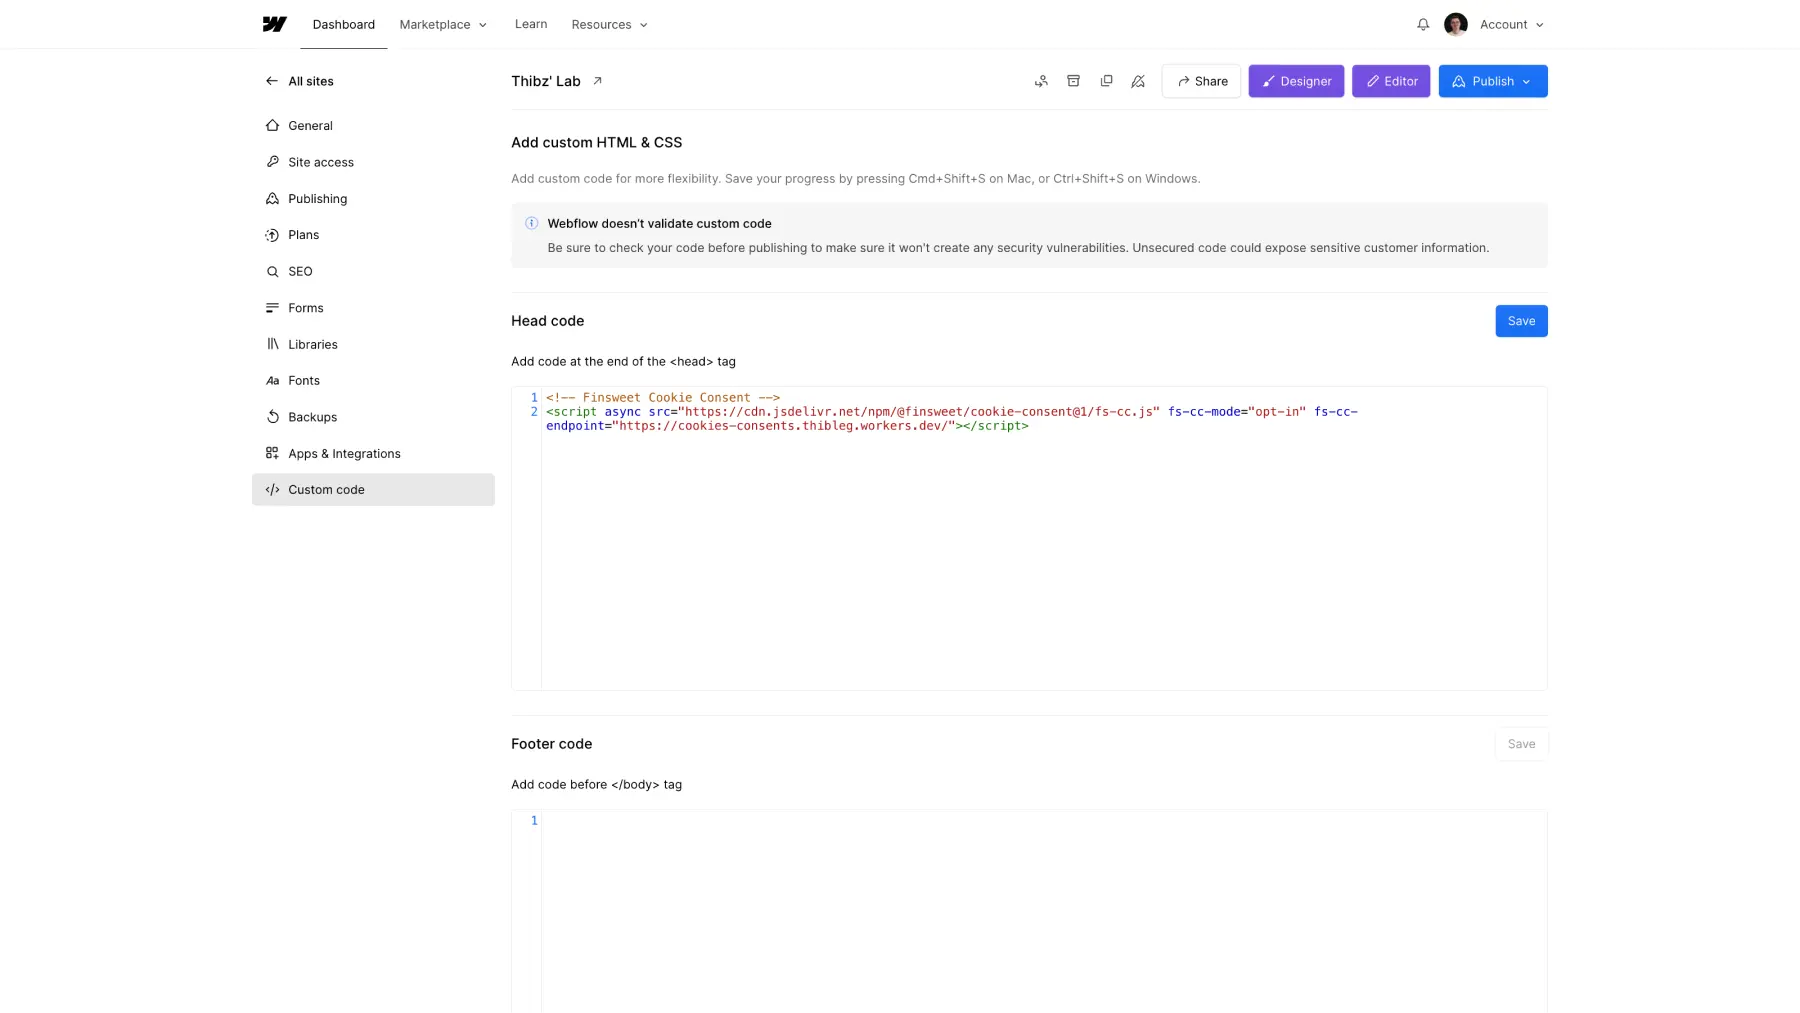
Publish your Webflow project, and that’s it! You now have a system in place that retrieves user cookie consent for your site.
Viewing Cookie Consents from Your Webflow Site in Cloudflare
Now that everything is set up, let’s look at how to access the cookie consent records.
To do so, go to Cloudflare and then to the "KV" tab.
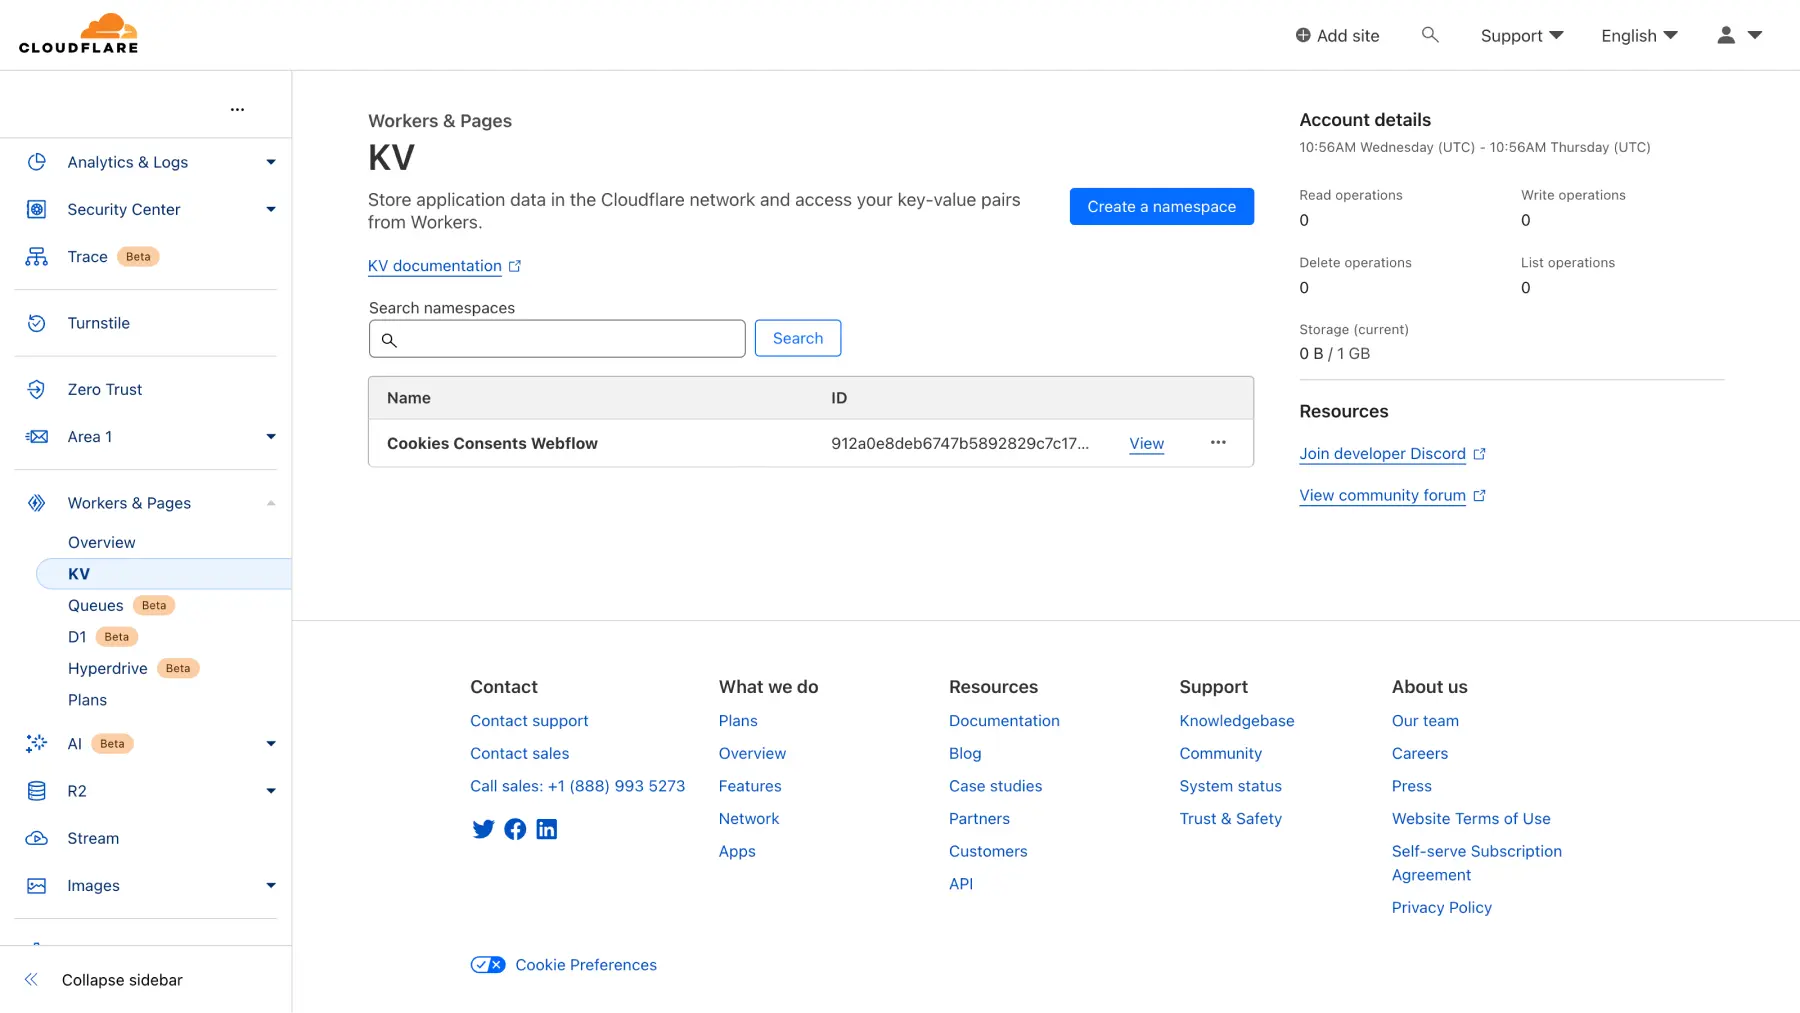
Click on the "view" button to access all the consents submitted from your website.
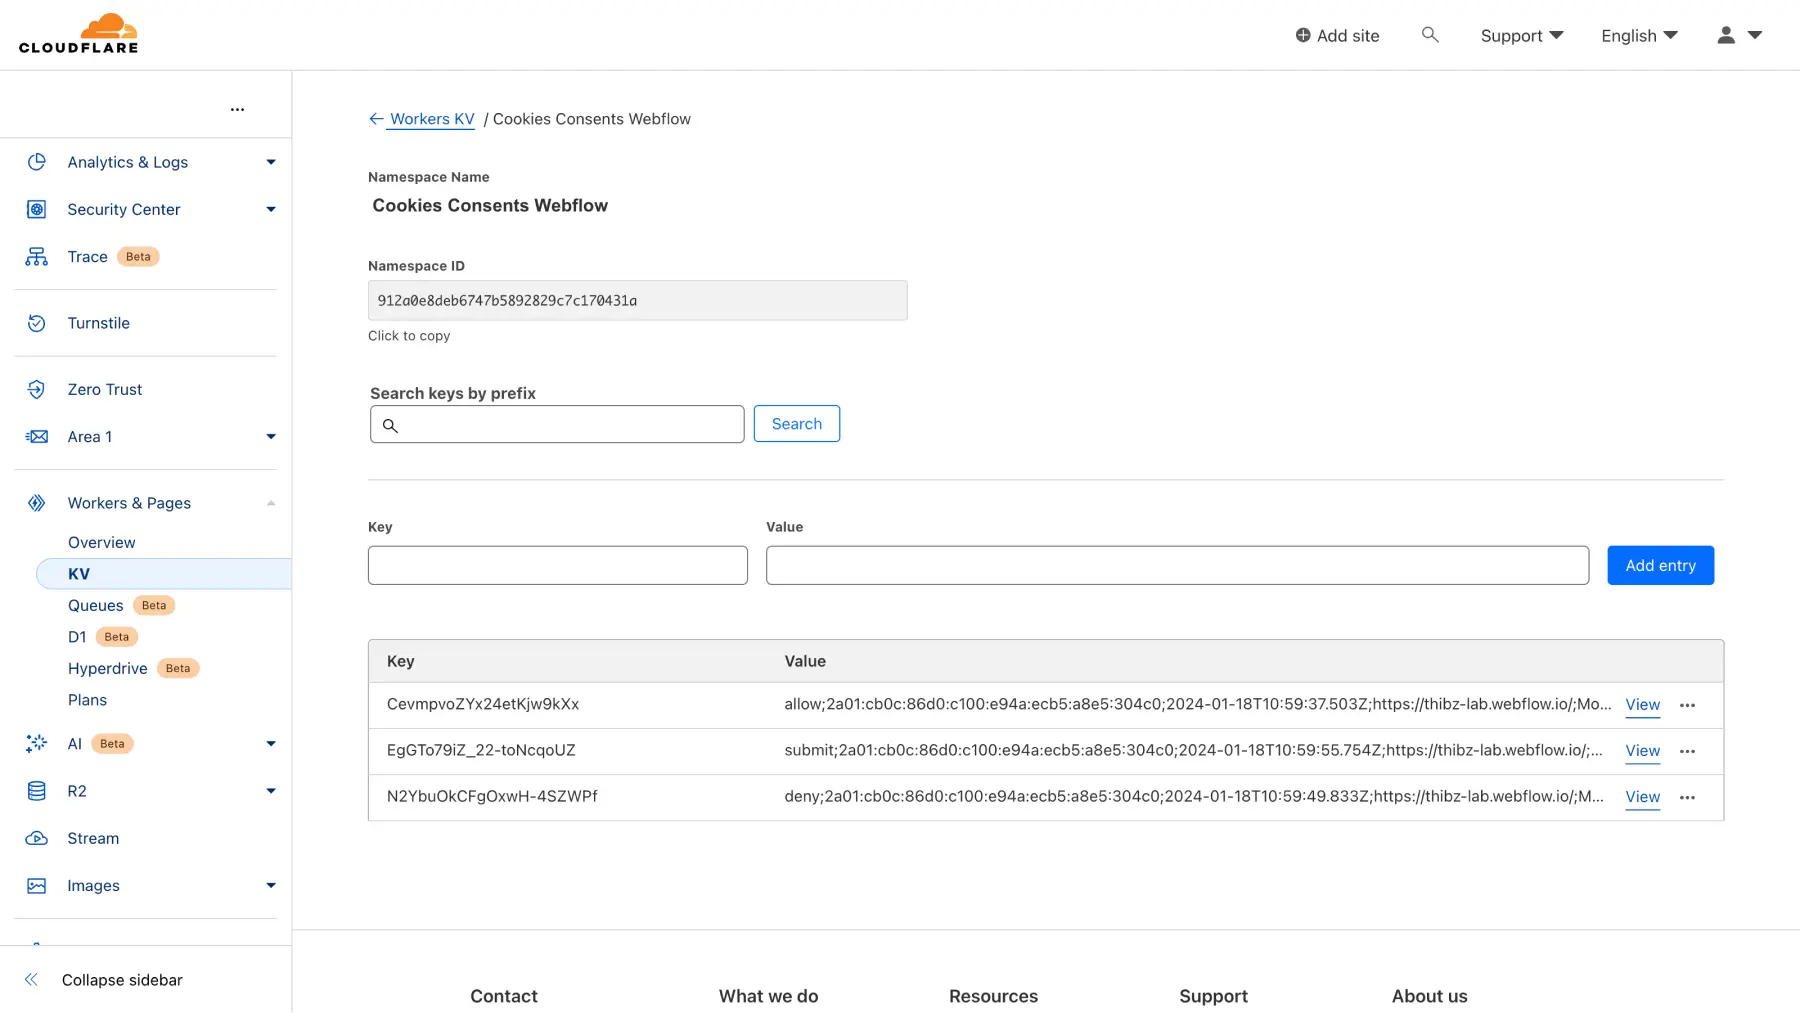
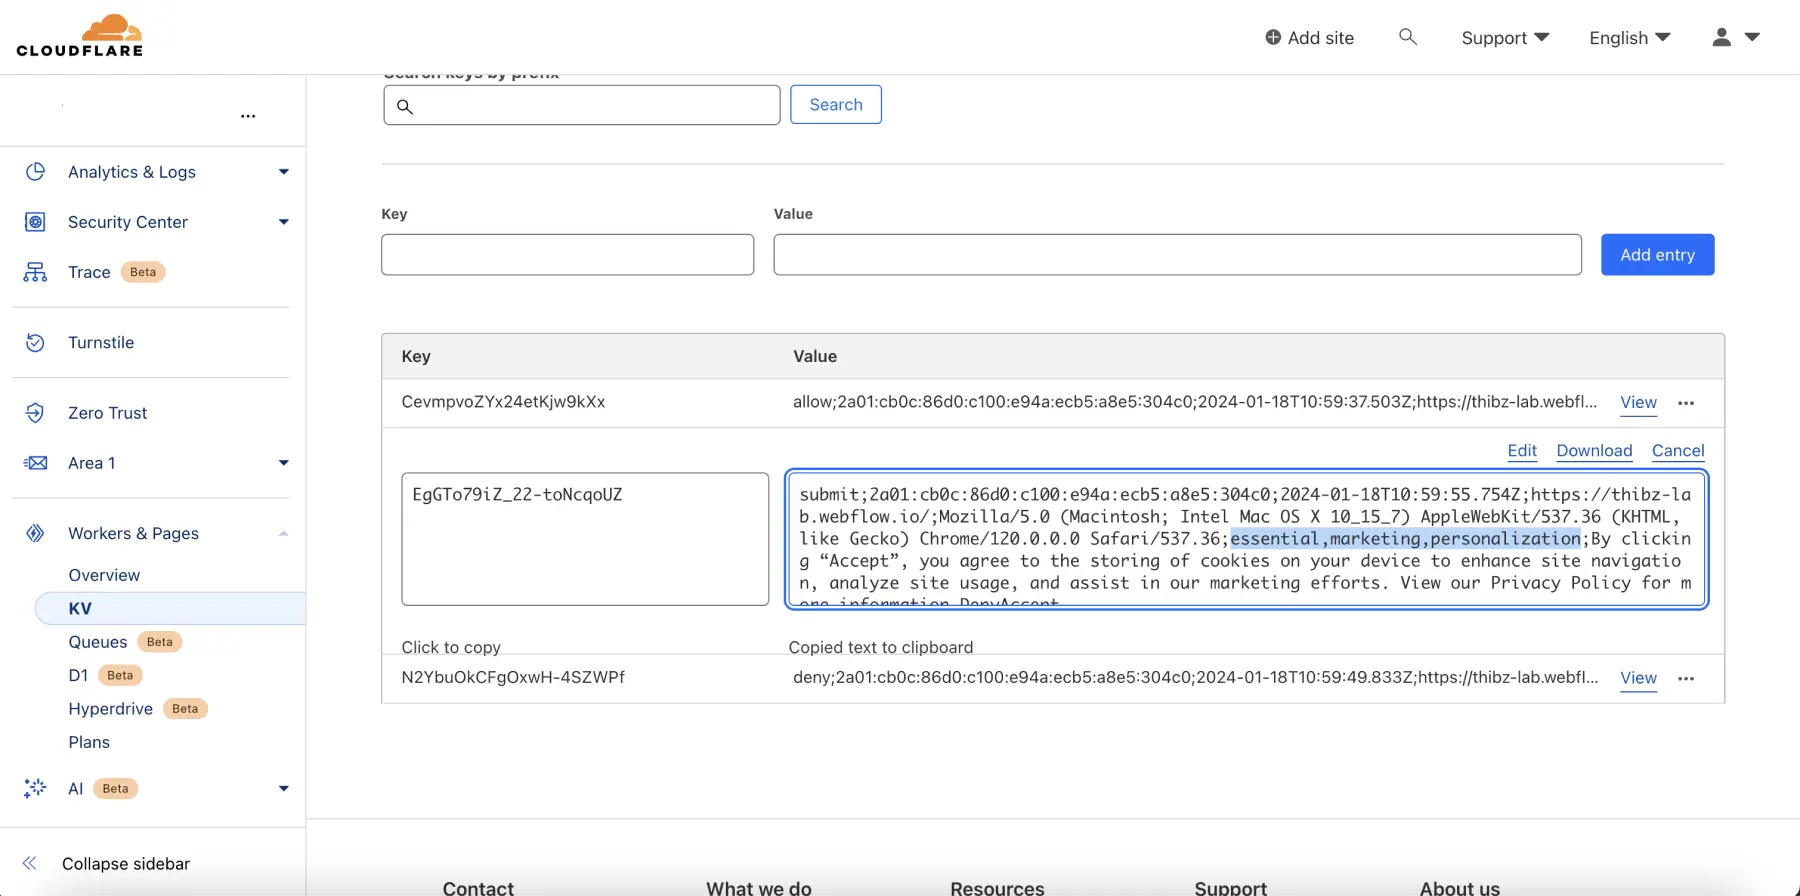
You can get detailed information on each entry by clicking on "view." Key points to remember:
- "Allow" means the user has accepted all cookies.
- "Deny" means the user has rejected all cookies.
- "Submit" means the user modified their cookie preferences (details on accepted cookies can be found in the information).
Conclusion
Congratulations! You are now equipped to ensure GDPR compliance for your website by storing cookie consents using Finsweet Cookie Consent and Cloudflare. For a deeper dive, we recommend consulting the full Finsweet Cookie Consent documentation, which provides additional details if you wish to use your own API endpoint instead of Cloudflare for storing these consents.
By adopting these powerful tools, you not only enhance data protection for your users but also build solid trust with your audience. Be sure to stay informed about legislative changes and best practices to maintain continuous compliance.
If you’re using Axeptio, learn how to translate your banner according to the language of your page.


.webp)

