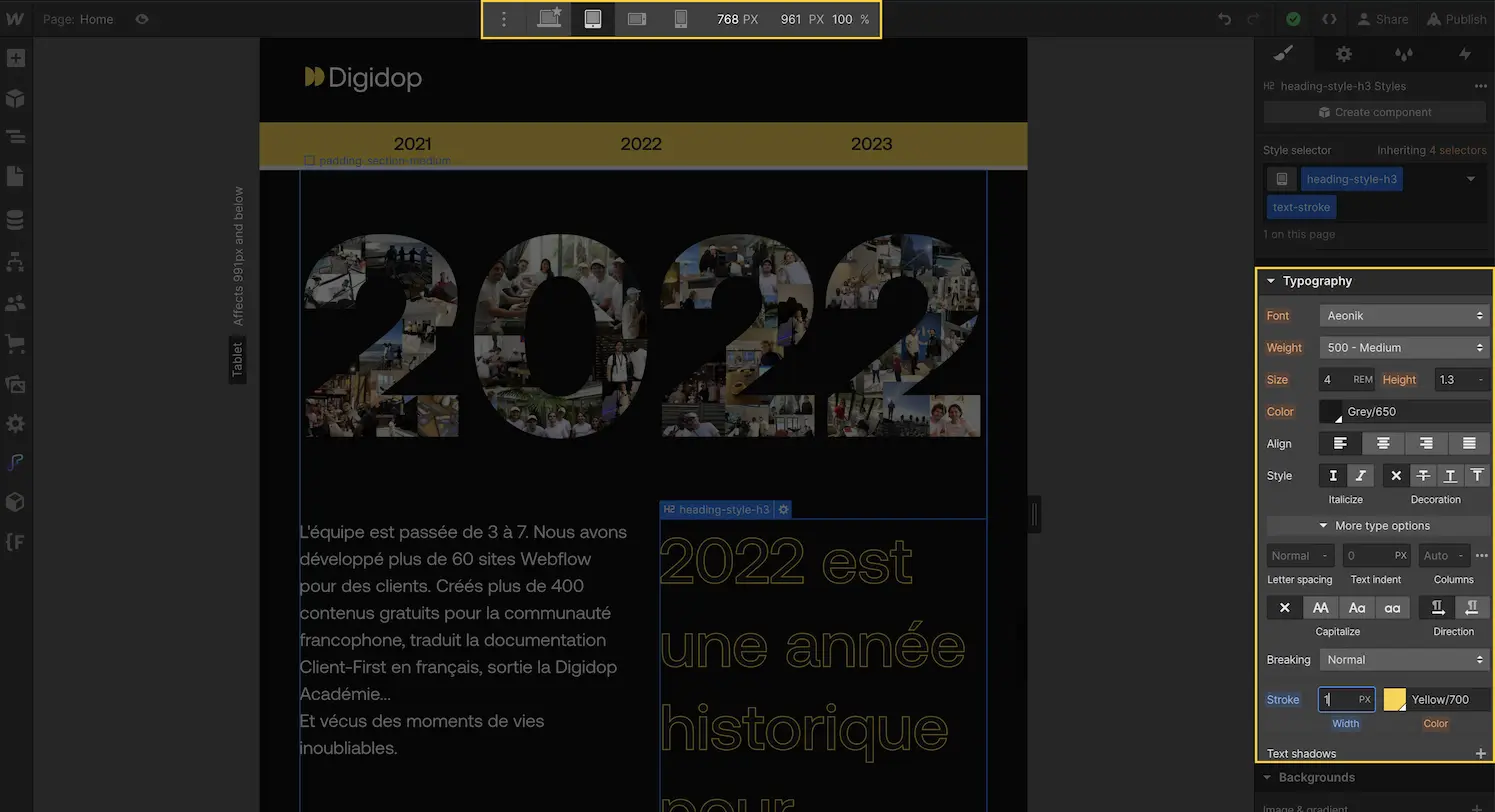
In this tutorial, you will learn how to apply the new Webflow feature that allows you to add a text stroke to your Webflow texts.
How to add "borders" to Webflow text
Step 1: How to add a text stroke
To add a text stroke to a text element (such as a text block, paragraph, or heading), simply follow these steps:
- Select the text element (or its CSS class) or the parent element containing multiple text elements in your navigator.
- Go to the Style panel: Style panel > Typography > More type options
- Adjust the stroke width (px) and color in the Stroke section.

The text stroke will appear on the text of the selected element. Note that the stroke color is automatically set to the font color unless specified at a higher breakpoint.
Step 2: Modify the text stroke for different devices
If you want the text stroke to appear differently based on screen size (desktop, tablet, mobile), you can adjust the style (CSS) of the text stroke at different breakpoints.

Conclusion:
With this new Webflow feature, you can now add text strokes to your projects for a more visually appealing and dynamic look. Feel free to experiment with different colors and widths to find the style that best suits your design.
Find more tips and tutorials on the Webflow agency Digidop blog to enhance your projects and develop your skills on the revolutionary no-code tool, Webflow.


.jpg)
