In today's Webflow tutorial, we're going to explore how to add a glassmorphism effect to your Webflow project.
1 - What is glassmorphism?
Glassmorphism is a user interface (UI) trend that creates a transparency effect on elements. However, it's more than just simple transparency; this design style introduces a “frosted glass” effect. With depth and a hierarchy system, it gives the impression of stacking multiple layers as if pieces of glass were placed over your device.

2 - How to add a glassmorphism effect to your Webflow site?
To give your elements a glass effect on Webflow, there's a very simple method. In just a few steps, you can incorporate this design trend into your site.
2.1 - Prepare your block in Webflow
First, you need to log in to your Webflow account and enter the designer for your project.
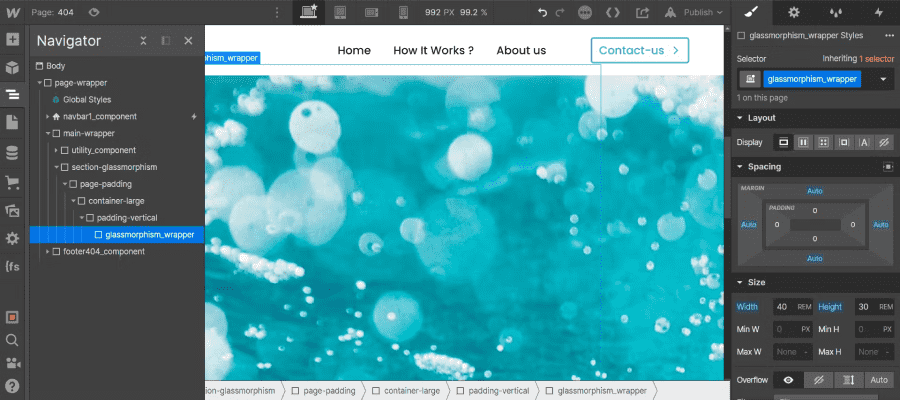
Next, navigate to the section where you want to add a glassmorphism effect. Once inside, you'll be able to add a “div block.” Make sure to name it with a class. You can place it wherever you like, set your own dimensions, but do not give it a background.
2.2 - Go to Glassmorphism.com
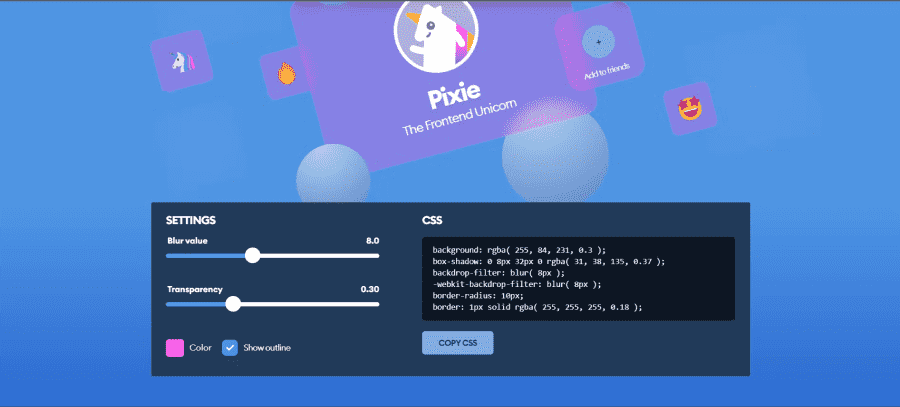
Glassmorphism.com offers a very handy no-code tool for testing your glassmorphism effects live and copying the CSS code for the effect. You can adjust the transparency, blur, and color. Once you have the effect that suits you best, you can copy the CSS code for glassmorphism.
2.3 - Add the code in an embed on Webflow
Now that you have copied the CSS code, you can return to your Webflow project. In the previous “div block” you created, you'll be able to insert the “embed” element.
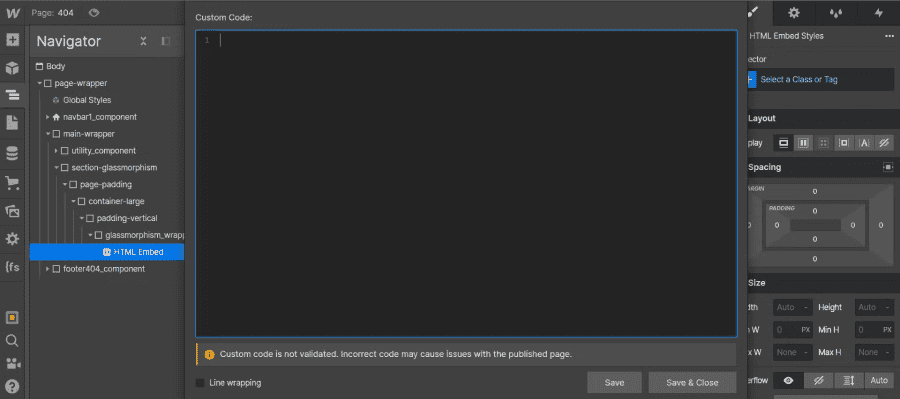
In the code editor, you will add the following code and customize it according to your settings:
For example, in our case, it would look like this:
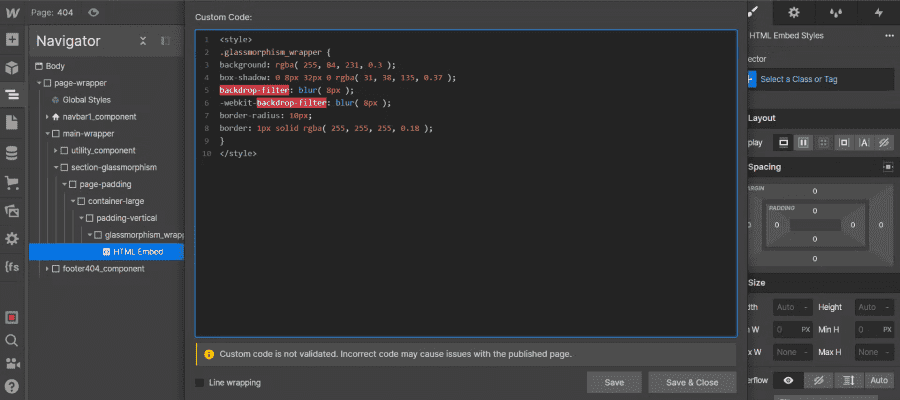
Then click on “Save & close.” Your effect will automatically be applied to your block.
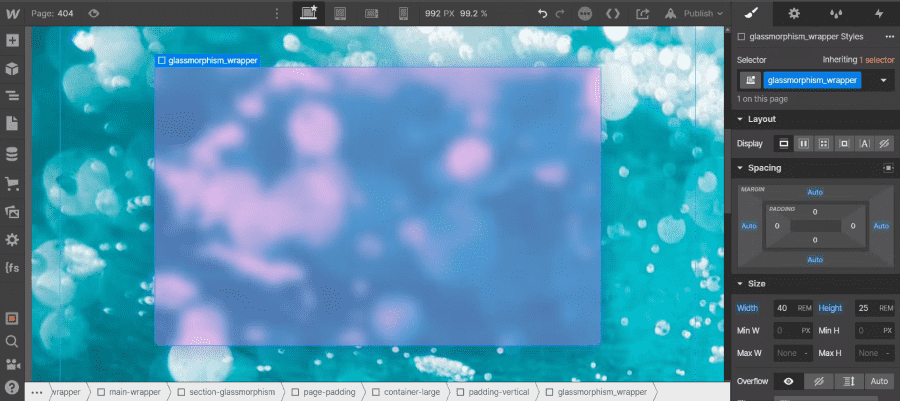
You can then add elements above or behind your glassmorphism effect.
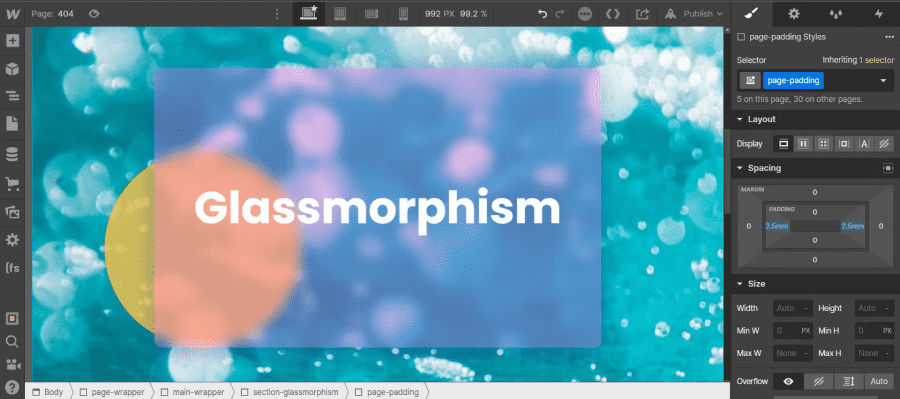
Another method is to adjust the background opacity and the blur of your block, but the result will not be the same.
That's it! You now know how to add the glassmorphism effect to your blocks on Webflow. To learn more about Webflow, you can check out our blog or our YouTube channel!


.webp)

