
You can compare your Webflow CMS collections with the back-office of your Webflow site. Its requirements may evolve from its initial development.
Need to add a new field to your Webflow back-office?
Discover in this tutorial how to add a new field (item) to your Webflow CMS from the designer mode.
The tutorial in a few steps
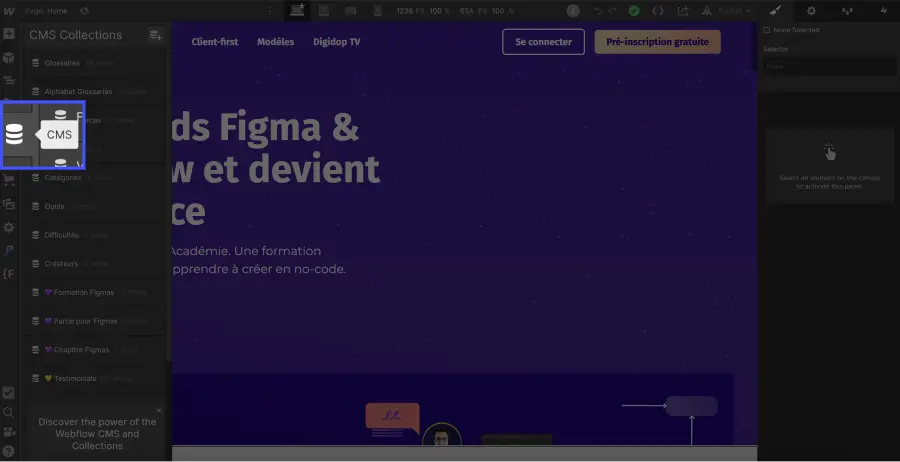
1. Open the CMS Collection panel
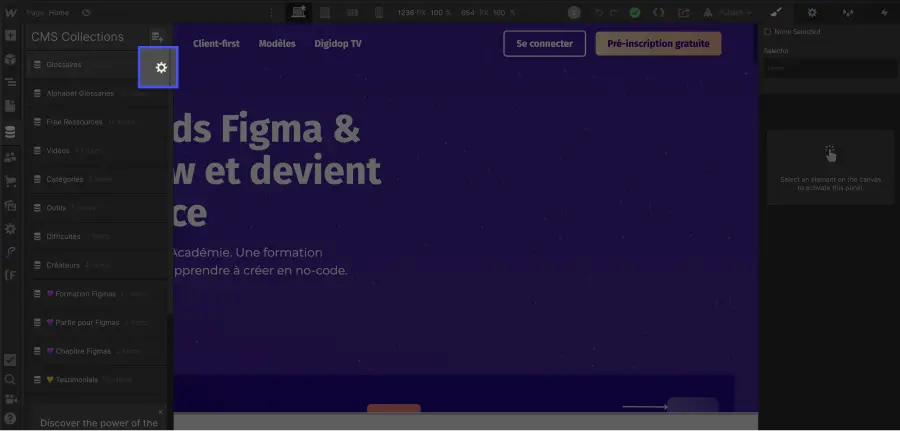
2. Click on ⚙️ of the target collection
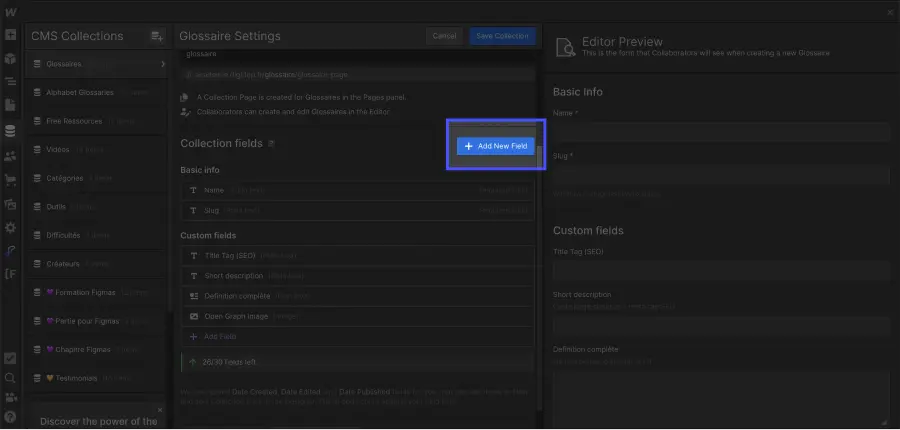
3. Click the + Add new field button
4. Choose your field type
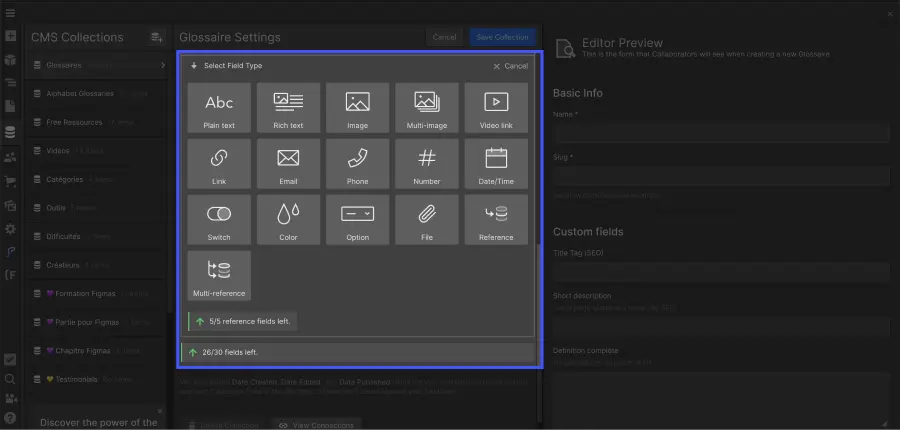
There are various types of CMS fields in Webflow.
To learn more about all the fields, read this article.
5. Fill in the field and Save
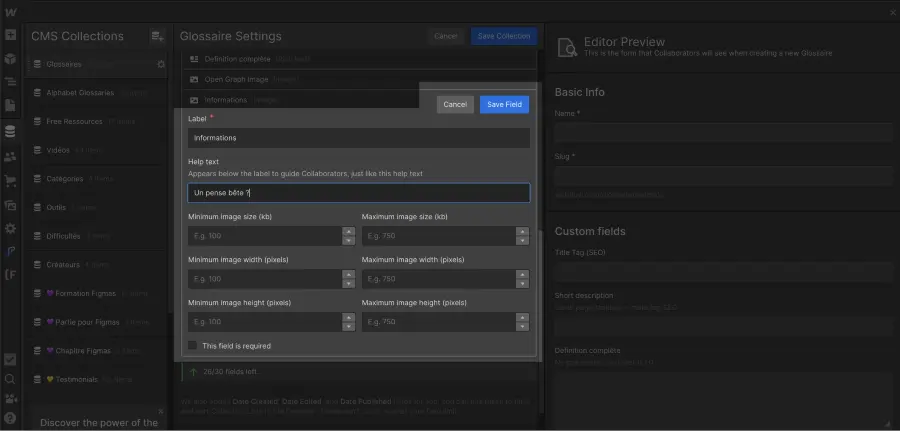
Last step!
Fill in the field with the name you wish to give it. You can add a note in the "help text" as a reminder.
This "help text" field is very useful if you are building collections for a team. It helps everyone understand how to use this field on the site.
Bonus: Remove an unused field
To delete an unused field:
- Hover over the field in question
- Click the ⚙️ icon to the right of its name
- Click the 🗑 "Delete Field" icon


.jpg)
