Nowadays, it's essential to have a website or a mobile app for your business. This allows for online visibility and, consequently, the generation of new leads. However, with the democratization of digital technology, it is now also crucial to have a website that stands out from the competition. To achieve this, one can focus on various aspects: UX, UI, SEO, Automation, etc. What appeals greatly to internet users is arriving at a lively, interactive site. This is made possible through animations.
Today, we will discuss Lottie animations, specifically the method for adding a Lottie animation to your Webflow project.
What is a Lottie animation?
A Lottie animation is a completely code-based animation. It is a digital description of all the shapes, colors, and movements of an animation. These animations can be used on websites, mobile applications, or even on digital and connected objects.
The major advantage of Lottie animations is that this type of file format is very lightweight. It is significantly lighter than a GIF or even a PNG. One might think that the quality of these animations is not great; however, the reality is quite the opposite. Lottie animations have a very high quality (a very good resolution) because they are made up of vector elements and bitmap images.
Lottie animations allow for interactive animations on your site or other media. They have truly revolutionized web development because they enable the creation of a vibrant website or application without affecting site performance. The additional loading time is negligible, which enhances user experience alongside user interface and, consequently, SEO.
How to create or obtain a Lottie animation?
There are several ways to either create or obtain Lottie animations.
1. Create a Lottie animation
If you want a unique Lottie animation, you can create one. There are many software options available, but the most well-known is still After Effects. There are numerous tutorials on YouTube and blog articles available to learn how to create a customized Lottie animation.
2. Download a Lottie animation
Again, there are many websites where you can download your Lottie animations. However, we have selected 2 that we believe to be the best:
- LottieFiles is probably the most recognized tool for Lottie animations. You can download animations for free, sell or buy them on a marketplace, create animations, or access numerous resources.
- LottieFlow by Finsweet is a website that allows you to download Lottie animations directly for your Webflow site. You will find several categories to add appealing animations to your website.
Adding a Lottie animation to your Webflow project
Method 1: Clone Finsweet's LottieFlow project
The first and simplest method is to clone the LottieFlow project from Finsweet. This project includes all the Lottie animations from the LottieFlow site, but directly in Webflow. Thus, the animations are already created and categorized into different groups.
If you wish to add one of these animations to your Webflow project, you just need to copy and paste the element you want.
This is a very straightforward and quick method to add a Lottie animation, but it is limited to what has already been developed by Finsweet.
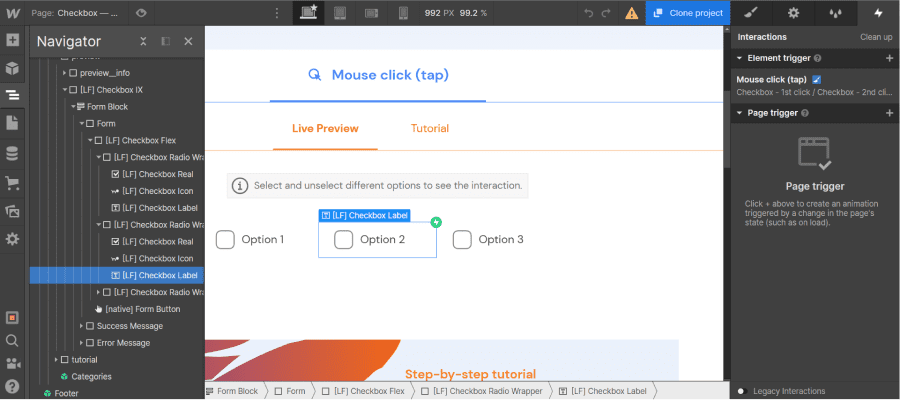
Method 2: Add a custom Lottie animation
The first step is to download or create your Lottie animation. For our example, we will download a “like” animation in JSON format from LottieFiles.
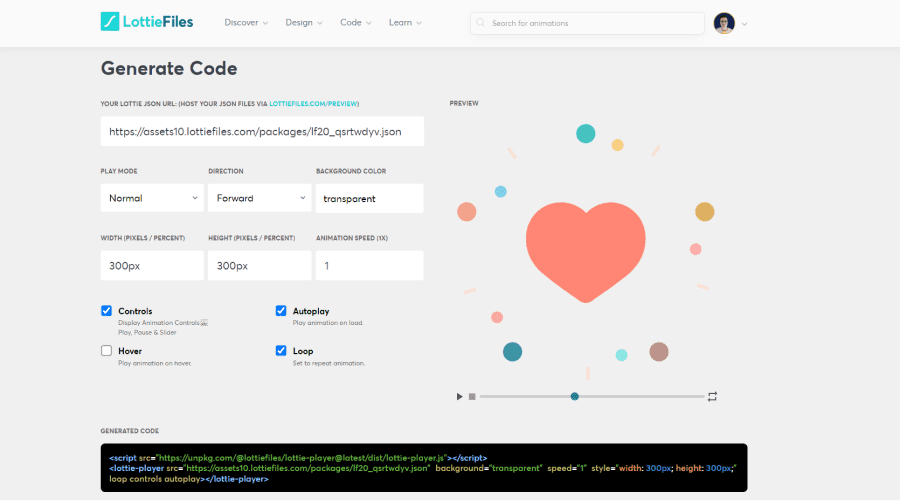
Next, we can go to our Webflow project. For our example, we'll clone the Webflow template: TikTok Slider from Digidop in the Webflow Showcase.
To insert a Lottie animation, simply add the element (shortcut ctrl/cmd + E) “Lottie animation”. Just like adding an image, you will be able to choose which animation you want to insert. In the assets, we can upload our JSON file. For SEO purposes, we strongly recommend renaming your file.
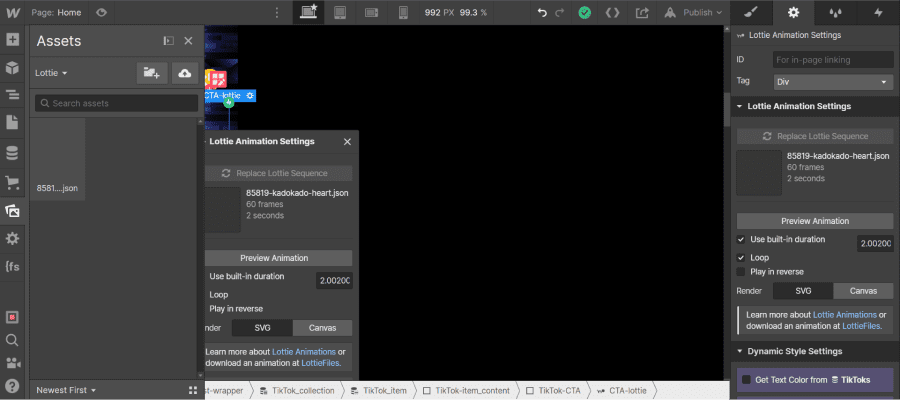
In the settings, you will be able to modify several options. You can adjust the duration, repetition, and playback direction. Each time, you can preview your animation.
We can stop here if we only want one animation. However, we can also add interactions with the Lottie animation in Webflow.
Example of interaction with a Lottie animation in Webflow
In our example, we will add an animation on click. The purpose of our animation is to play the Lottie animation by clicking on the “like” icon. By clicking a second time, the goal will be to remove the “like.”

To achieve this, in the div block that contains our “like” icon, we will add our Lottie animation. We will set the Lottie animation to absolute and the parent div block to relative. We then adjust the position of our Lottie animation.

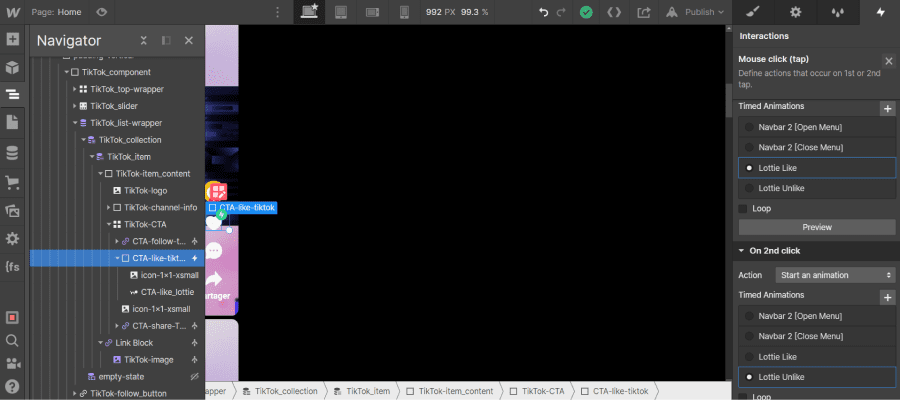
We will add an interaction to our parent div block on “mouse click (tap)”.
In “On 1st click,” we choose “Start a new animation” and create a new animation. In the actions, we will click on our Lottie element in the Navigator. Then we click on “+” next to actions in the interactions panel.
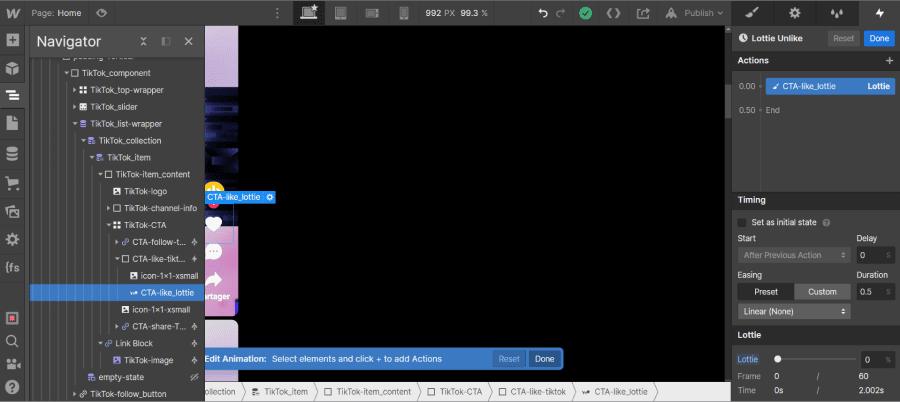
In the integrations section, we select “Lottie.” We will set it as the initial state (Set as initial state) and set the Lottie to 0%. Next, we add another action “Lottie” that starts after the previous action (After previous action) and set the Lottie to 100%. We click on “done.” At this stage, when we click on the “like” icon, our animation plays, but when we click again, nothing happens.
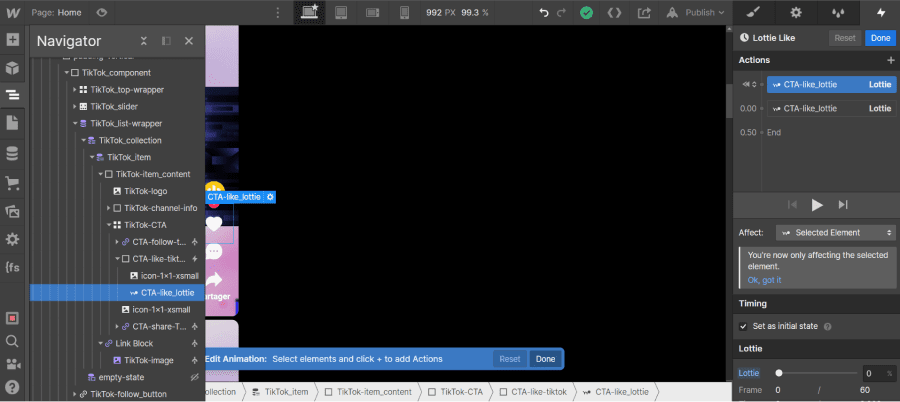
In this second step, we will ensure that when we click a second time, our Lottie animation reverses and our original “like” icon returns. To do this, in “On 2nd Click,” we add a new animation. We reselect our “lottie” element, add a “Lottie” action, and in the Lottie section, we set it to 0%. We click on “done,” and our interaction is ready.
The result:
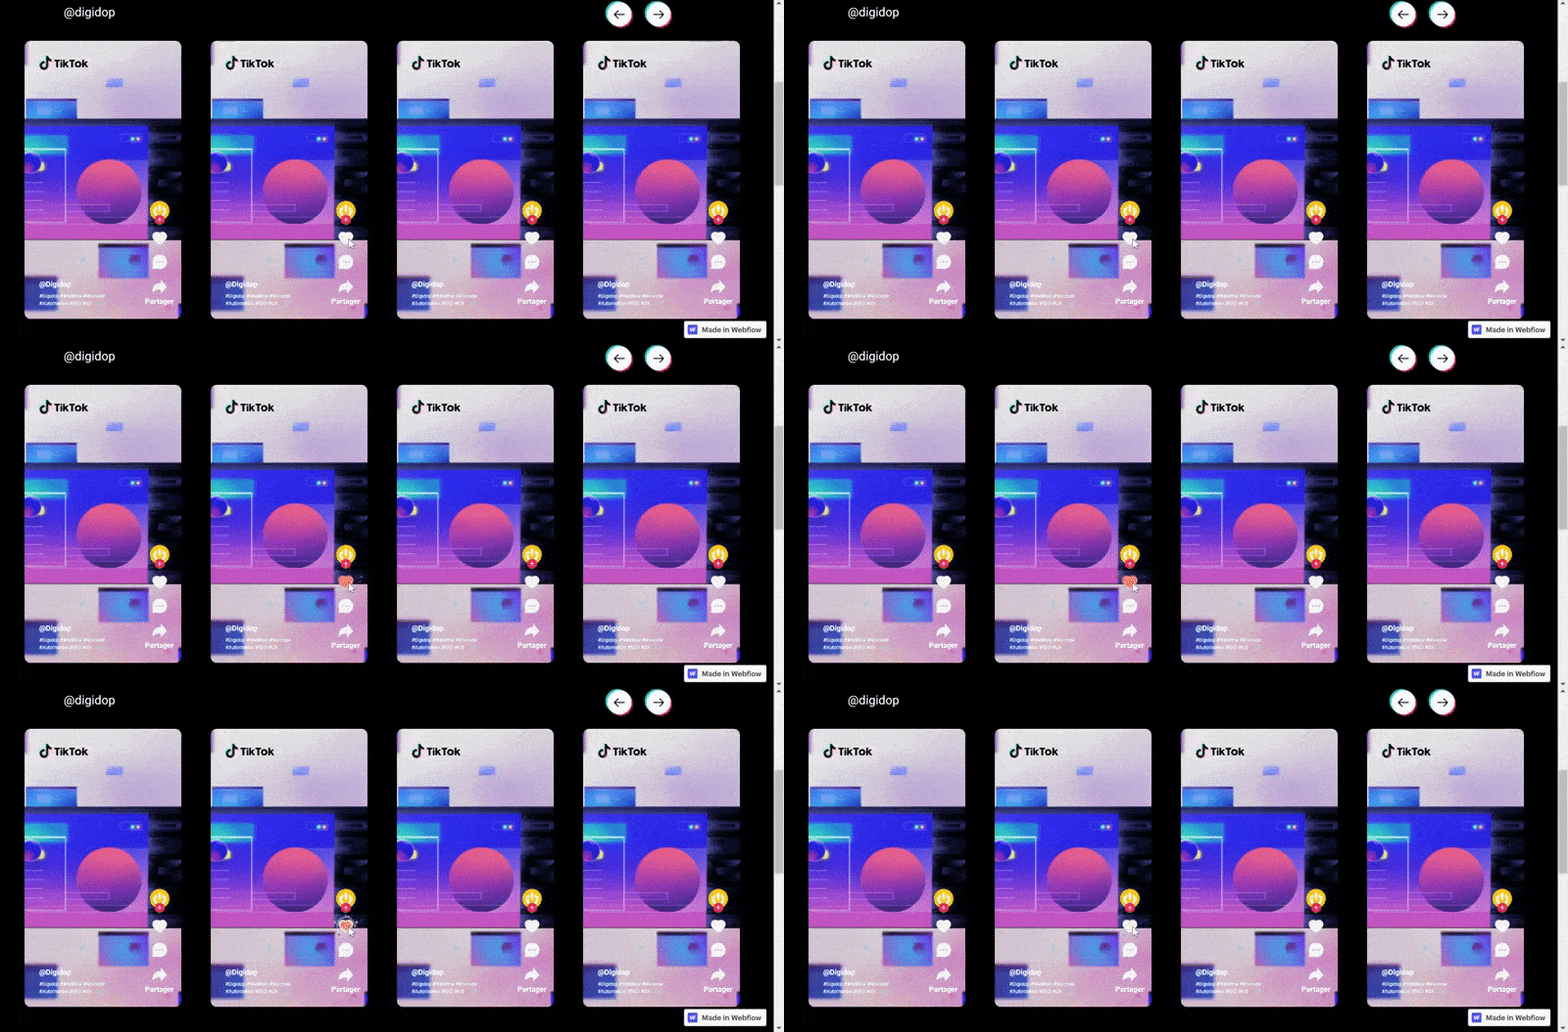
There you go! You now know how to add a Lottie animation to your Webflow project and create interactions with it.
To learn more elements, you can check out our article to learn how to build your Webflow project. You can also contact our Webflow agency to build your website.


.webp)


