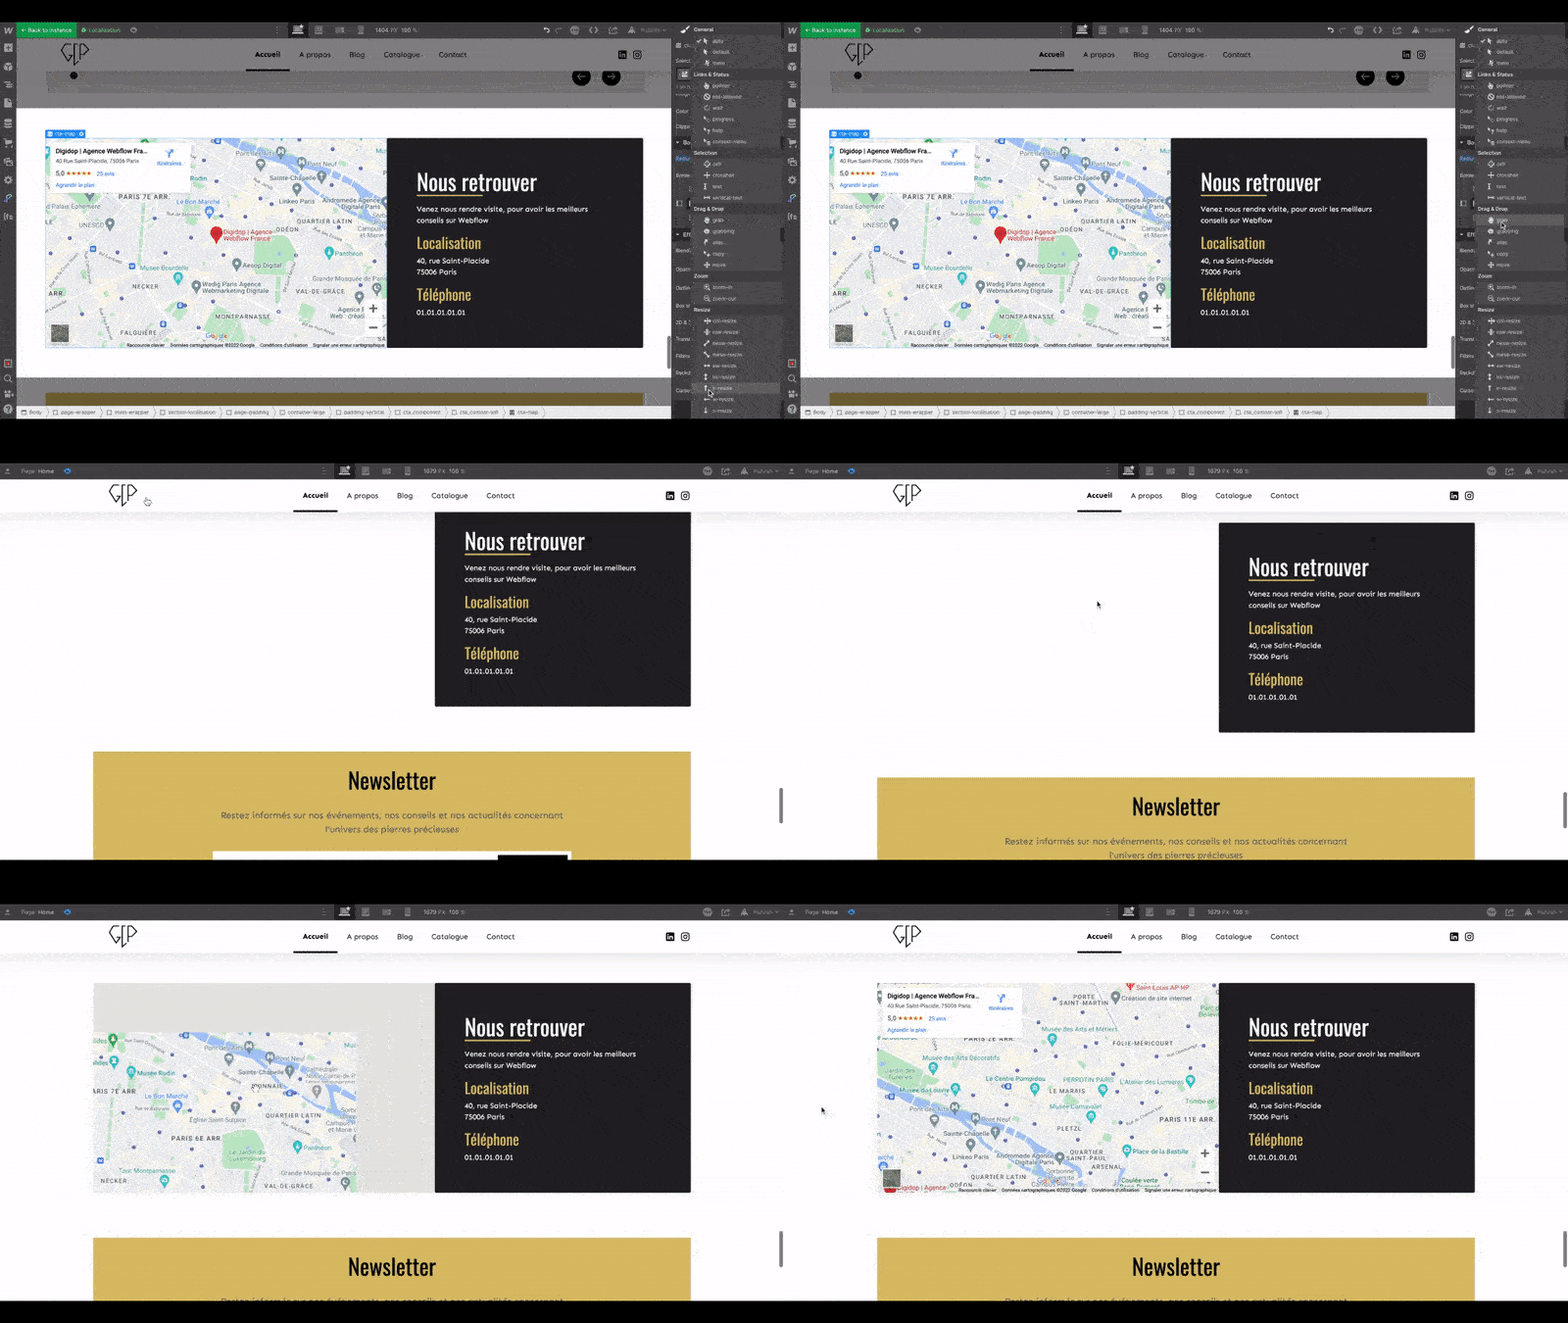
In Webflow, there are numerous options that allow you to customize your project and your entire website. One of the cool features of Webflow is the ability to change the cursor type that users see when hovering over an element.
In this quick little tutorial, we will show you how to change the cursor type for an element in Webflow!
1. Access your Webflow project
The first step is simply to open your project in Webflow
2. Select an element
Once you're in your project, you'll be able to select the element for which you want to change the cursor type that appears when clicked on.
3. Change the default cursor
Now you can change the default cursor using the functionality in the style manager (right panel). In the style manager, under the last section “Effects,” the very last item is called “Cursor”. This is where you will find all the cursor styles you can apply to an element.
By default, the value is set to auto. This simply means that the base cursor style is applied to every element on the site. For your sections, texts, images, or others, you have the standard cursor, and for links, for instance, the default value is the little hand with a finger ready to click (pointer).
By clicking on the dropdown, you will have a long list to customize your cursor. It’s important to note that just because you assign a certain cursor type to an element does not mean the cursor will take on that functionality. For example, just because I use the zoom-in cursor type for an element, it doesn't mean I will be able to zoom in on that element on the site. This functionality simply provides a visual style. However, you can add custom code to your site to introduce specific functionality (like zooming in) and then choose the appropriate cursor style in Webflow.

Here is the video from Webflow:
You can also create your own type of cursor for your site, but that will be part of a future tutorial, so stay tuned!
For your Webflow projects, our agency is here to meet your needs, so don't hesitate to get in touch!


.webp)


