If you have ever used Webflow, you are familiar with this issue:
- Text block 6
- Div Block 54
- Image 2
- Heading 37
- Etc, etc...
If you have never used Webflow but plan to create a website with it, read this tutorial. It can save you a lot of time in your future Webflow development.
The problem is simple: a class with a "default" name is not understandable. So? It’s not reusable. However, Webflow is designed to be dynamic, and the goal is to create quickly using classes and "combo-classes".
Creating in Webflow: Classes
Webflow is a "no-code" design tool that allows you to create websites. It is an advanced tool, and actually the only one that allows for visual code editing. It operates on the principles of HTML and CSS.
Each "class" has a CSS value that provides the style information to the web browser.
Tips for Using Classes Effectively
Our experience with Webflow has led us to navigate between various projects. Each developer has their own way of creating in Webflow, so it can often be a challenge to understand the development methodology used by your predecessor.
Use a Style Guide
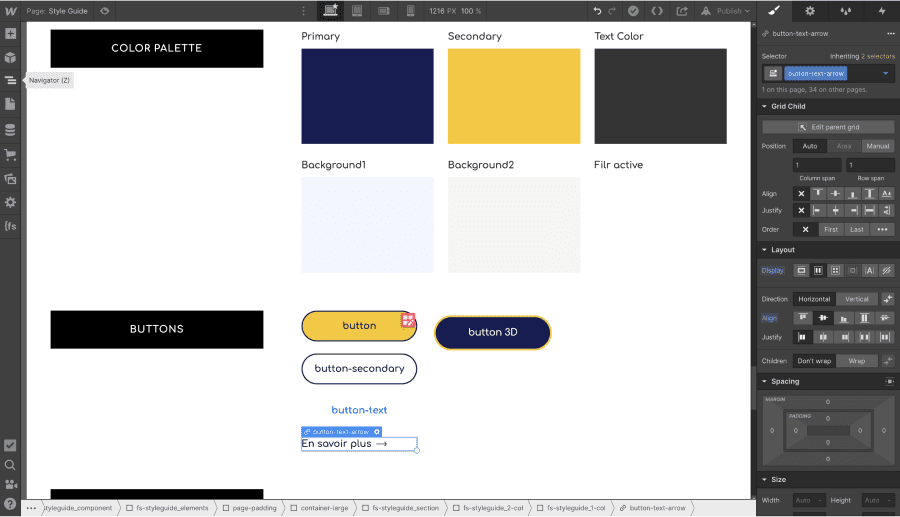
- Add or clone a style guide page
- Set it to → "Draft"
- Design your elements - HTML Tag - and - CSS classes - from this central page for your project
Pro Tip: start structuring your style guide on your Figma mockup to save time and facilitate the transfer of design from Figma to Webflow.

Use Combo Classes
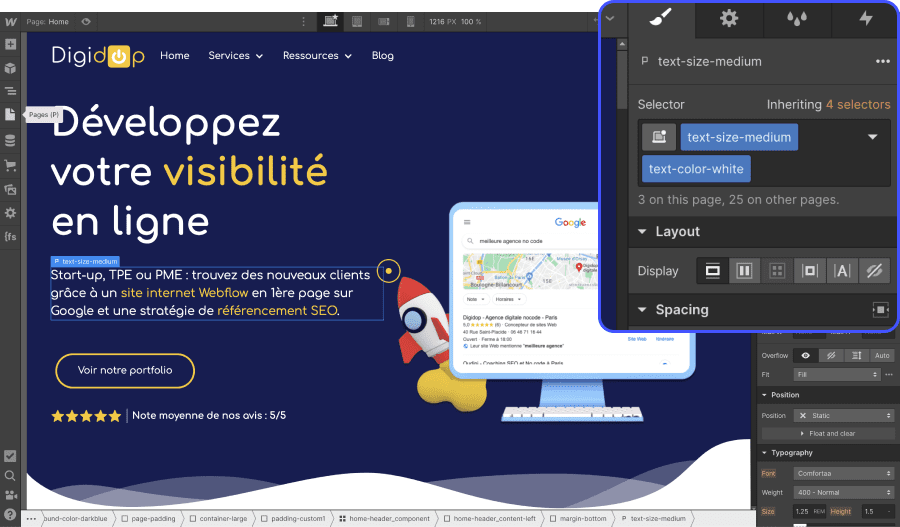
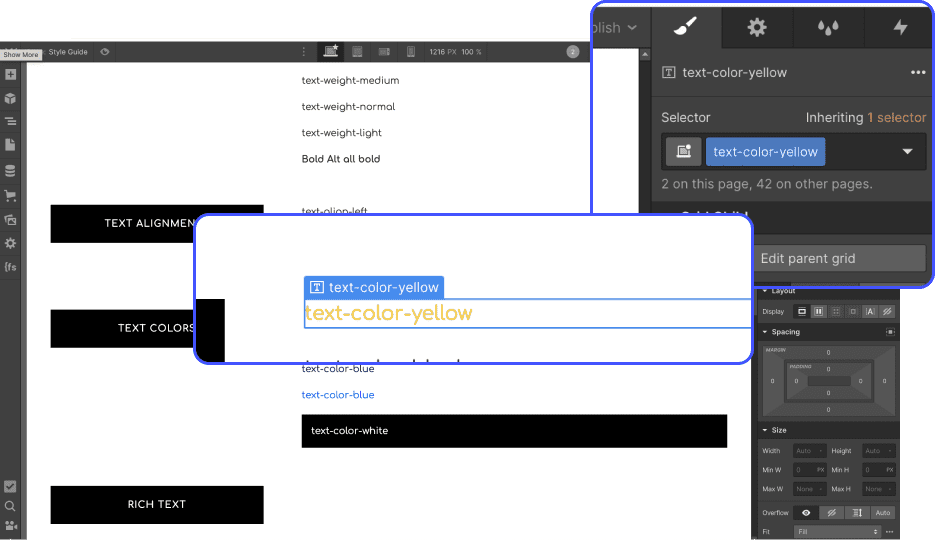
The combo classes allow you to assign styles to elements that you will use multiple times in your project. For instance, at Digidop, we often use combo classes for:
- Grids with 2 columns
- Background <color>
- Text color
- Container
- Text alignment and size
- Buttons

Be careful! Not everything should be global in Webflow. Some elements need to have their own classes. Because when you make a change to a class that is used on other pages of your Webflow site, the change will occur on all pages. A styling mistake can happen quickly (responsive issues, size, etc...)
It’s worth noting that the Webflow designer isn’t the simplest tool to use. It is more powerful, but also more complex compared to WordPress, for example.
Give Your Classes Descriptive Names
If we had to choose just one rule, it would be this one. Give descriptive names to your classes. Since adopting the Client-First development methodology, we have embraced this philosophy and it has been a pure joy. Having a name that defines the CSS style of the class has numerous benefits:

- Faster development
- A Webflow site that remains organized
- Anyone can understand and develop our Webflow sites
In conclusion, applying these three tips represents a more optimized way to use Webflow's no-code solution. The tool is packed with features, but a mistake can happen quickly, so it is essential to be organized and structured throughout the complete development of your web project.


.jpg)
.jpg)

