When developing a project in Webflow, you may need to ensure that certain elements on your page cannot be selected or clicked on.
In this quick tutorial, we will see how to implement this in Webflow.
Step 1: Add an Embed Element to Your Page
For this step, we recommend adding an embed element to your page, which you can hide (display: none) later. If you're using the Client-First methodology, on each of your pages, you can add the "Global Styles" component that contains an embed.
If you are not using the Client-First method, we suggest creating a component for your embed so that you can reuse it across multiple pages in your project.
The advantage of placing the code in an embed directly on the page, rather than in your page or project settings, is that you can see the property working immediately in the Designer.
Step 2: Add the Code
In this second step, you will need to add the following code to your embed element:
If you have cloned the base Client-First project, this code is already included in the "Global Styles".
Step 3: Add a Class to an Element
Once this code is on your page, you can add to the element that should not be selectable the class 'pointer-events-off'.
This class will ensure that the element is no longer a "target" for your mouse (or finger).
This class can be useful instead of using z-index (in certain circumstances), especially when a decorative element overlaps a button. This class can also be beneficial in other very specific situations.
In three simple steps, you can ensure that on your Webflow site, specific elements of your page cannot be clicked or selected.
Explore more about the global styles of the Client-First cloneable.
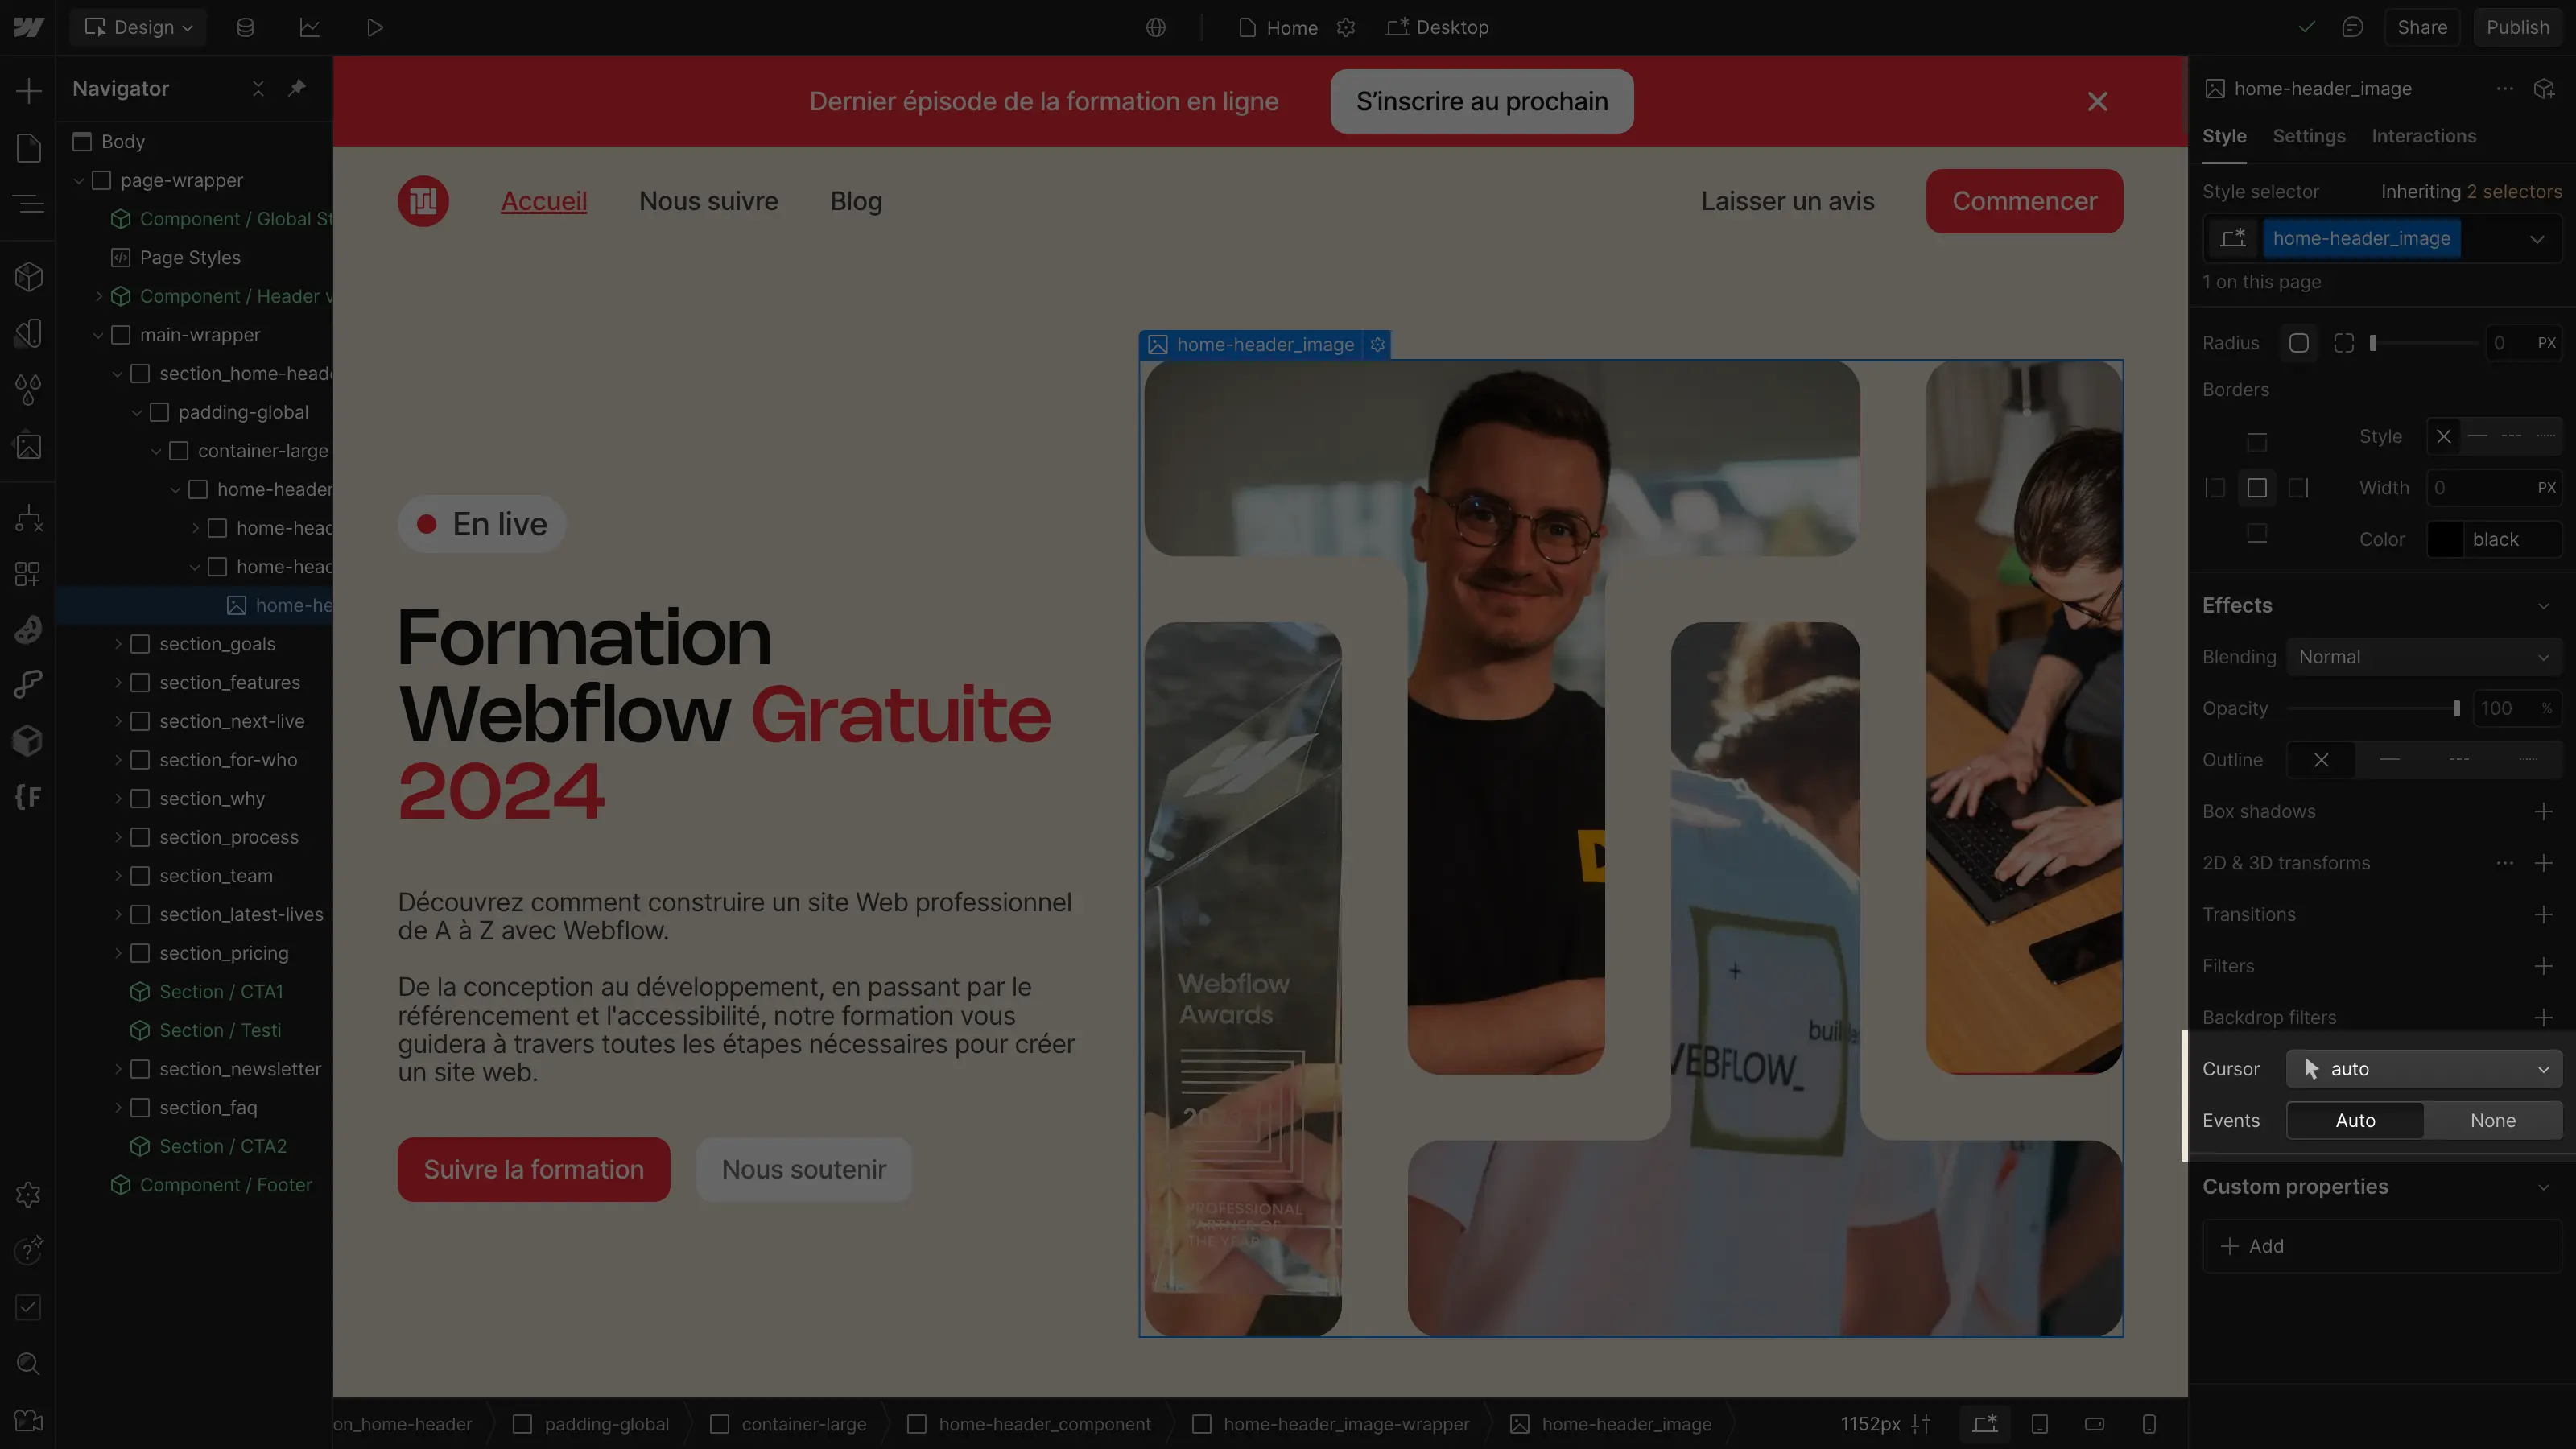
Update 2024 : Native event
The feature is now natively available in the Webflow Designer.


.webp)


.jpg)
