
The symbols in Webflow are extremely useful as they allow us to quickly add identical elements or groups of elements across multiple pages. Additionally, when we make a modification to a symbol, it automatically applies to all pages where it appears.
In today's Webflow tutorial, we will show you how to override the automatic modifications of text, images, rich text, links, or videos within symbols for all their instances. The goal will be to have the same symbol appear multiple times on our site while allowing us to customize its content according to the page or section.
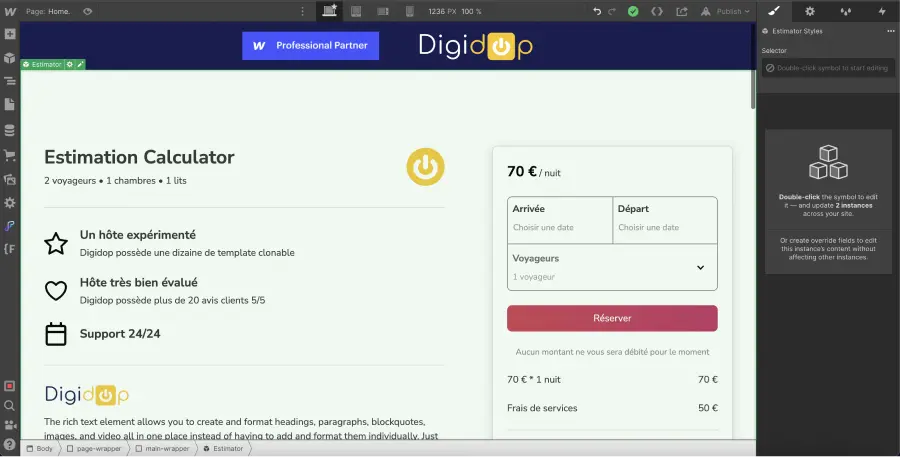
Step 1: Create a Symbol in Your Project
The first step in this tutorial is simply to create your symbol in your Webflow project.
If you are unsure how to proceed, here is a video tutorial that can assist you:
Step 2: Select the Element You Wish to Change Per Page/Section
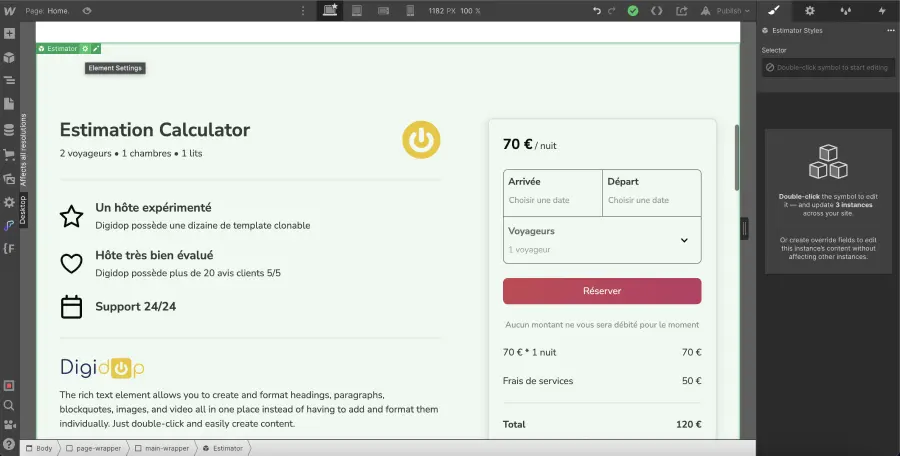
We will now double-click on our symbol (to edit it) and select the element (text, image, rich text, link, or video) that will have variations on our website.
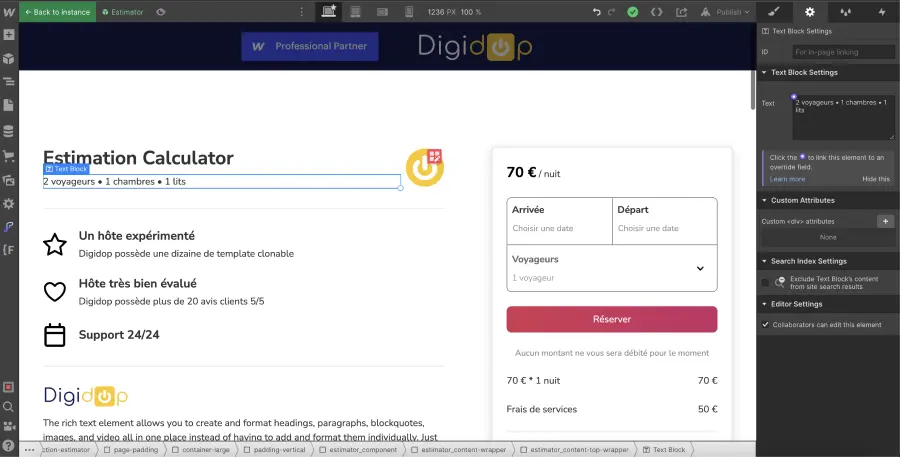
Step 3: Link This Element to a Replacement Field
Once we have selected our element, we will go into its settings. In the settings section for our field, we can see our element (our text, image, rich text, link, or video). At the top left of this block in the settings, we will notice a purple circle. We will click on it to create a replacement field.

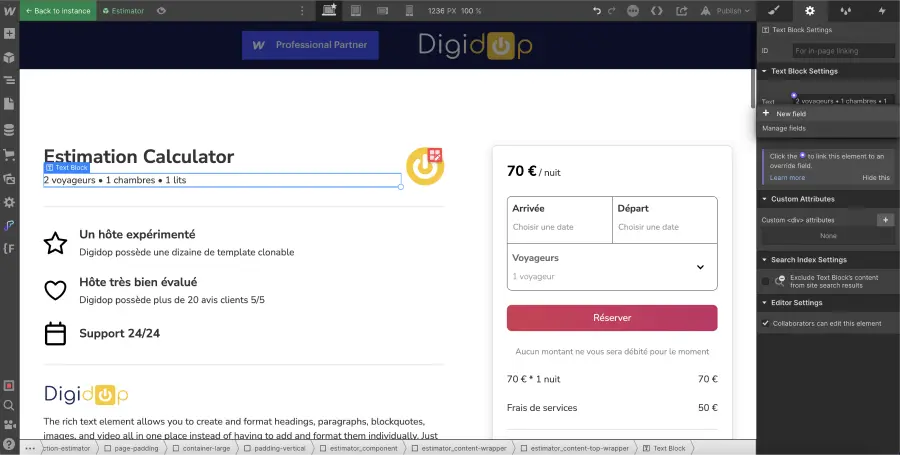
We then click on "New Field".
A pop-up opens, and we give a name to our replacement field.
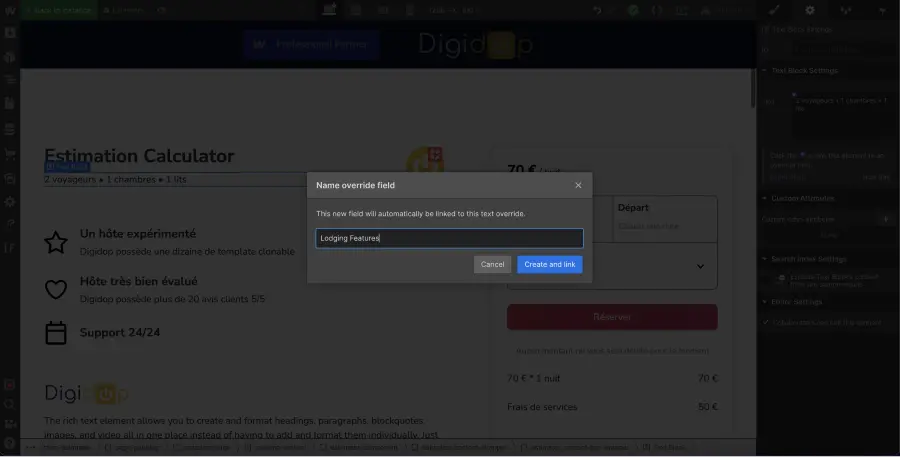
We can then click on "Create and link".
Our element now has a purple border when clicked in the designer.
Step 4: Add a New Instance of the Symbol
You now have a replacement field created for your element. You can add it again in your project. By default, our base element will appear in its original version (the text, image, rich text, link, or video will not have changed).
To modify our element without affecting the one present in our other symbol, we navigate to the symbol settings.
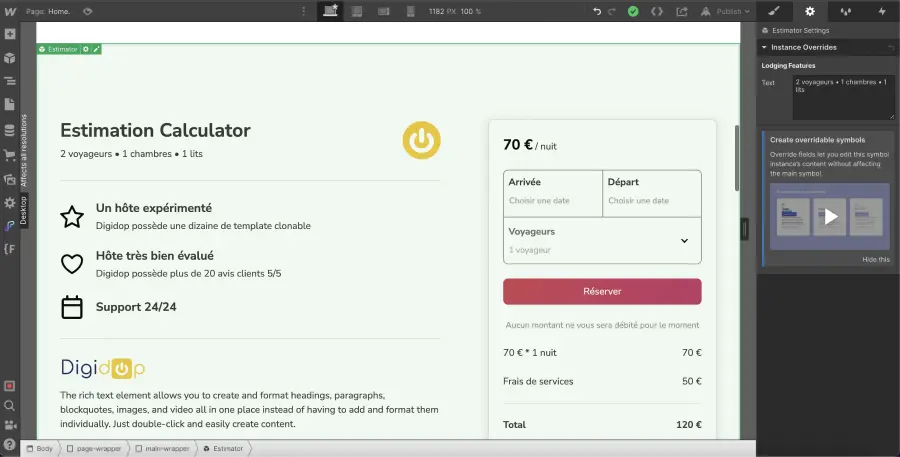
In the section "Instance Overrides", we can find all our replacement fields. It's then a matter of modifying the content of our element. We can see that our modification was successful when the name of the replacement field turns blue.
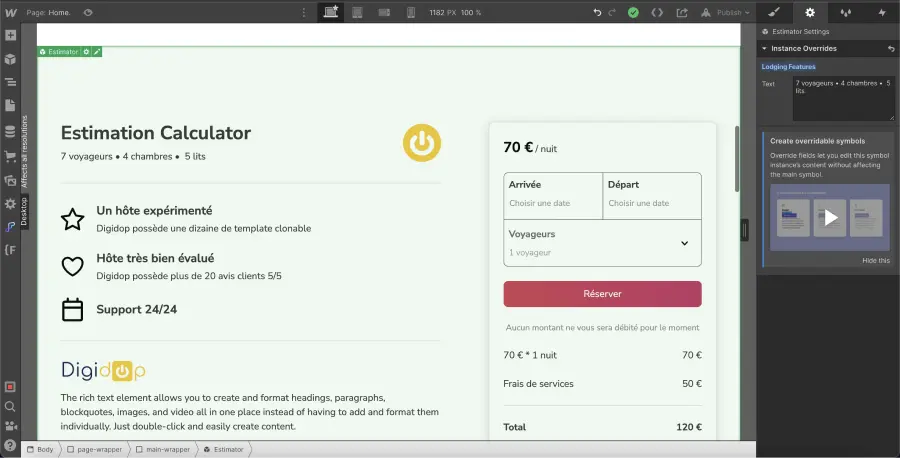
You have now created a variation of your symbol. The structure remains the same, but the content differs.
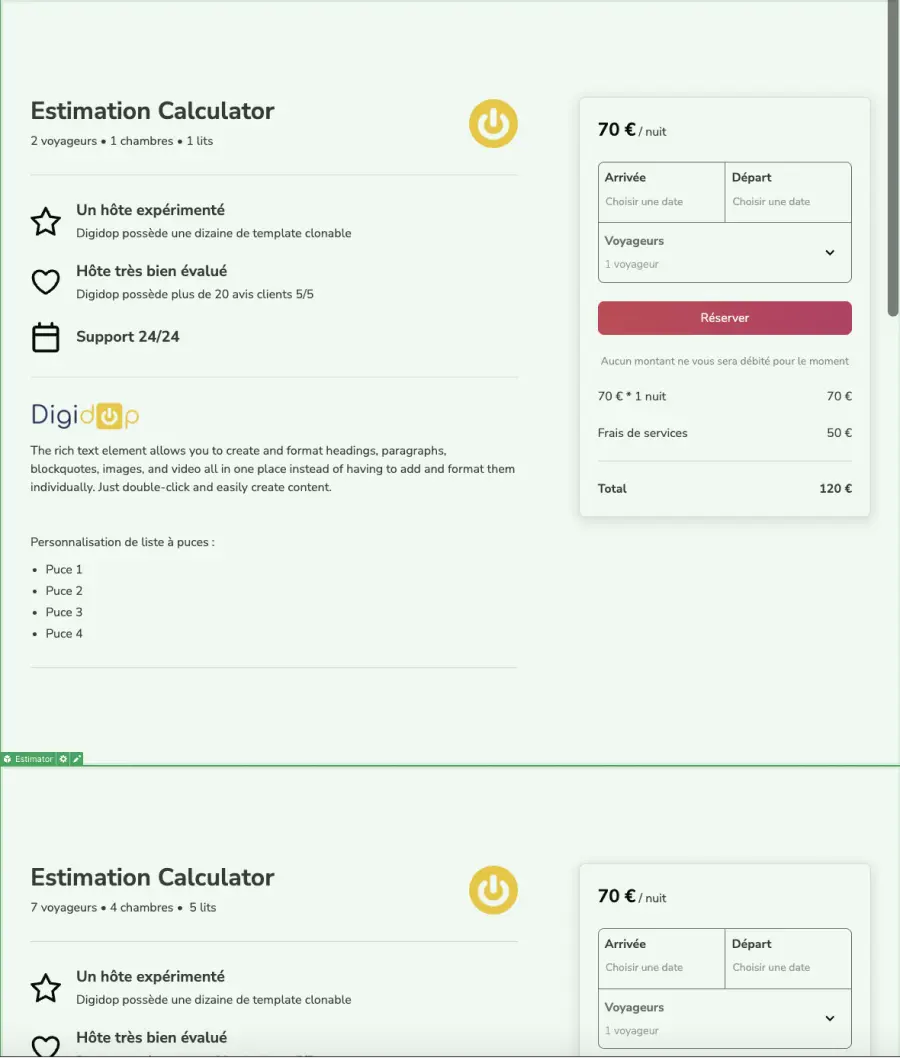
You can repeat this manipulation as many times as you wish.
I hope this tutorial has helped you or has allowed you to learn more about Webflow. Feel free to explore our other blog articles to become a no-code / low-code pro! You can also pre-register for our open training for everyone to learn no-code creation.
Learn more about Webflow Components!
.webp)


.jpg)
