Introduction
As a Webflow developer, you know that the platform offers a multitude of possibilities for creating highly advanced websites. However, there are times when you might need to go beyond the native features of the Webflow Designer to bring your design ideas to life. This is where custom CSS comes into play.
Custom code in Webflow opens the door to limitless possibilities in terms of customization and optimization of your projects. Whether you’re looking to tweak layout, typography, or animations, custom CSS can be a great ally in Webflow.
In this article, we will explore a selection of simple yet carefully chosen CSS code snippets to elevate your projects. Each of these snippets serves a specific purpose, allowing you to achieve something that is not natively possible in the Webflow Designer. Let’s dive in!
7 Custom CSS Codes for Your Webflow Projects
Layout, typography, dynamic interactions in CSS...
Prevent Horizontal Scrolling (with Sticky)
One of the common issues in layout design is managing unwanted horizontal overflow. Sometimes, the content of a section can be wider than the browser window, causing irritating horizontal scrolling.
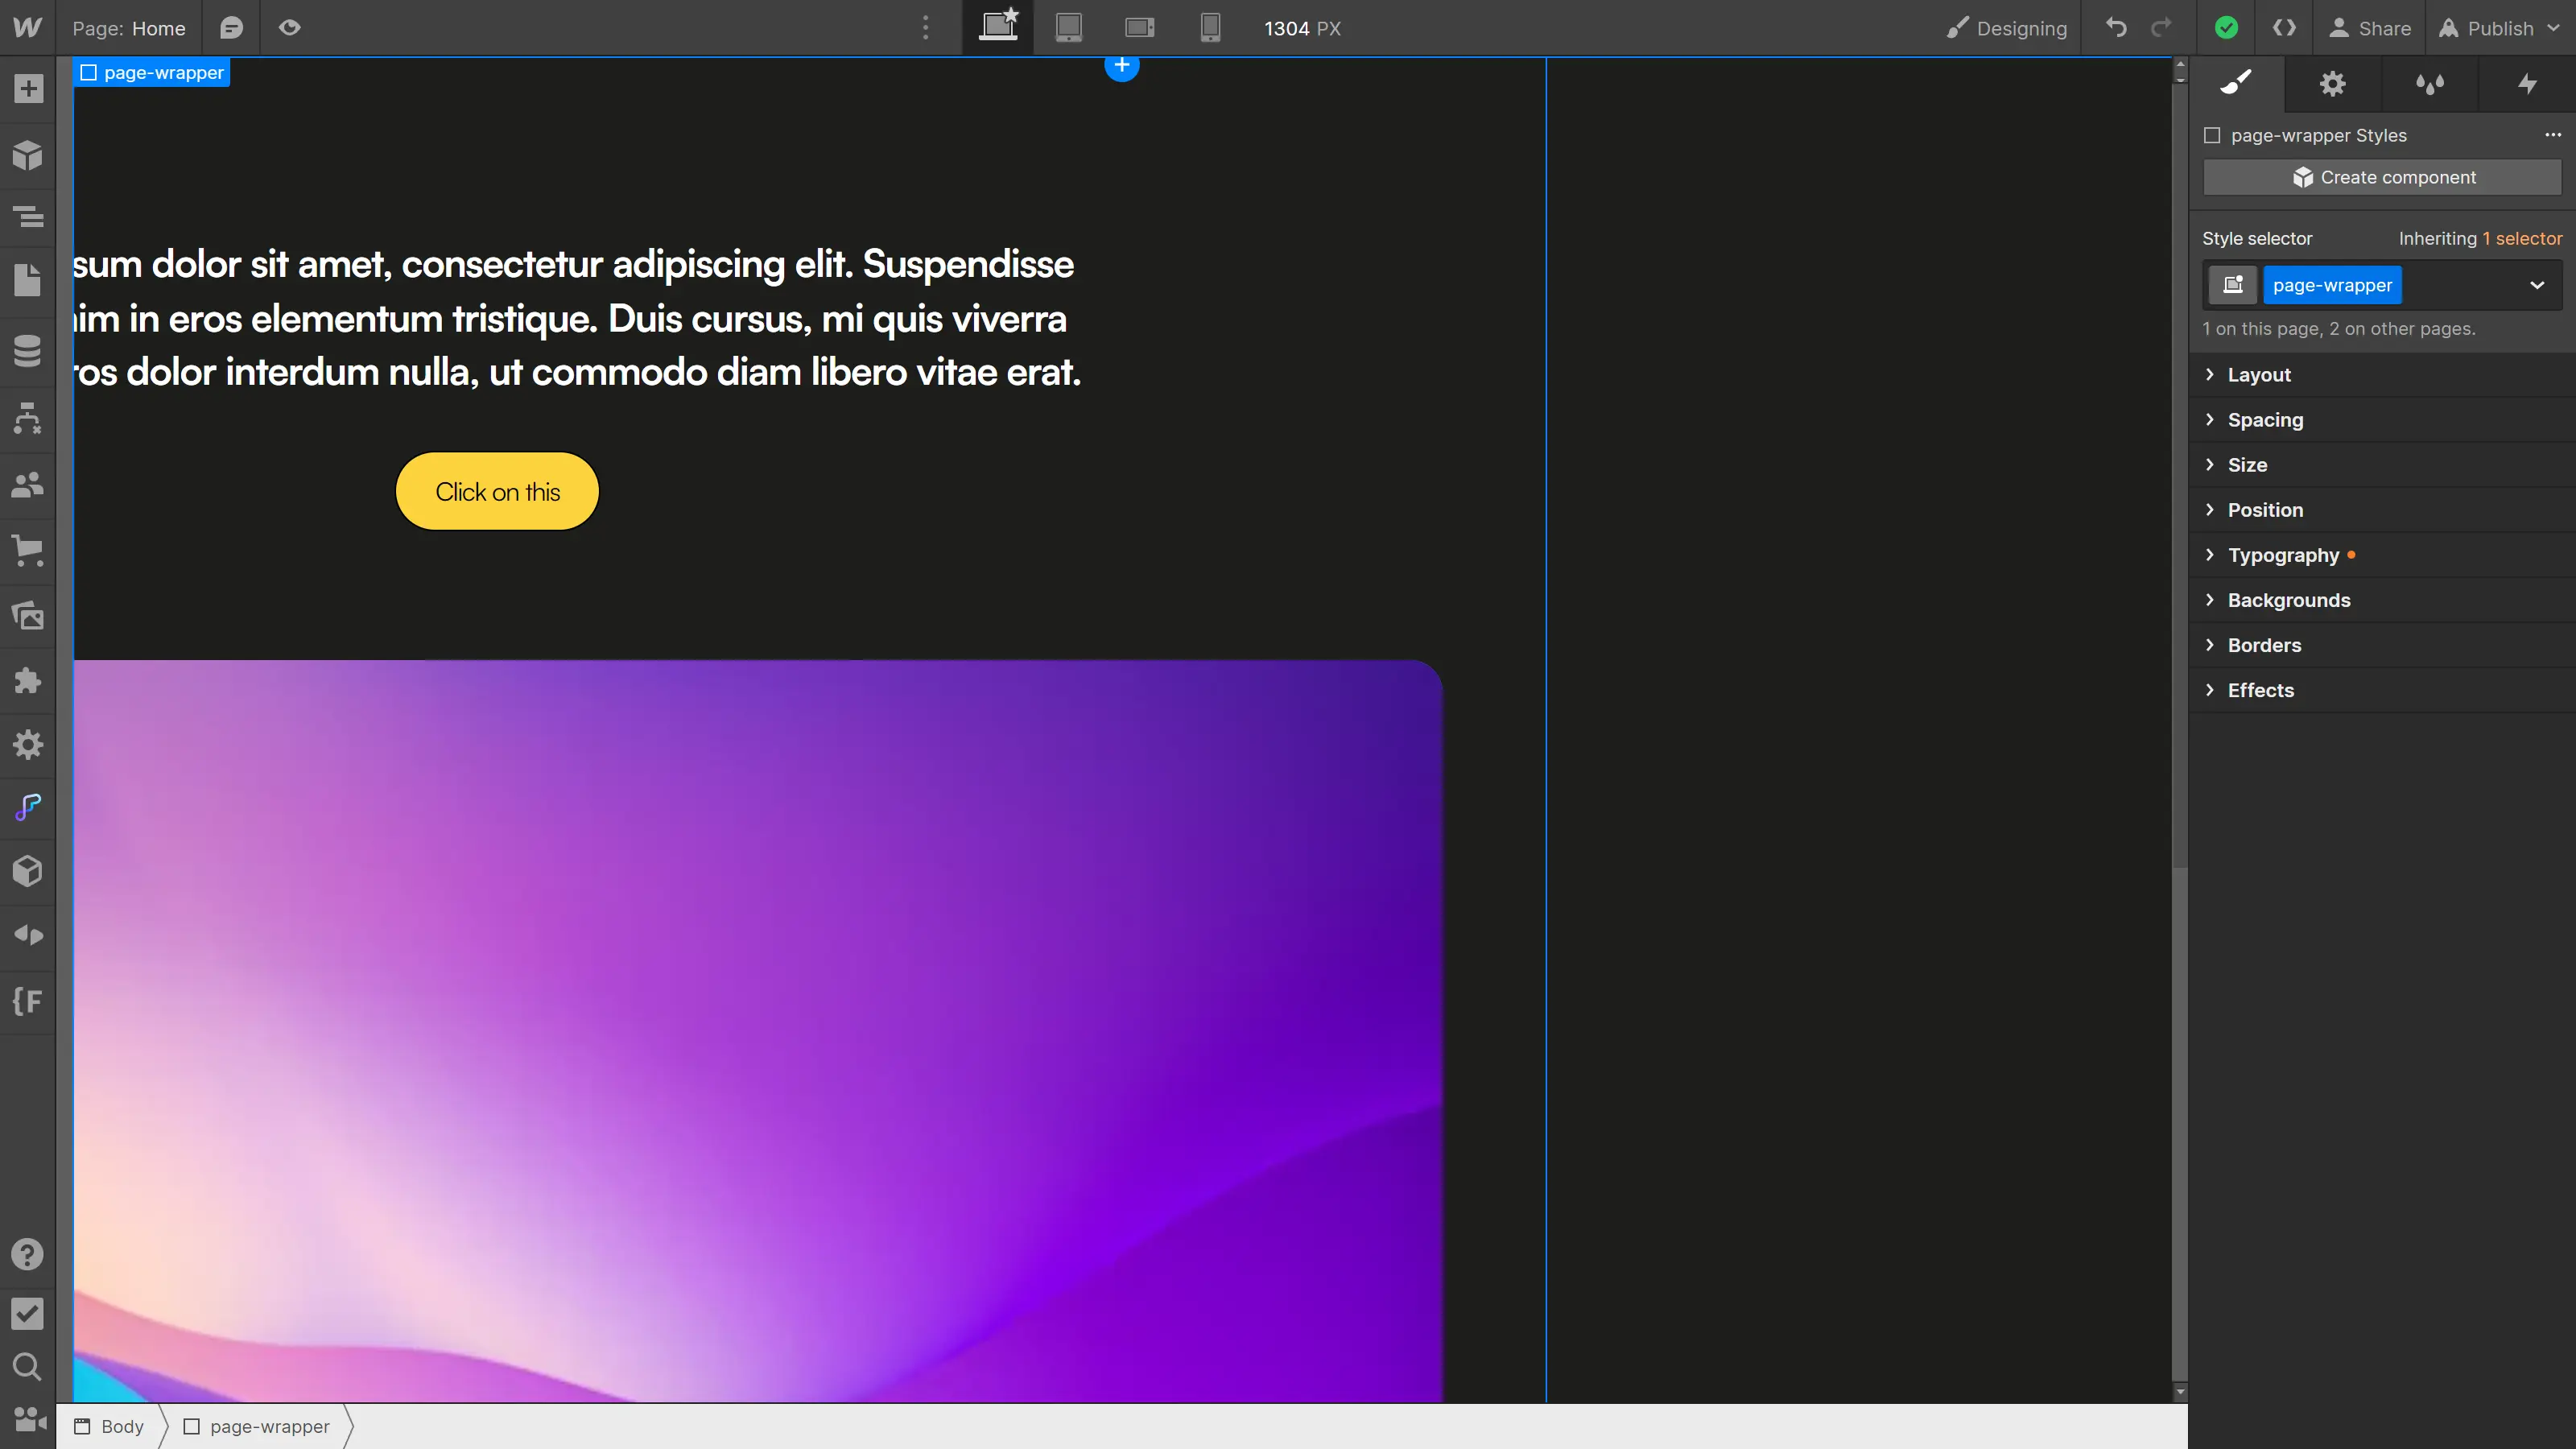
To solve this issue, you can add {overflow: hidden;} to the section or the page-wrapper, but there is a downside. Using {overflow: hidden;} renders the CSS property {position: sticky;} unusable on any child element (which isn’t very convenient).
To remedy this, you can simply add the following property instead (typically on the page-wrapper class):
Adding {overflow: clip;} to an element will prevent horizontal scrolling while still allowing for the use of {position: sticky;} on child elements.
Example of use: This CSS property can be consistently applied to the page-wrapper to prevent unwanted horizontal scrolling.
Override Webflow's Default Styles
By default, Webflow applies base styles to certain HTML elements like links, form fields, or navigation bar links. This makes links, for example, very visible even if you forget to style them.
However, there may be times when you want more control over these elements and have them inherit CSS from their parent. For instance, if you create a custom card with a Link Block, you likely don’t want the child texts to be underlined (which will happen with Webflow's default styles).
The following snippet allows you to override the default values for the mentioned elements and have them inherit CSS from their parent:
By adding this CSS snippet from the global styles of Client-First (click here to see the documentation), you ensure that styles (color, size, underline,…) are inherited from the parent. If you want to apply a specific style that is not inherited, you can always add it directly to the element.
Example of application: This snippet is particularly useful if you want to remove Webflow's default CSS styles and manage targeted elements more globally.
Avoid Isolated Words (or Punctuation)
A little exception here: this isn’t a CSS snippet, but rather a handy keyboard shortcut for inserting a non-breaking space.
When editing text, it can sometimes be frustrating to see a tiny word (or a punctuation symbol) isolated on the last line. You know, the “?” all by itself on its line.
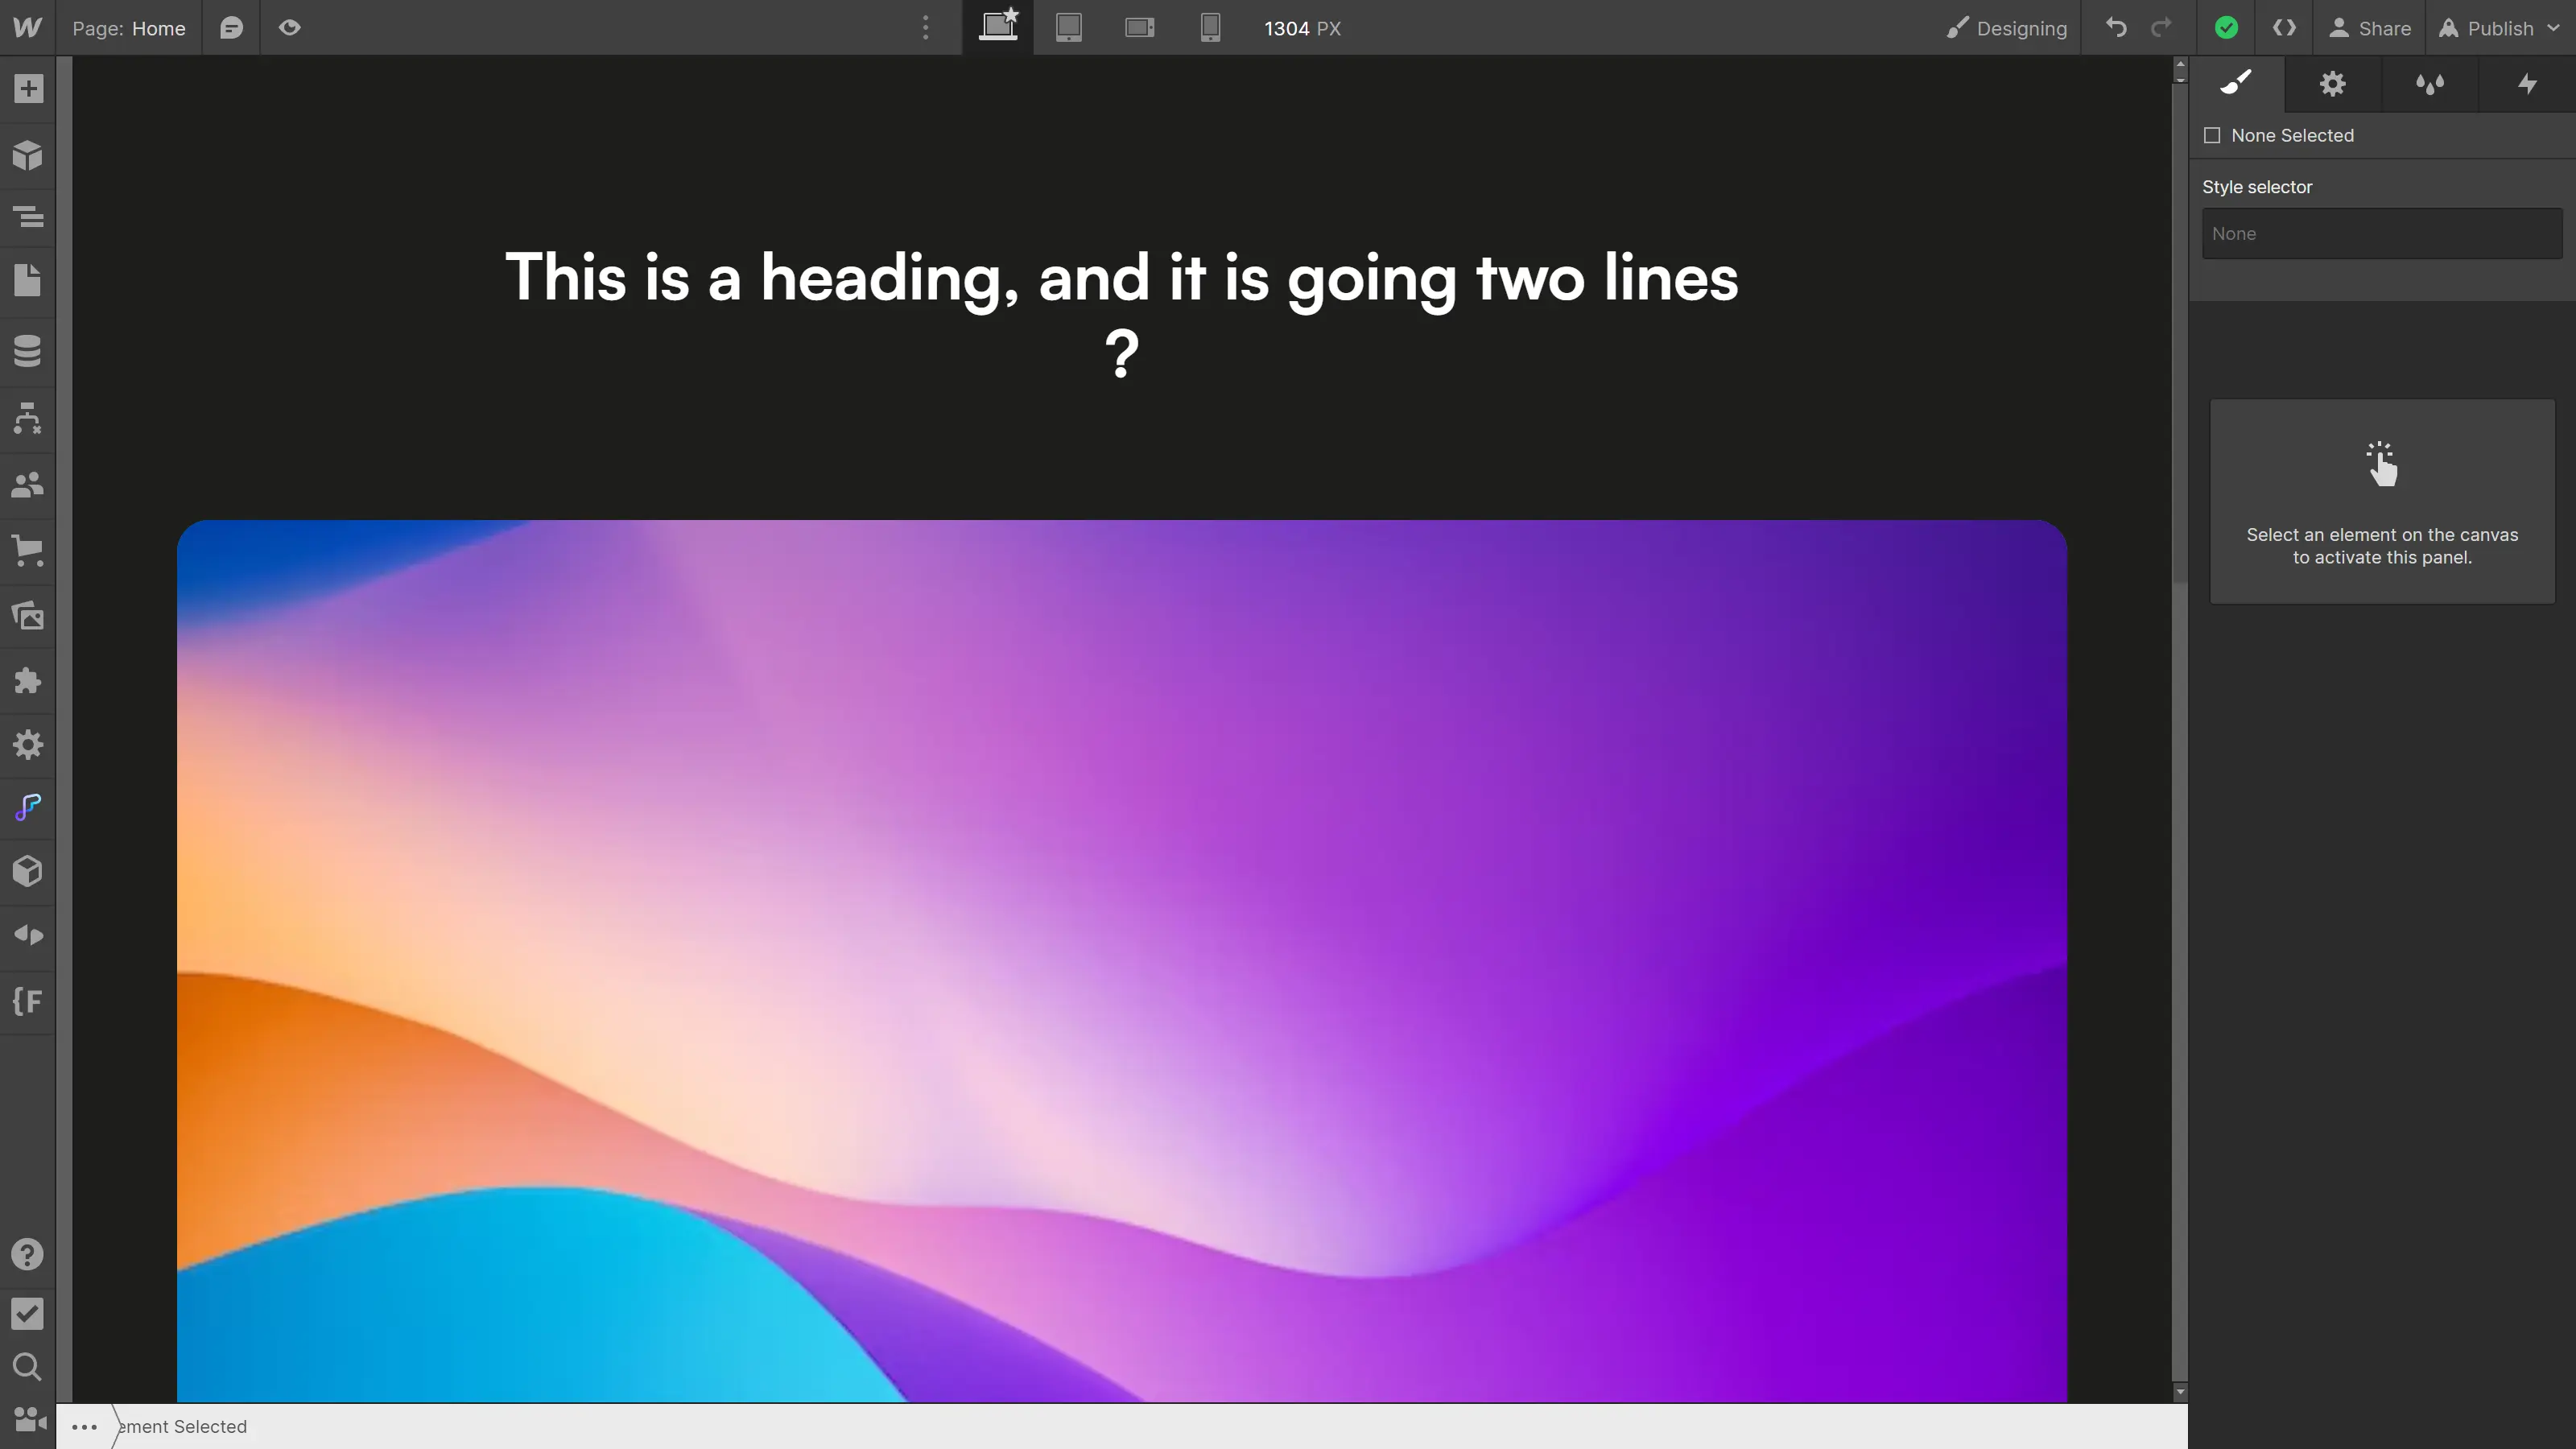
To avoid this, you can add a non-breaking space using Shift + Space so that the words surrounding this space always stay on the same line.
Example of application: This is particularly useful to add just before a punctuation mark “?” or “!” as in a FAQ, for example.
Balance the Different Lines of Text
Especially for titles, in line with the previous situation, you can sometimes end up with text split across two lines where the distribution of content isn’t ideally balanced, which can be frustrating.
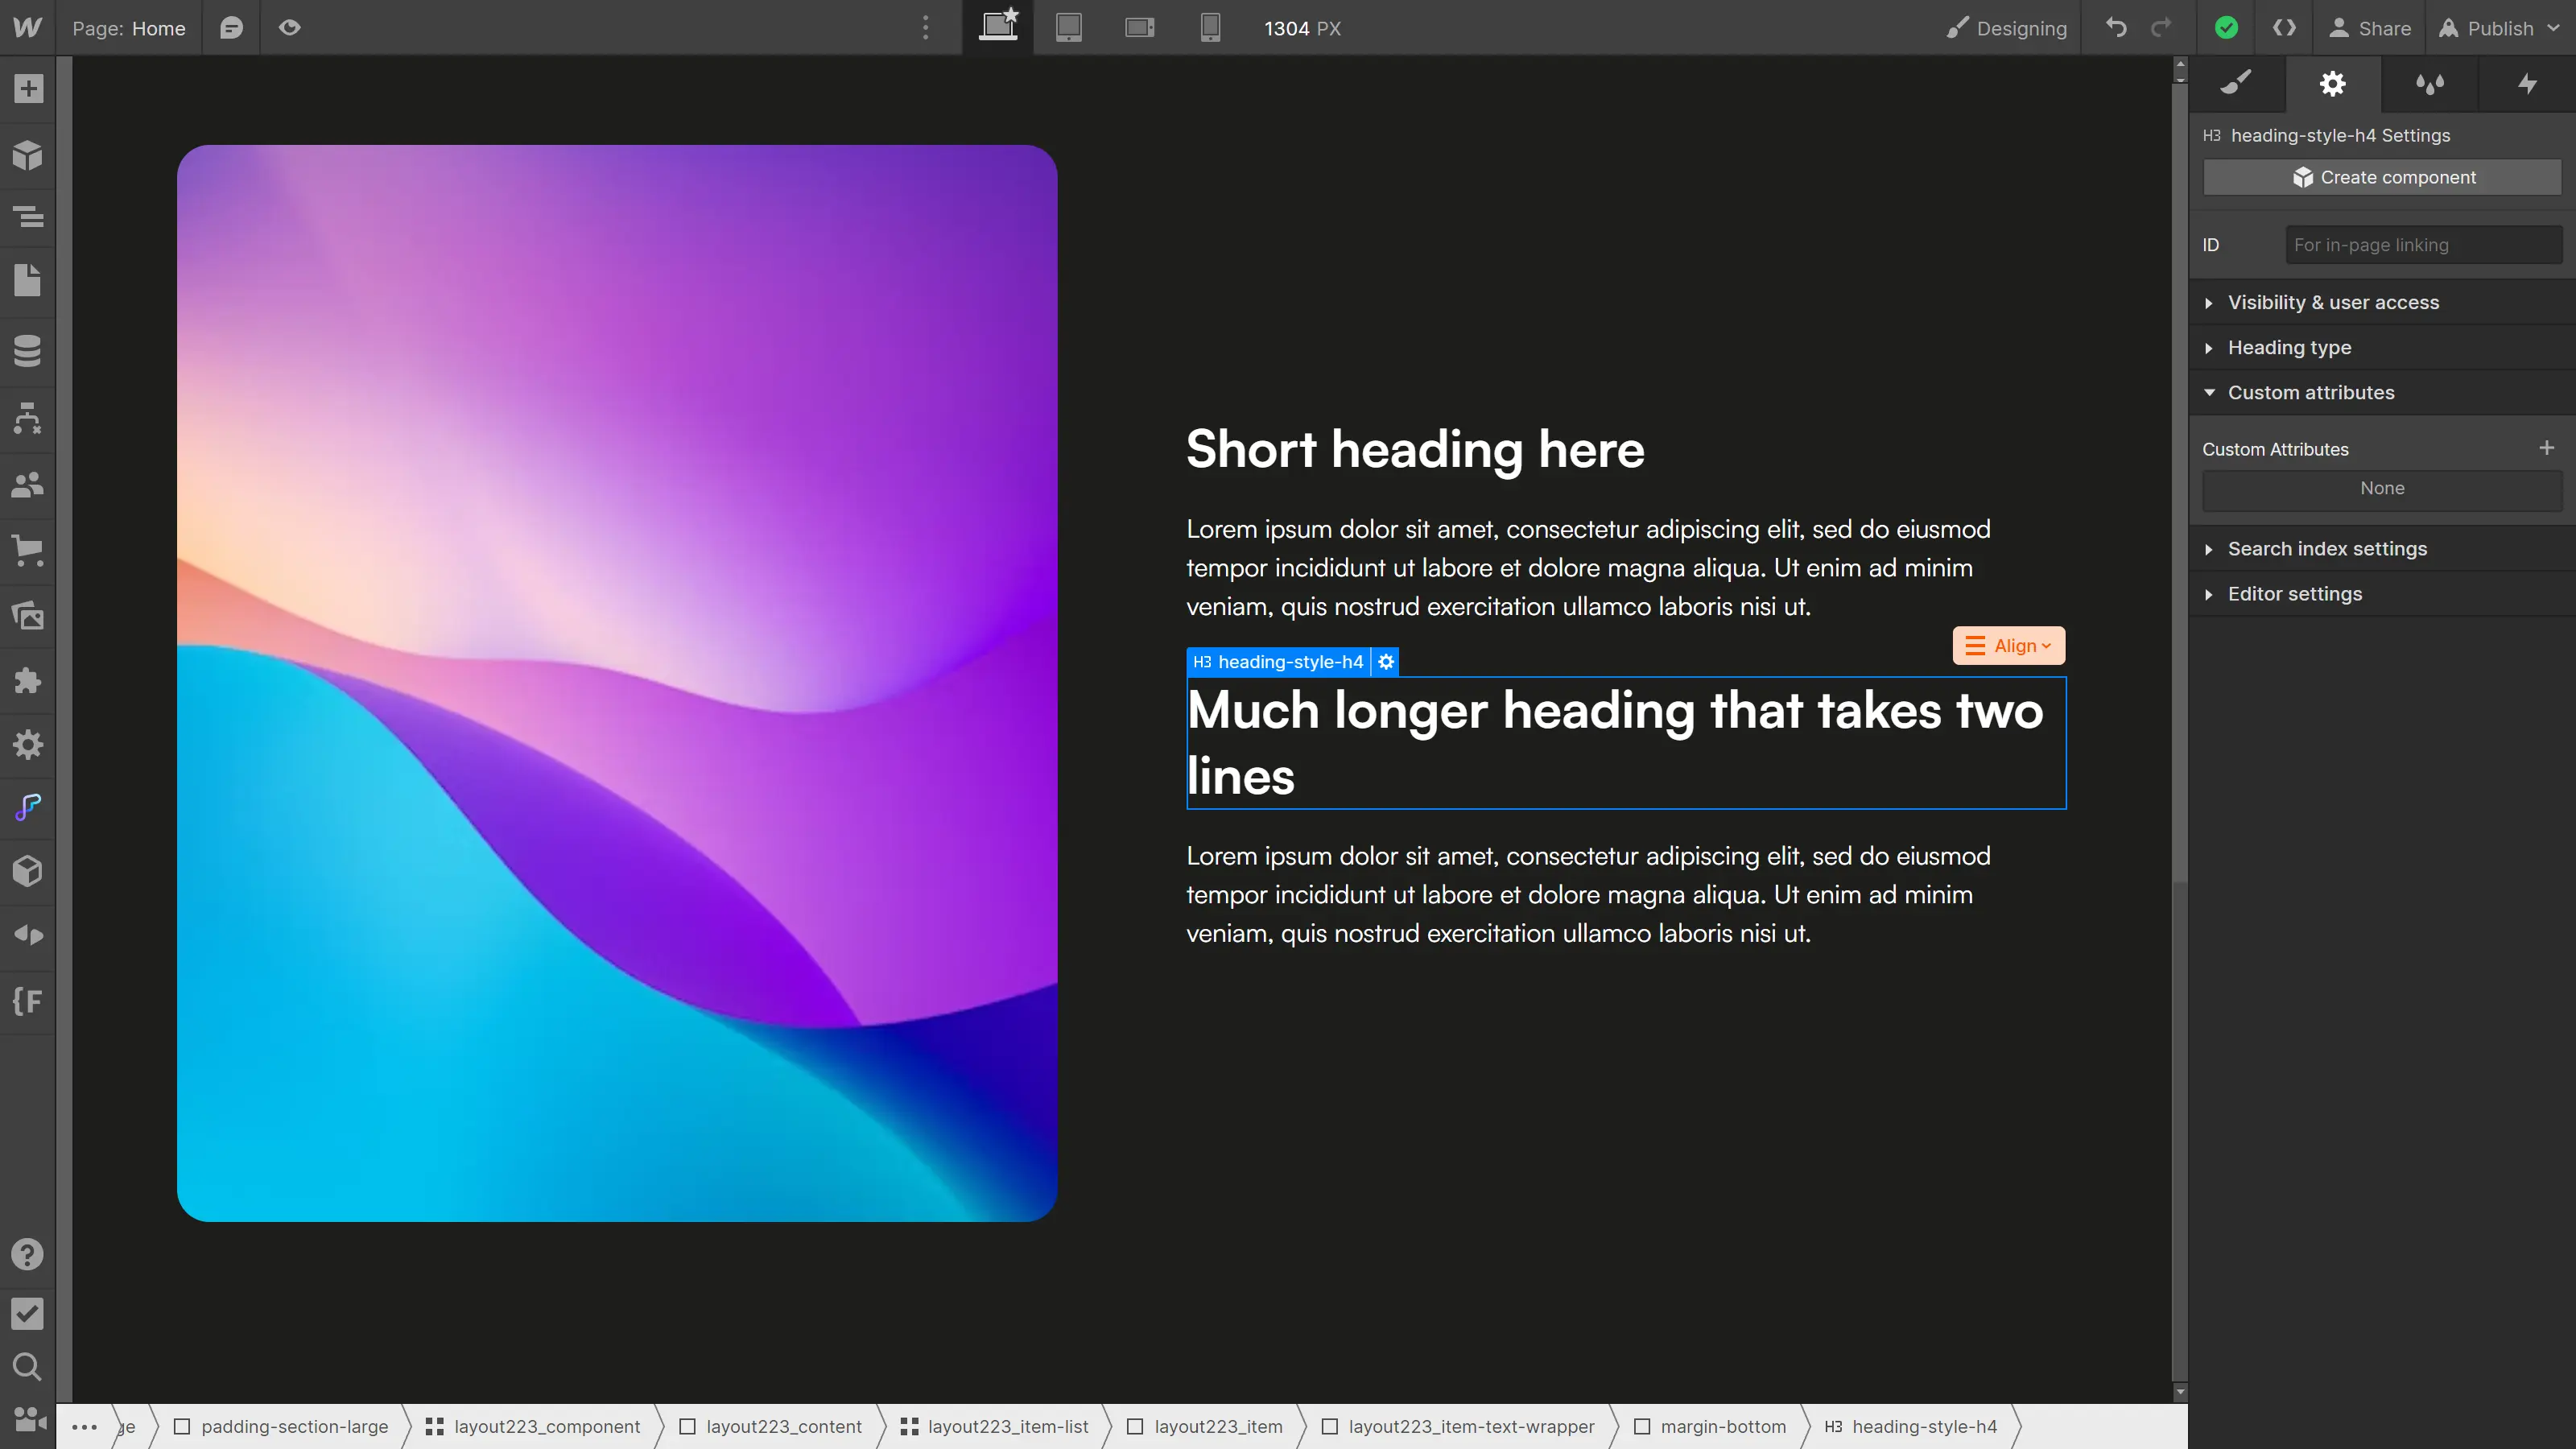
To remedy this, you can use the following CSS property to balance the text distribution across all lines. Since the situation is very specific, it makes less sense to apply this property to a specific class, but rather to a custom attribute that can be assigned to a particular element.
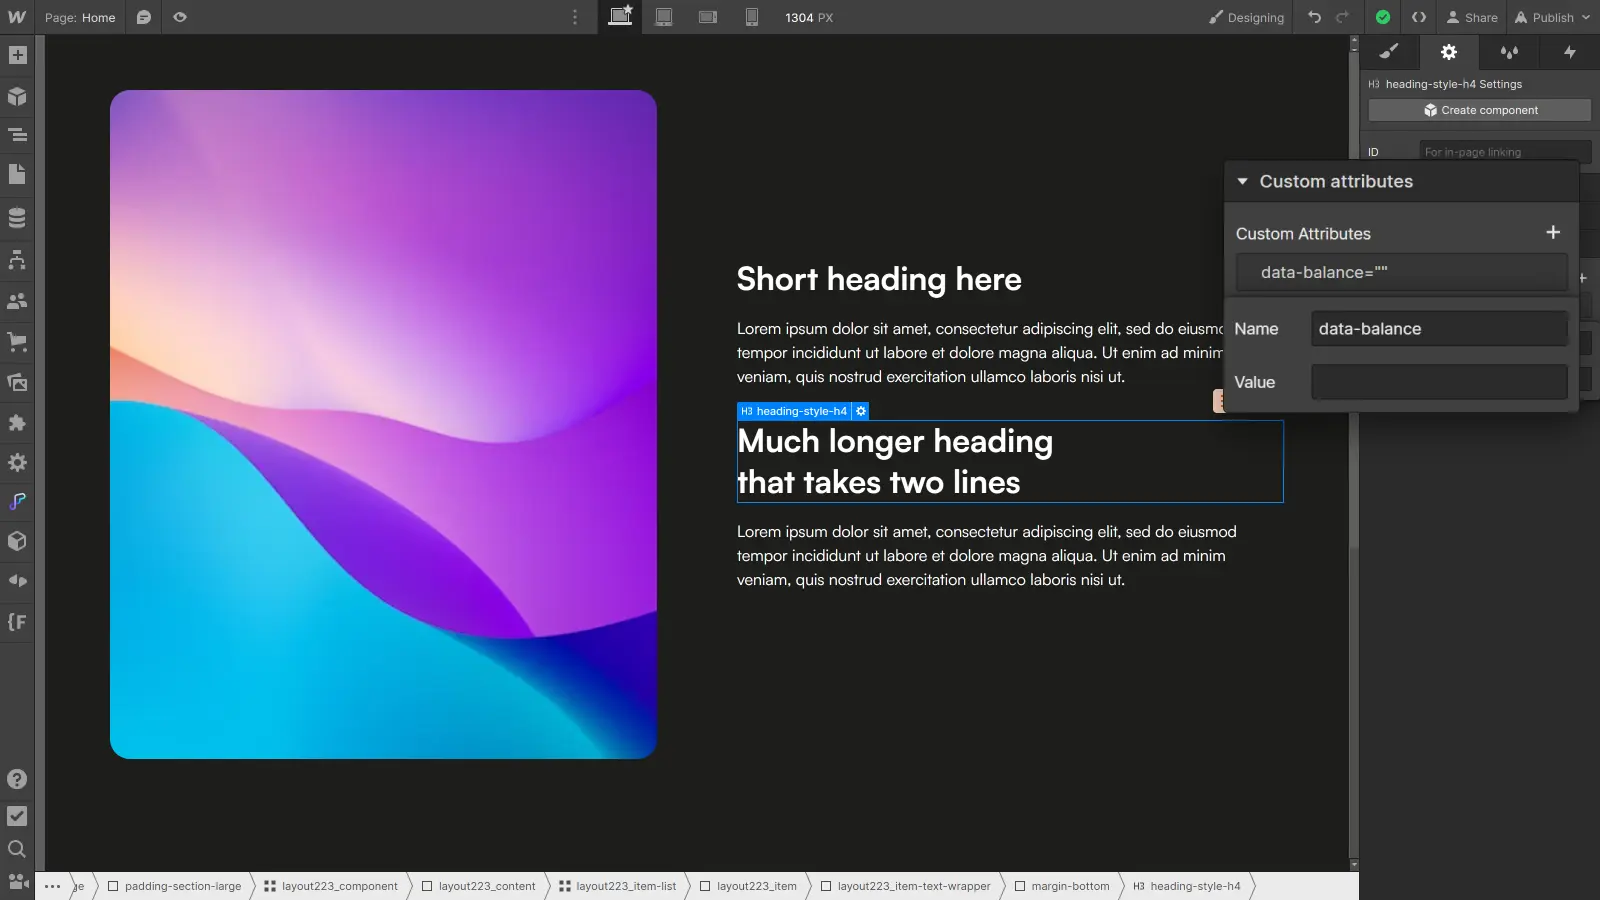
Example of application: This CSS property can be particularly useful for balancing the distribution of certain titles, aiming to maintain a design that is as well-balanced as possible.
Modify the Selection Color
When users select text on your site, it can be interesting to customize the selection color to match your brand identity and stand out.
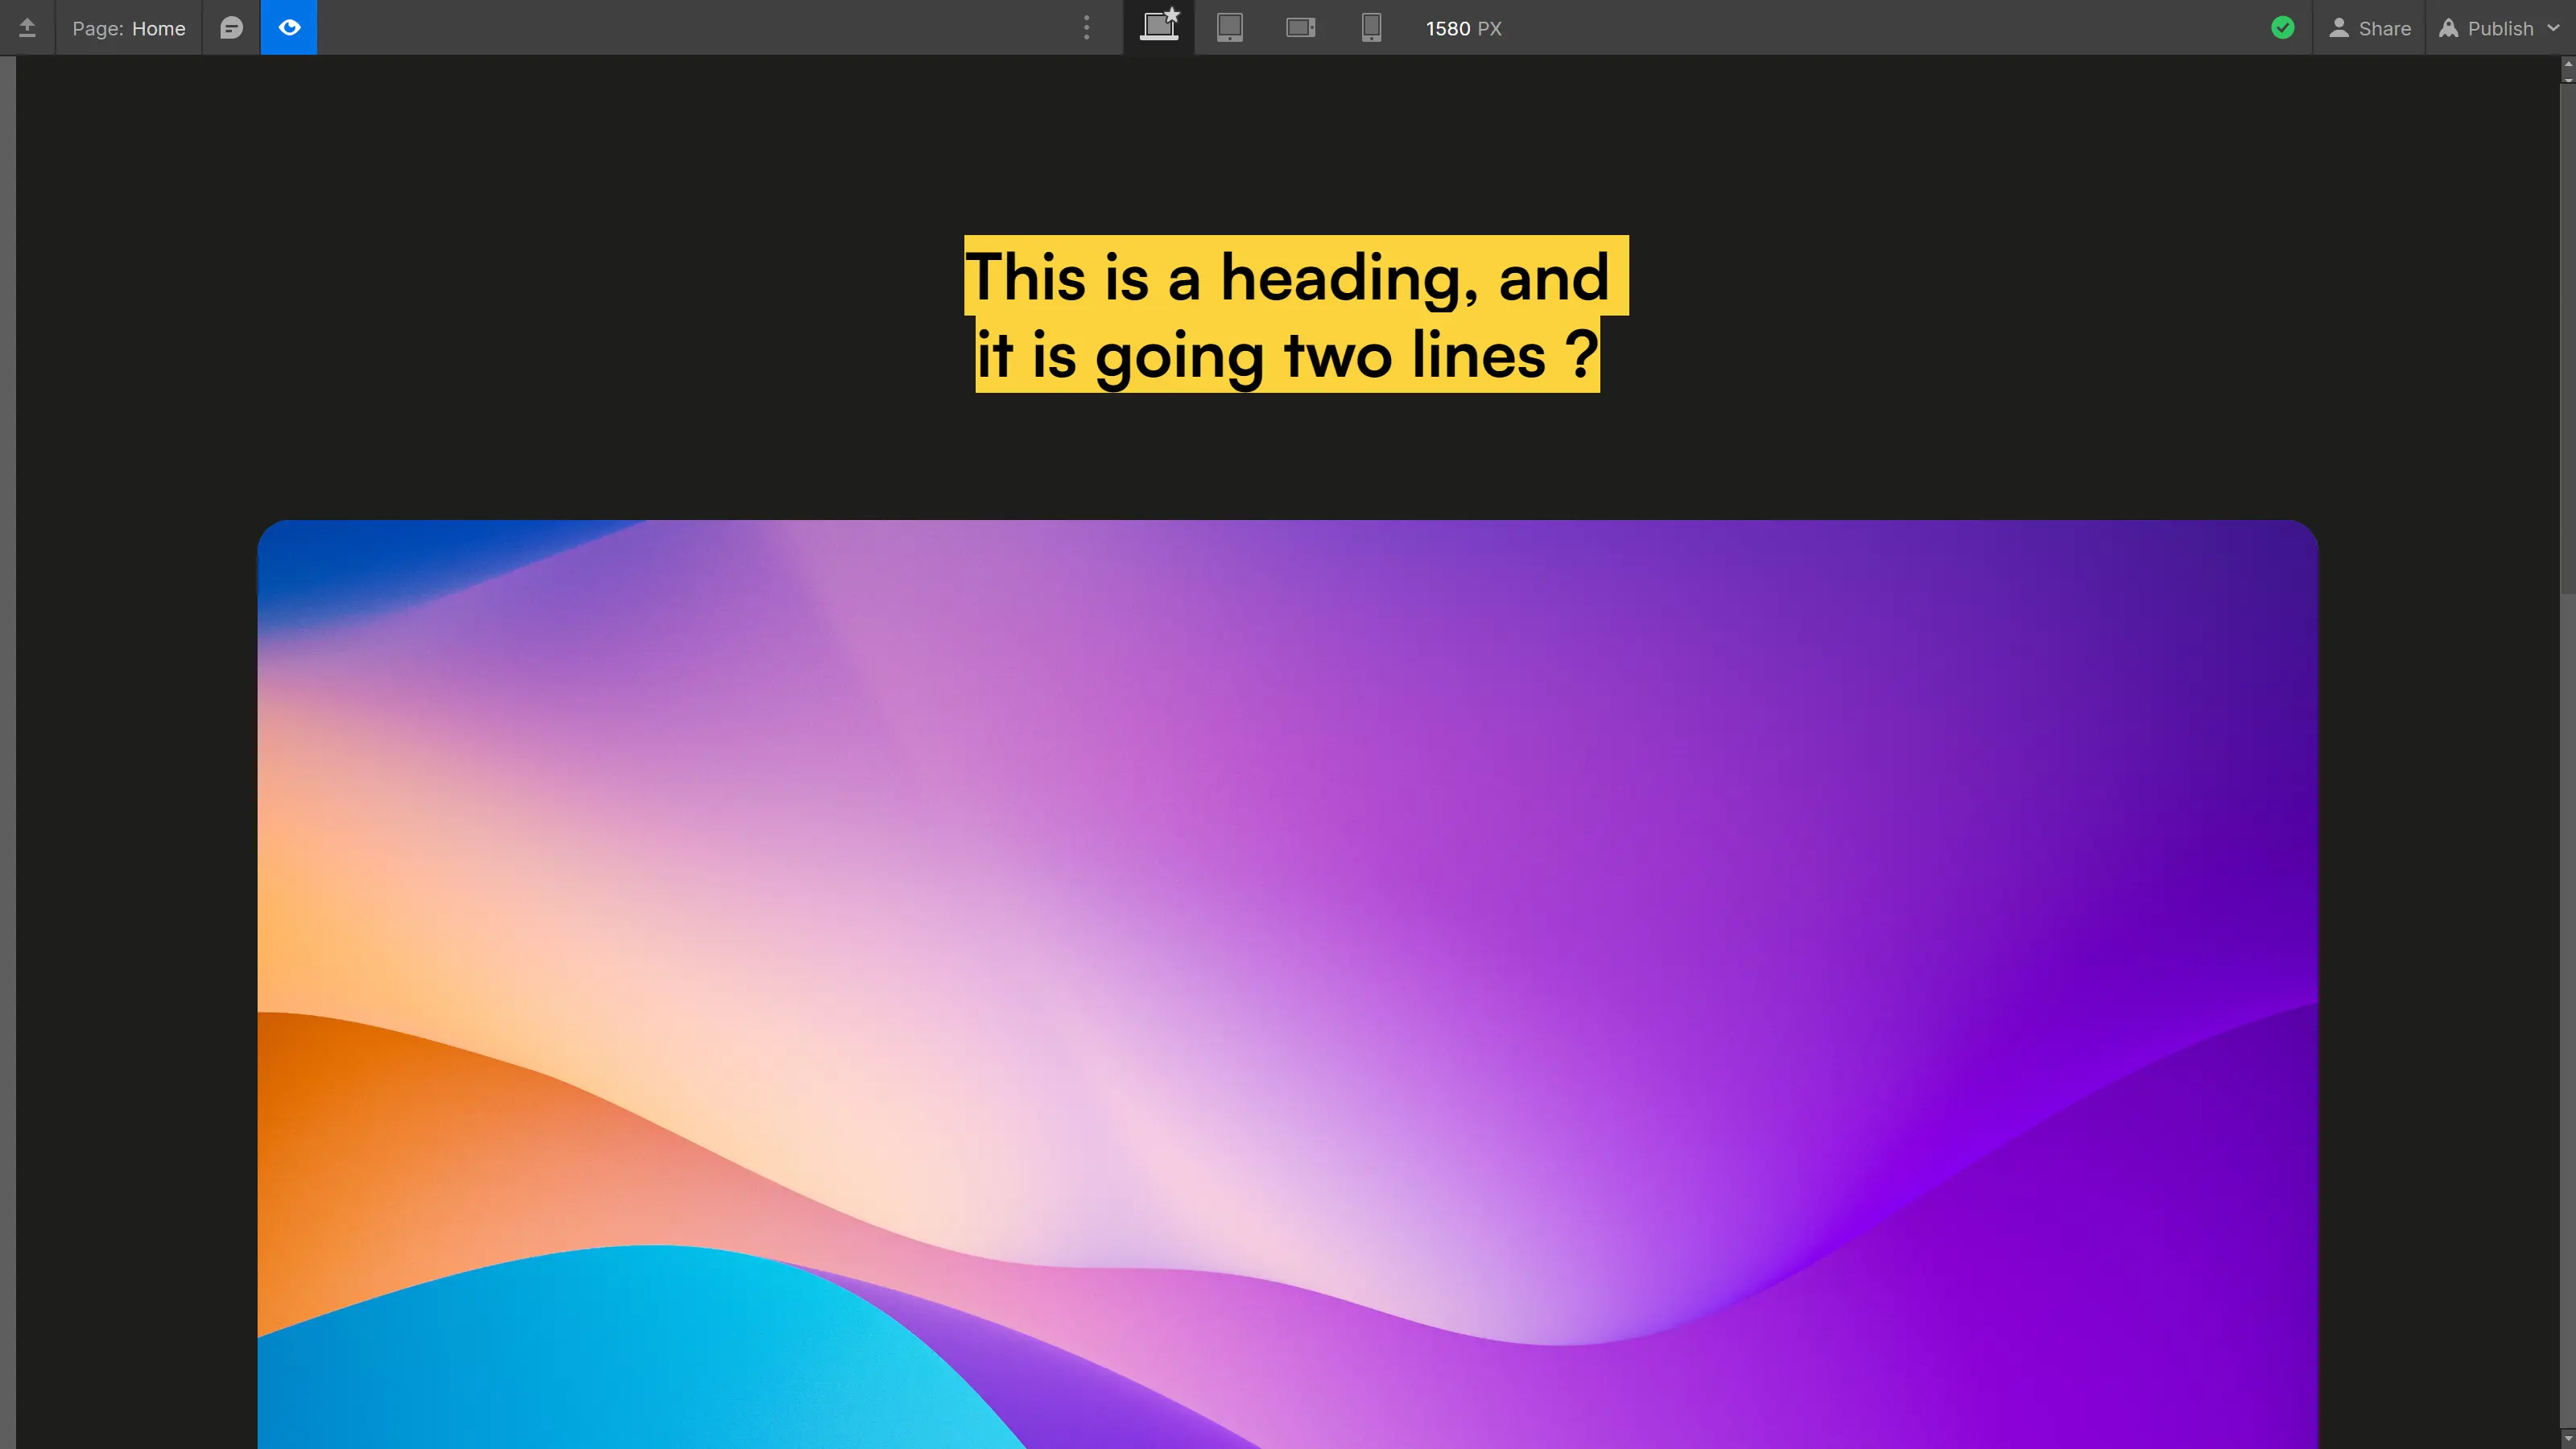
To do this, you can use the following CSS code snippet:
This CSS snippet allows you to specify the background color and text color when text is selected by the user.
Example of application: This snippet can be useful for reflecting the brand identity of a site and ensuring it aligns with its overall aesthetic.
Style an Element on Hover of its Parent
In the style panel, you can change the properties of an element when it is hovered over. However, you may sometimes need to modify the properties of a child element when its parent is hovered over.
In this case, you can use the Webflow interaction panel. However, this involves incorporating JavaScript into your project, which is a much heavier solution than a few lines of CSS, more suited for small interactions.
To style an element when its parent is hovered over, you can add a CSS snippet as follows:
The indication :hover signifies that the animation will occur when the parent element is hovered over, and the children selector that follows immediately (without a comma) indicates that it is the child that will be styled.
Example of application: Imagine that, on hover of a custom button, you want to transition the underline (created with a Div Block) from 0% to 100% width; you can manage the hover animation by adding the following CSS snippet.
Style a Specific Item in a Collection
When working with collections in Webflow, it can be helpful to style a specific element differently from the others. Here’s a snippet to achieve that:
This CSS code allows you to target a specific element from a collection (in this example, the third item) and apply specific styles to that element only (or, as in this example, to one of its children).
Alternatively, to target multiple elements at regular intervals, you can adapt the following snippet:
A bit of a technical part: the first number defines the interval and the second defines the position of the target element within that interval. The previous CSS code thus targets the second item of every four: 2 (4*0 + 2), 6 (4*1 +2), 10 (4*2 +2), and so on.
Example of application: This CSS code snippet can be useful if you have a long CMS collection to which you would like to add a bit of variation.
By adding these custom CSS snippets, you can deeply customize the appearance or behavior of certain elements on your Webflow site. These tips provide you with total flexibility to meet your design needs.
Conclusion
With these custom CSS snippets at your disposal, you now have the ability to broaden your horizons in design on Webflow. Feel free to experiment with them to see how they can enhance your projects.
To delve deeper into the subject, also check out the following articles:


