Introduction
In a Webflow project at Digidop, we believe that every detail matters. However, there are times when some default elements in Webflow can cause minor issues. This is precisely what we will address in this article.
If you are accustomed to developing websites on Webflow, you may have already noticed that the default underline is very close to the text (much closer than the default underline in a Figma mockup, for example), which can affect the aesthetics and readability of your designs.
But don’t worry, we have the solution to this problem, and it is extremely simple as it only involves a tiny line of custom CSS code that you can consistently integrate into your Webflow sites.
In this article, we will show you how to easily incorporate this adjustment into your projects. Let’s get started!
The Default Underline Issue in Webflow
The default underline in Webflow is actually very close to the text itself, almost merging with the letters, which can create an aesthetic that doesn't always align with your design vision.
To illustrate this, let’s compare it with the default underline in Figma mockups:

When you create underlined text in Figma, you’ll notice that the underline is positioned lower, which enhances the overall readability of the text. In contrast, in Webflow, the rendering is not the same, and that’s where we come into play.
The Quick Solution with Custom CSS Code
Now that the problem is identified, let’s move on to the solution. Fortunately, this solution is incredibly straightforward: all you need is a line of custom CSS code.
The magic line we will use is as follows:
By adding this to your Webflow project, you adjust the gap between the text and the underline to 0.25em (a relative unit of measurement based on the font size).
To apply this effect to your site, follow these steps.
If you’re using the Client-First cloneable:
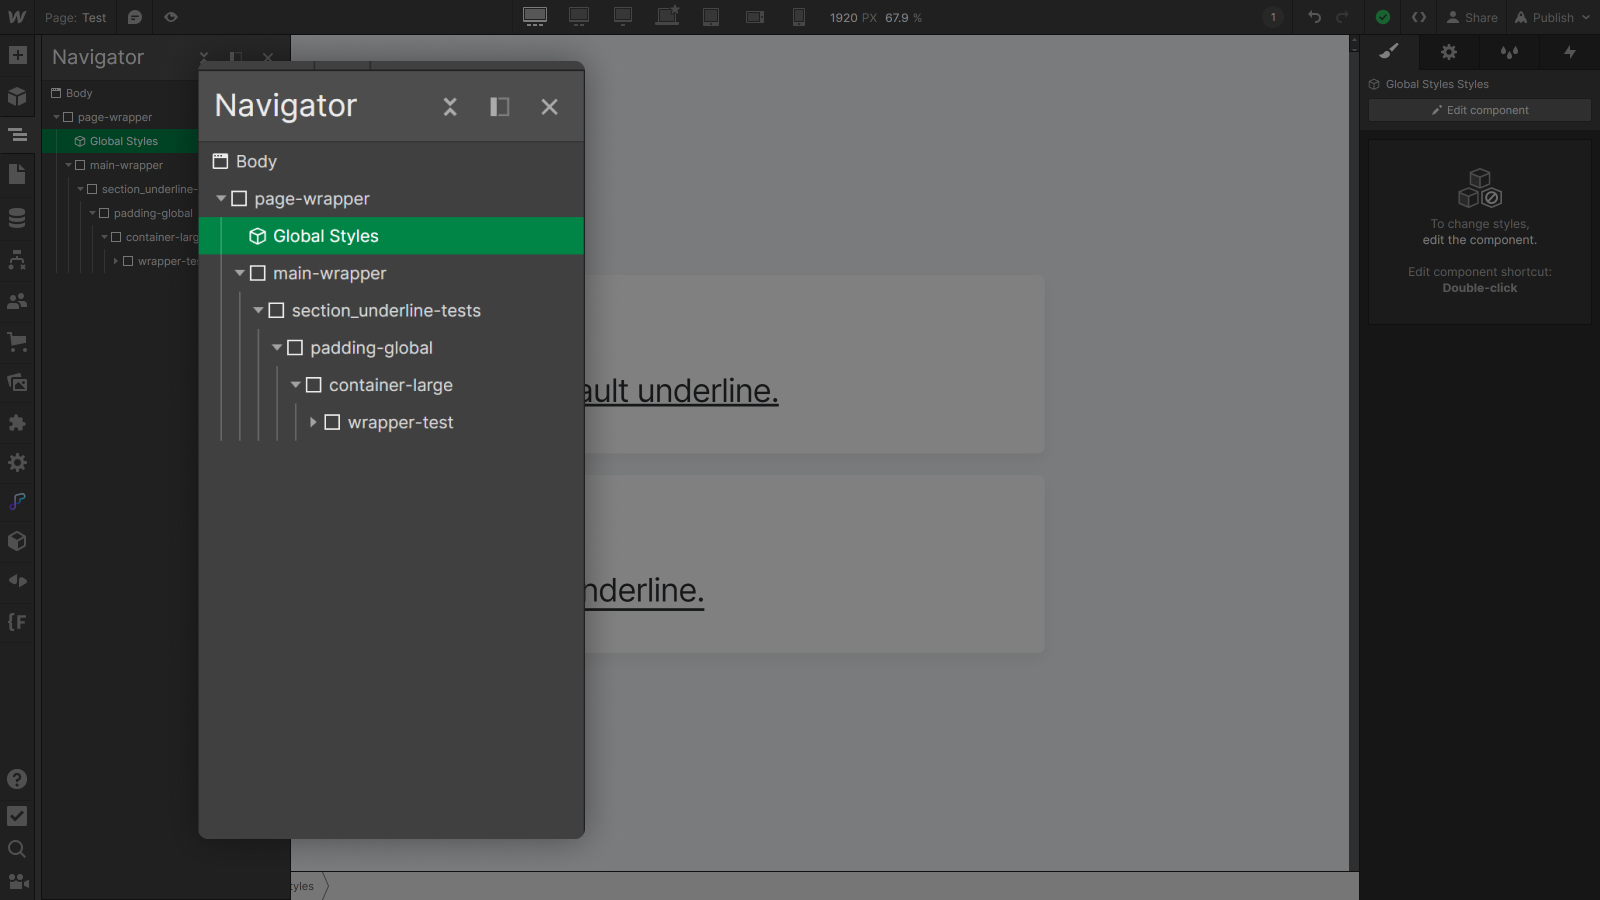
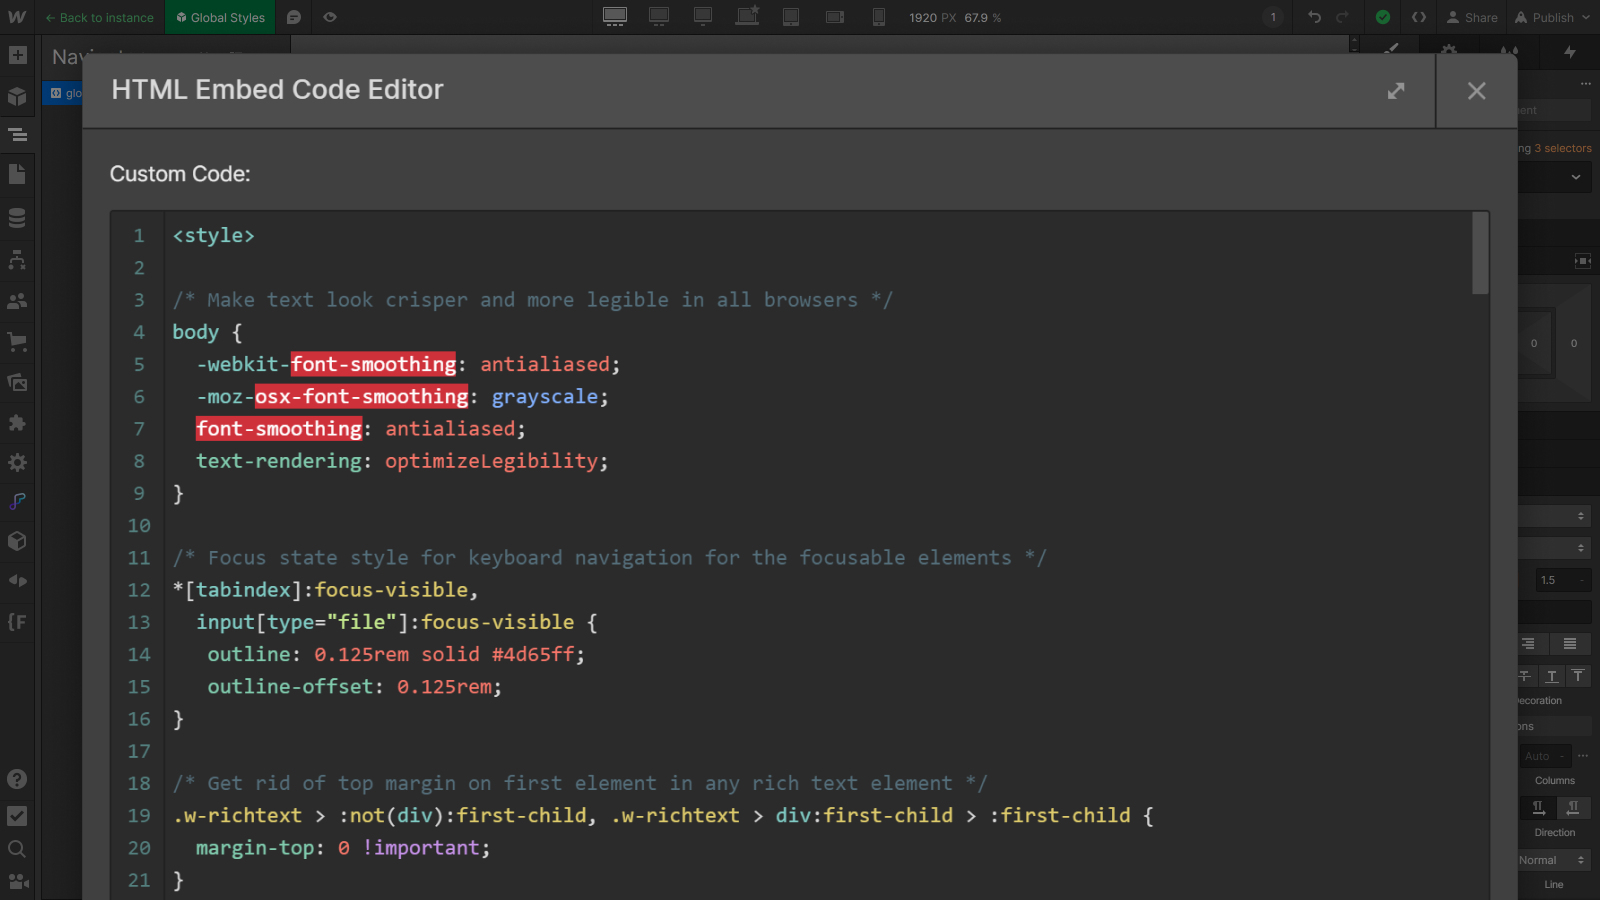
- From the Designer browser, open the Global Styles component, then the Embed inside to access the global styles of Client-First.

- Once opened, scroll to the top of the Embed to the styles that enhance readability.

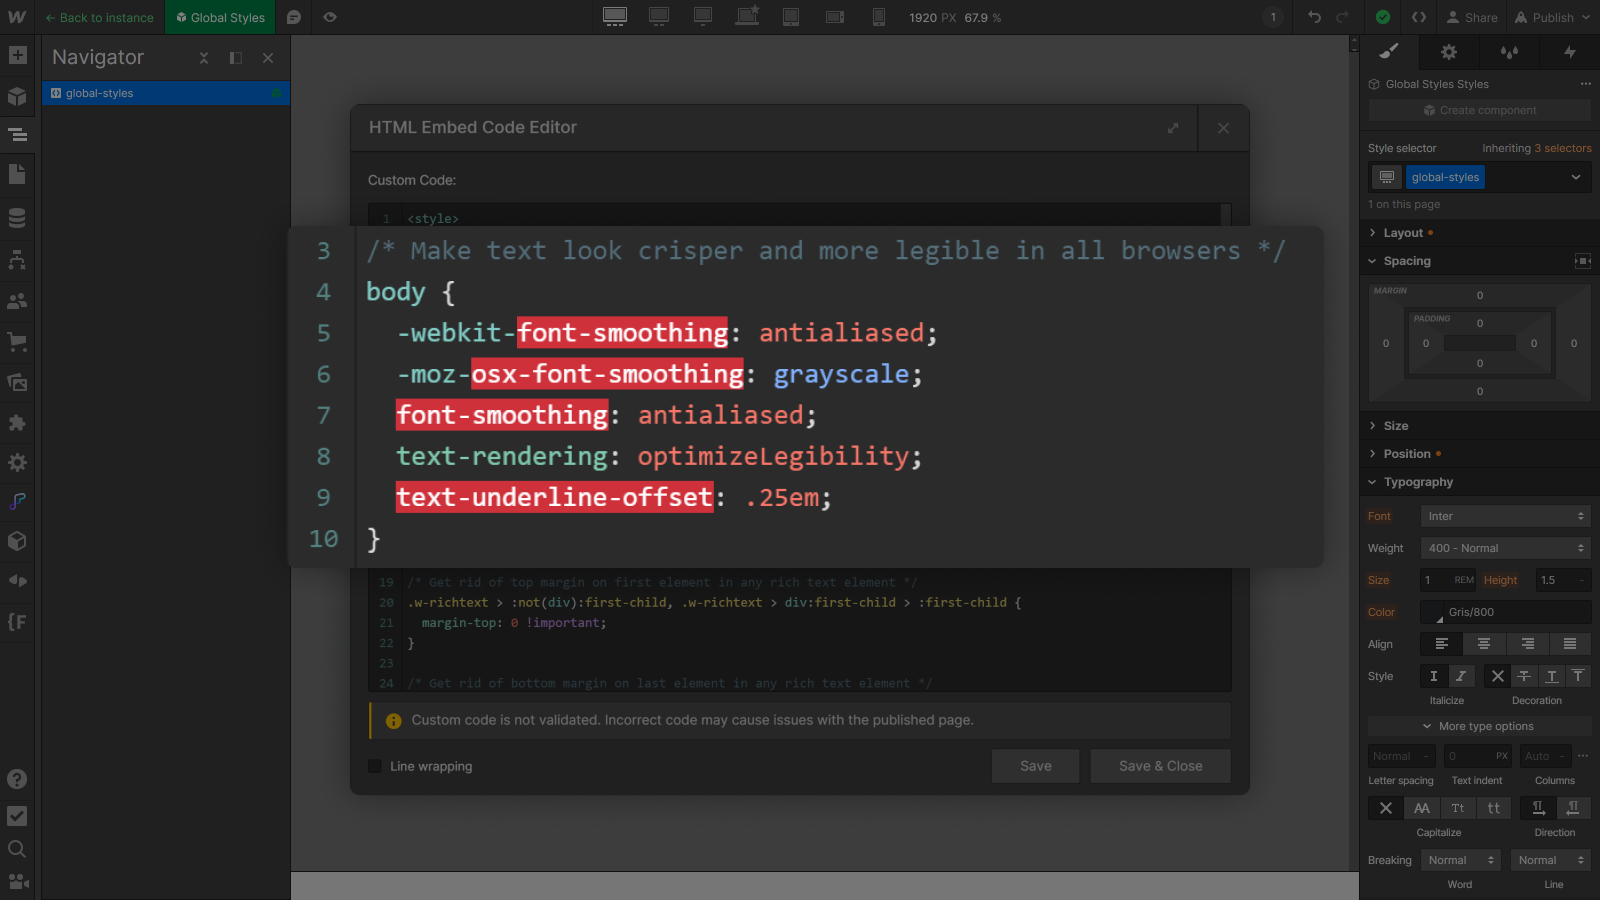
- Finally, just add the following line to the Body element (as shown in the image).

If you are creating a project from scratch and not using the Client-First cloneable:
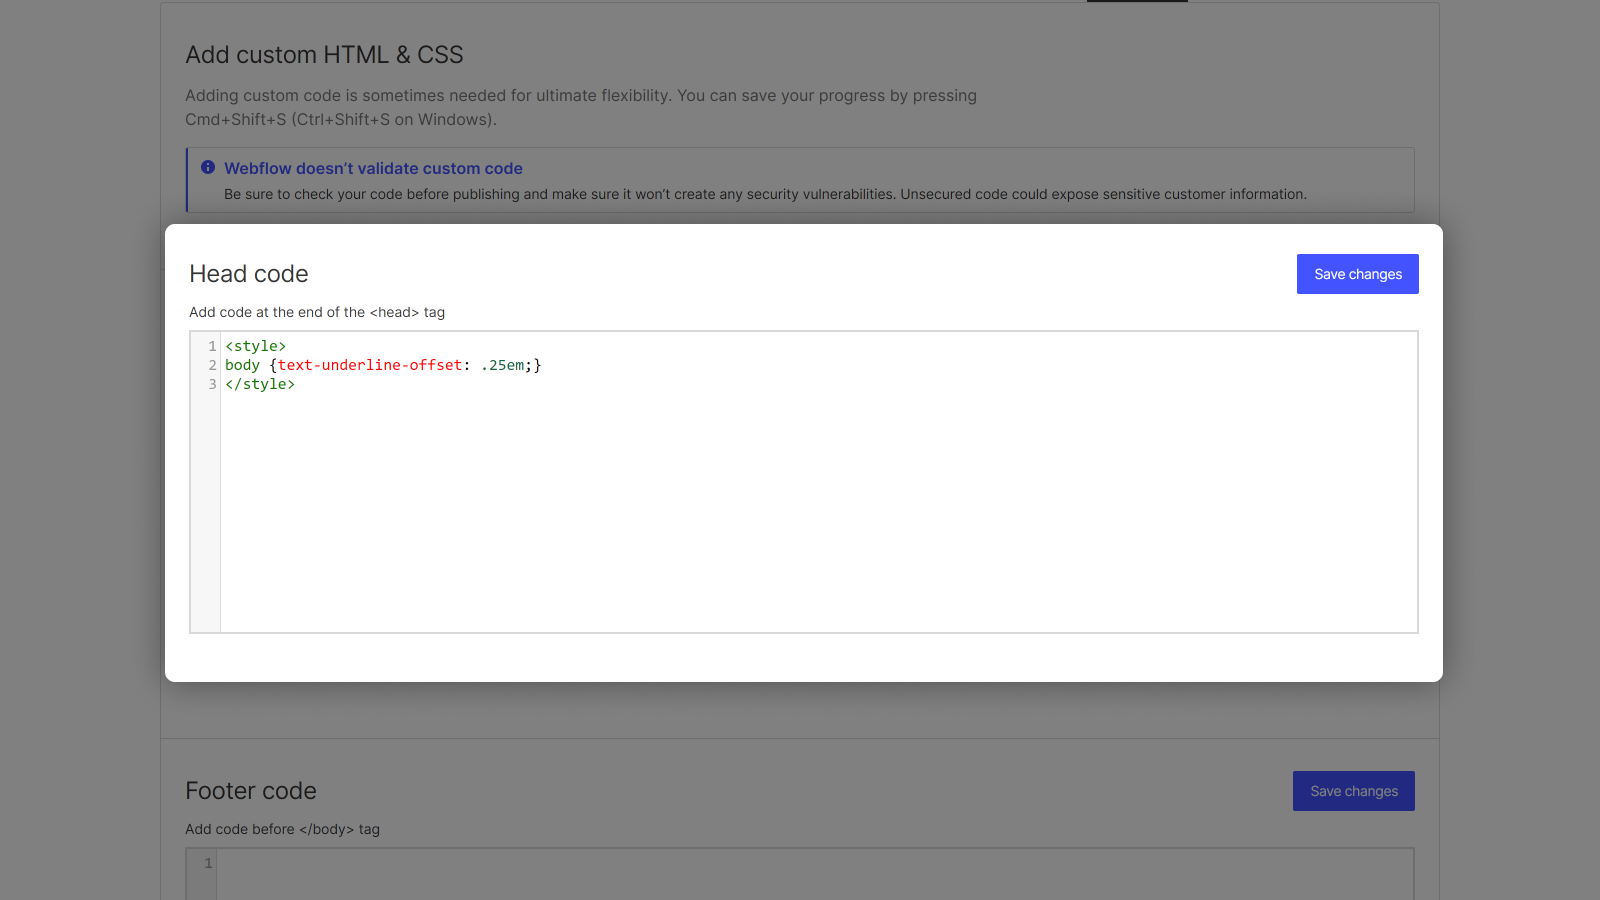
- Open the site settings and go to the Custom Code tab.
- Copy and paste the following code into the header:

You can also, similar to the Client-First setup, create a global Embed in which to add this custom code so that the styles are visible in the Designer (adding CSS in the custom code in the page or site settings will not show the changes in the Designer).
Lastly, after adding the line of code and possibly adjusting the value, make sure to publish your site. It’s as simple as that!
Conclusion
Congratulations! You now have a new simple yet very practical tip in your Webflow toolkit.
Every little detail matters in creating an exceptional user experience: adjusting the underline is no exception as it contributes to making your website text more aesthetically pleasing and readable.
To delve deeper, read our latest articles:
- Digidop Back to School 2023: Achievements, Developments, and Perspectives
- Discover the New Webflow Apps (+7 Apps to Use for Your Upcoming Projects)
- How to Create an Infinite Marquee of Logos in Webflow
…or check out our YouTube channel!


.jpg)
