The Webflow Apps herald a new era in web development, providing creators with a range of powerful and innovative tools. These applications redefine the way we design and develop websites, making each step more intuitive and efficient.
Within this revolution, the Unsplash App stands out for its ability to inject a striking visual dimension. It enables designers to seamlessly integrate stunning images into their Webflow projects, simplifying the creative process while enriching the user experience. This article explores how the Unsplash App opens new horizons for creatives, merging visual art with web design in a captivating manner.
Installing the Unsplash App in Your Webflow Project
In this section, we will guide you through the simple and quick process of installing the Unsplash App in your Webflow project. You will learn how to access this feature and integrate it seamlessly into your workflow.
1. Search for the Unsplash App in the Webflow Marketplace
The first step to using Unsplash directly in the Webflow Designer is to navigate to the page listing all the Webflow Apps. Once you are logged into your account, you can find the Apps in the dropdown menu labeled "Marketplace".
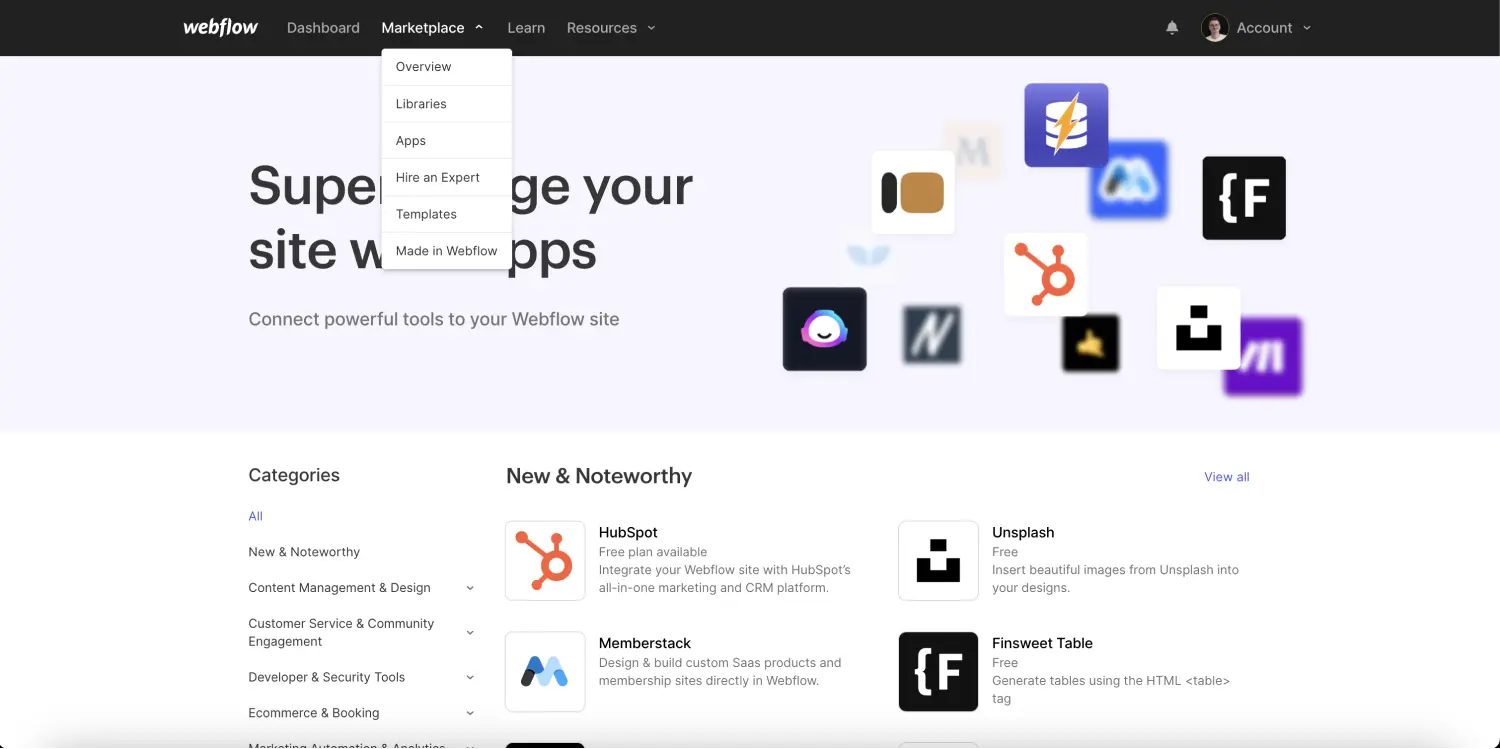
Next, among all these wonderful applications, you need to search for the Unsplash one.
2. Add Unsplash to a Webflow Project
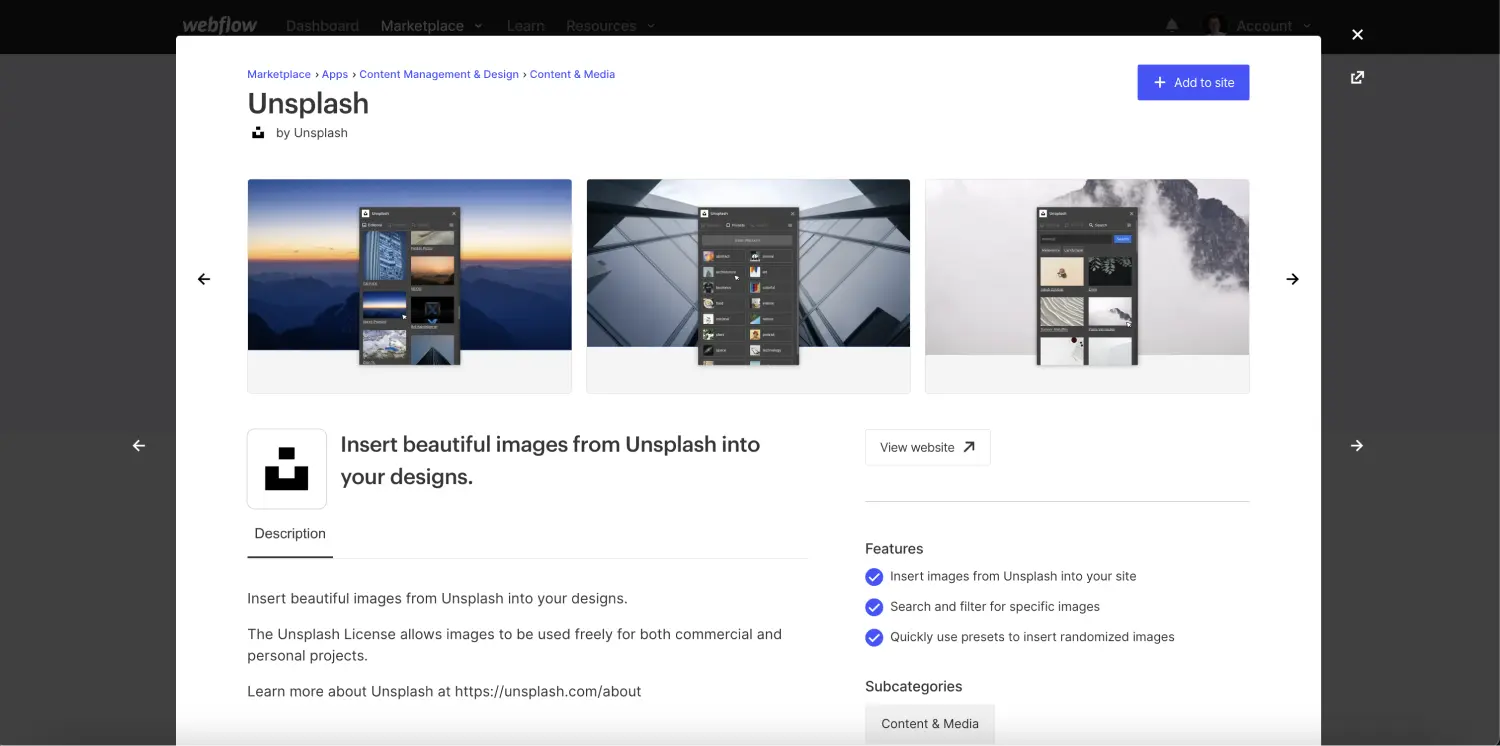
After finding the Unsplash app, you can click on it. A pop-up will appear with a button "Add to site", allowing you to add it to one or more projects.
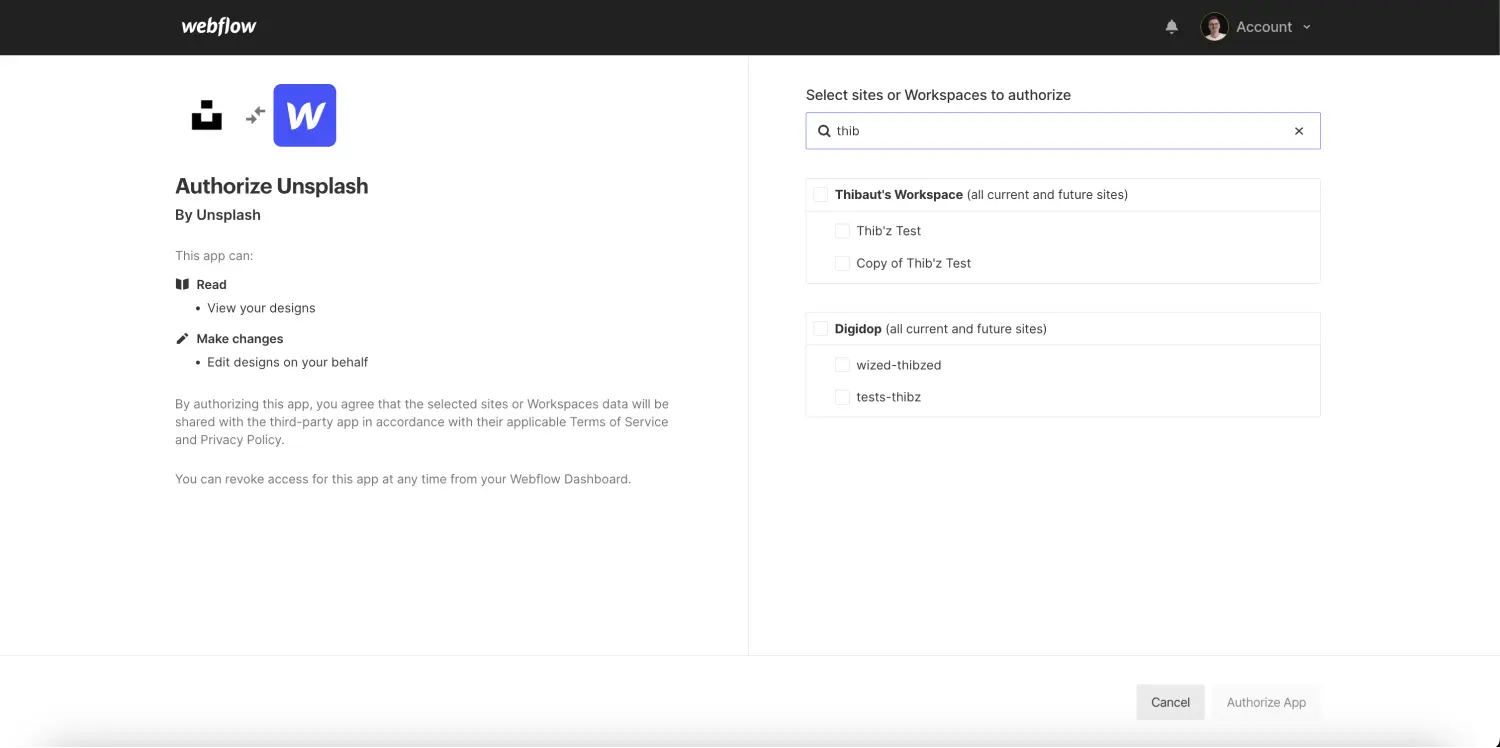
When you click the button, you are redirected to a page that allows you to choose which Webflow projects you want the application in. You will see all the projects in the workspaces you are a member of.
The search bar allows you to quickly find the project or projects you want.
Select one or more Webflow projects and then click on "Authorize App", at the bottom right.
3. Find the App in Your Project
After clicking "Authorize App," you will be redirected to your workspace, and a message will confirm that the app has been successfully installed.
You can now open the Designer for your Webflow project.
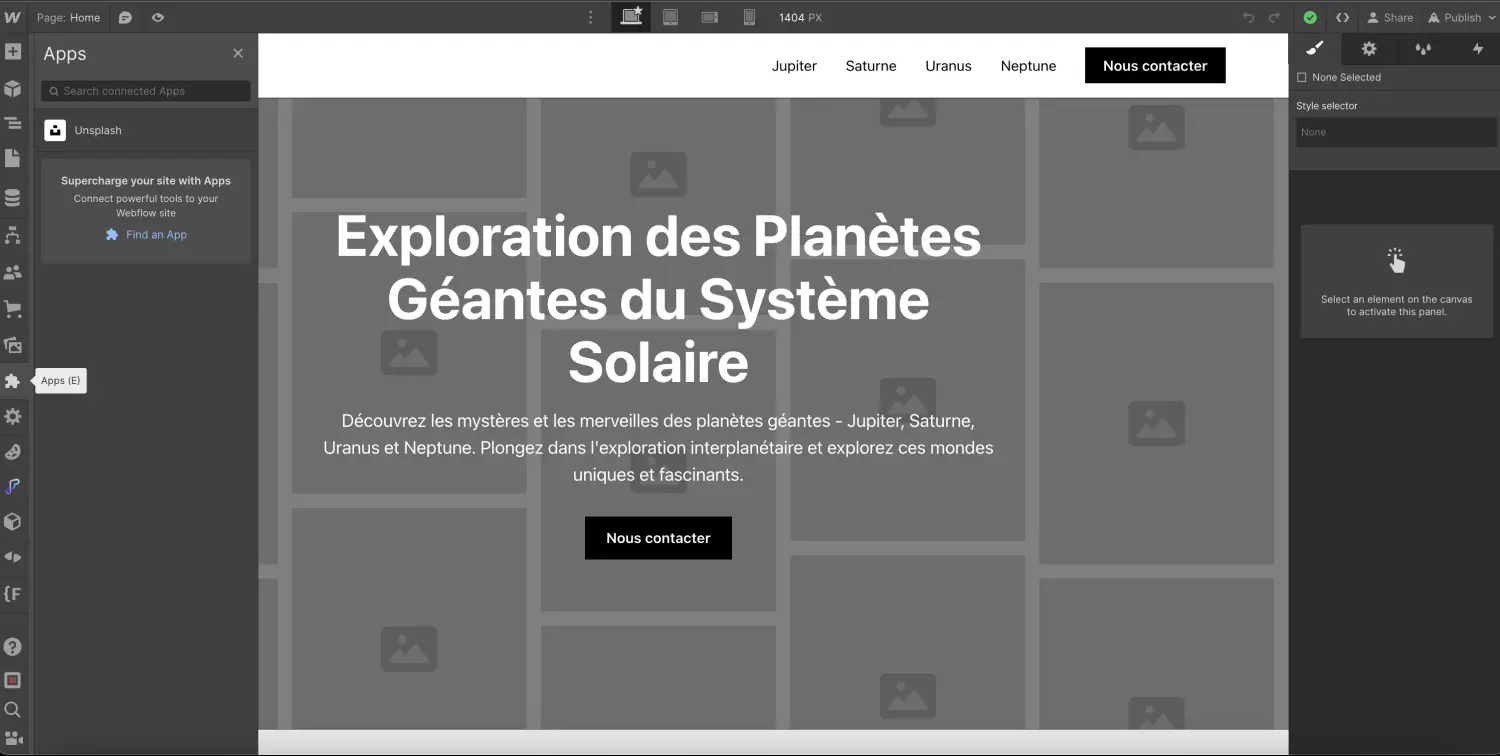
To use the app, you need to open the apps tab (keyboard shortcut "E" or by clicking the puzzle piece icon below the icon to access your assets).
In this tab, you will find all the applications you have installed for this project. To use Unsplash, click the "Launch" button for it.
Using the Unsplash App in Webflow
Adding an Unsplash Image in the Designer
There are several ways to add an image to your project via the Unsplash app.
Method 1: Add as an Element
- Select a Div block
- Launch the app
- Search for and click the image you wish to add
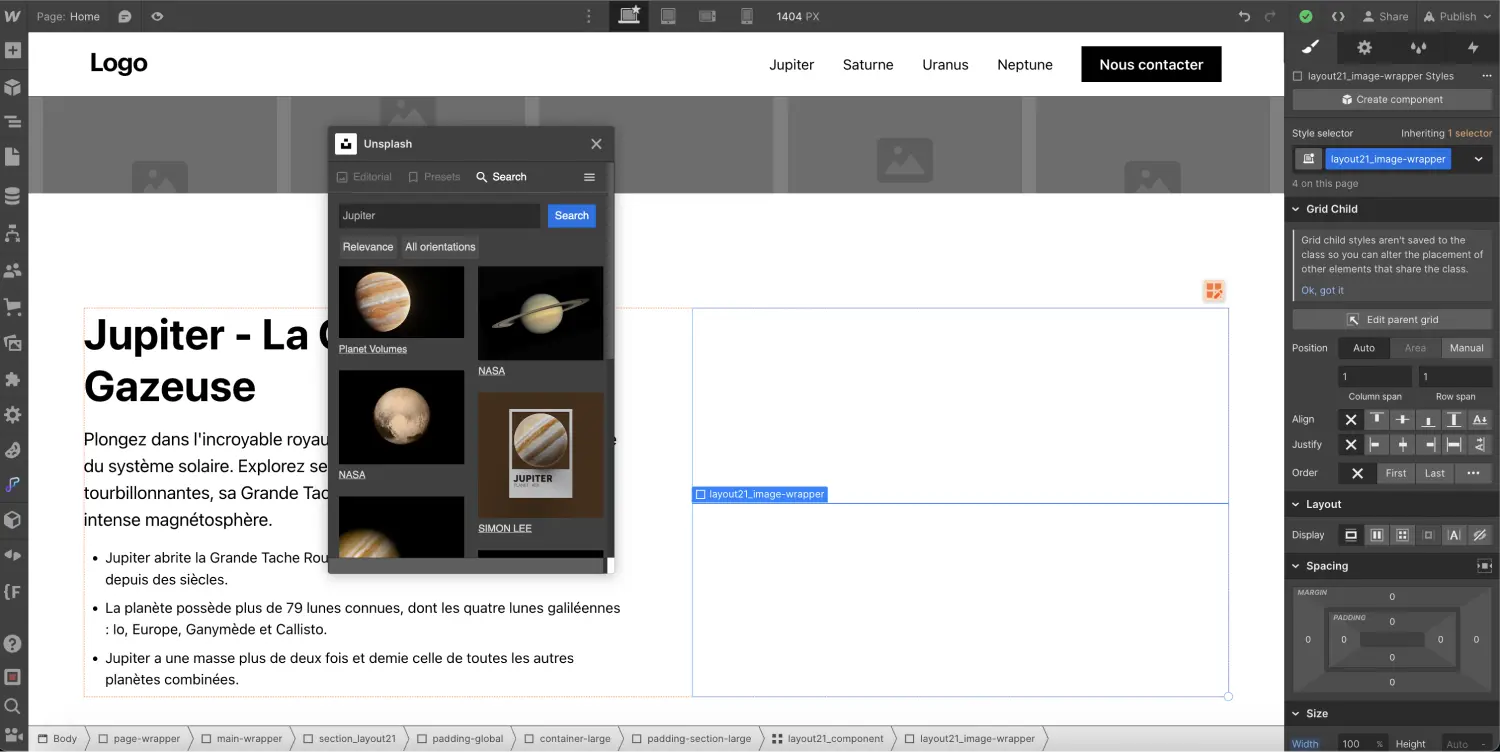
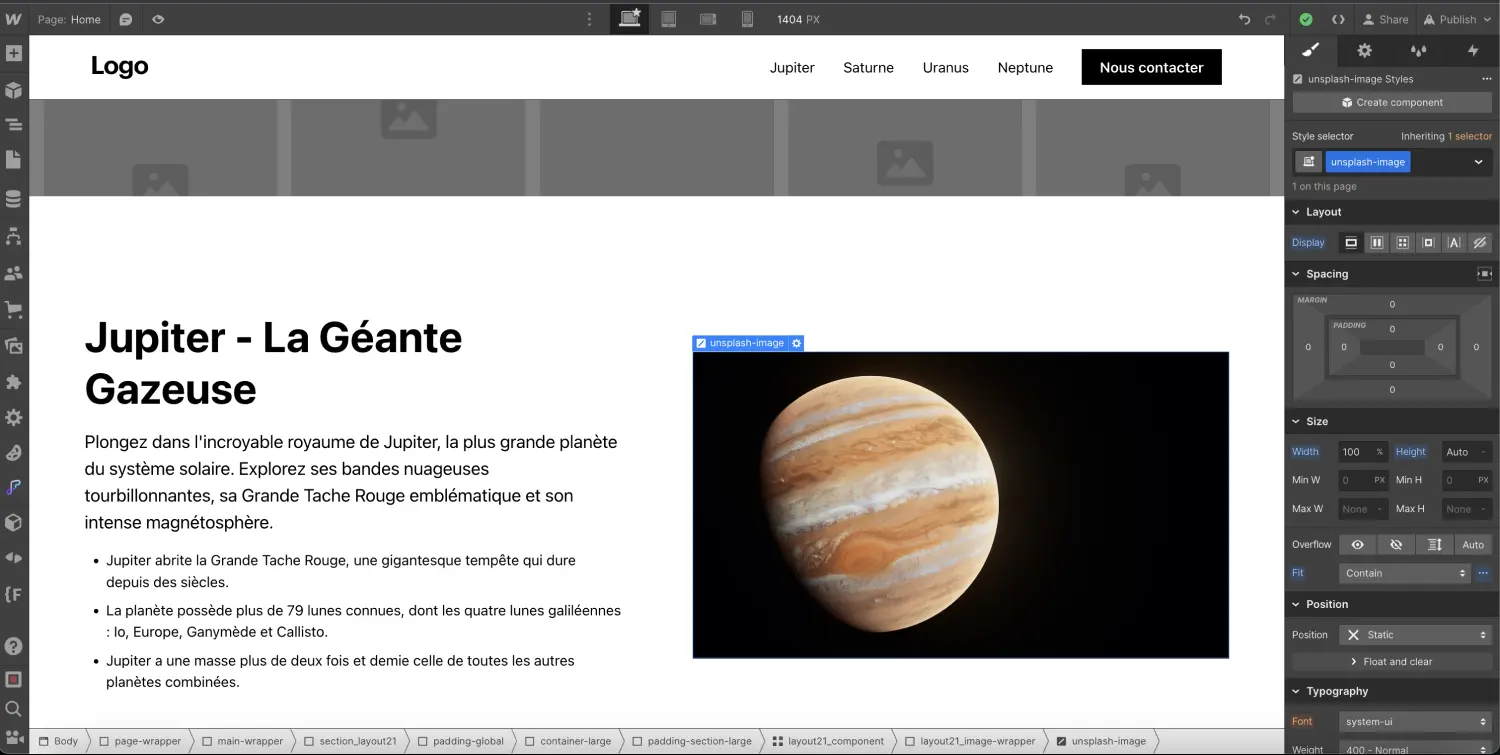
In this case, an "unsplash" element containing your image will be added as a child element (inside your div). A class ".unsplash-image" will automatically be added to the new element.
Method 2: Replace an Image
- Select an image element or an unsplash image element
- Launch the app
- Search for and click the image you wish to add
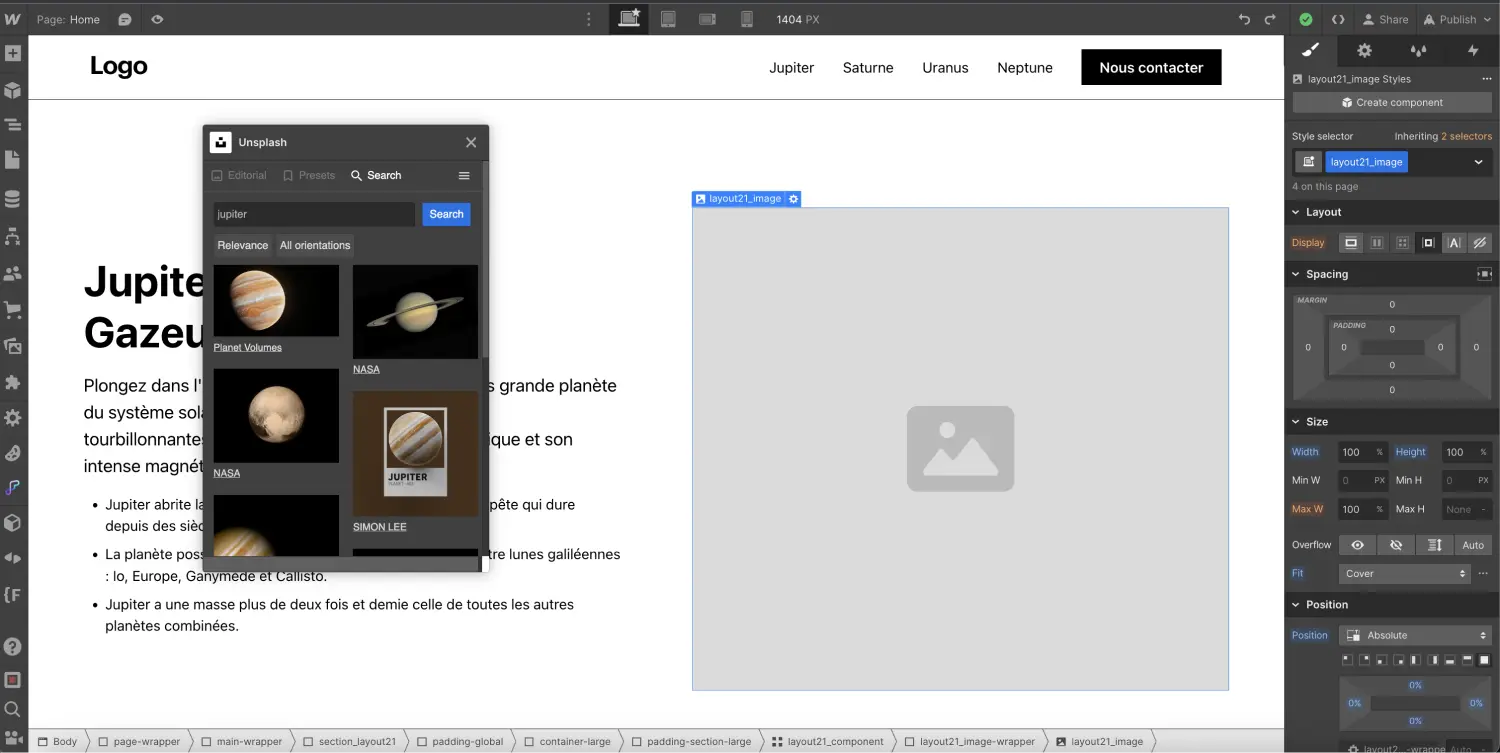
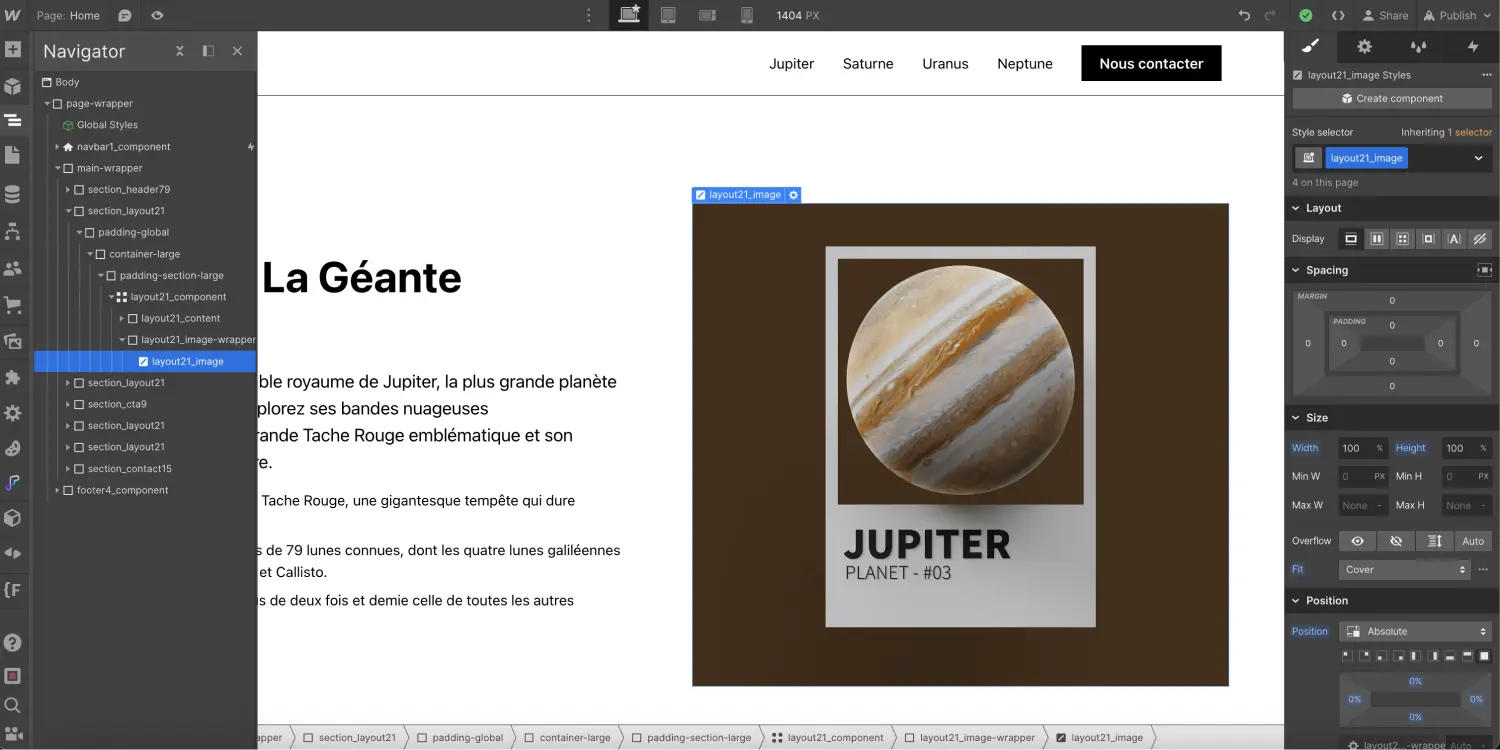
In this case, an "unsplash" element will replace your image element or your previous "unsplash" element with the new image. Note that sometimes the unsplash element retains the class you had previously given to your image element, while other times it keeps its class ".unsplash-image". Make sure to properly set or redefine the class you wish to apply to your unsplash element.
Features of the Unsplash App for Webflow
Various features are offered in this application:
- Access to "trending" images
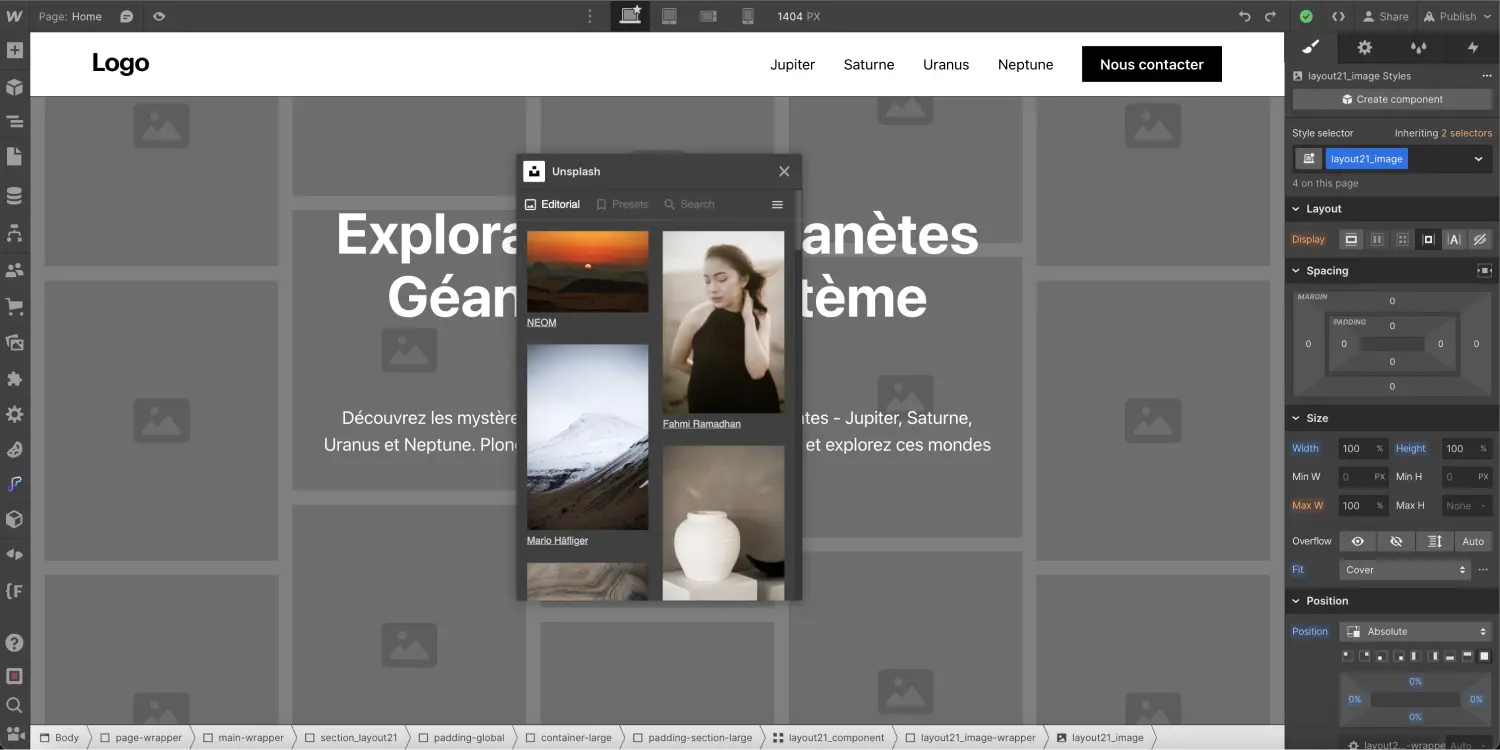
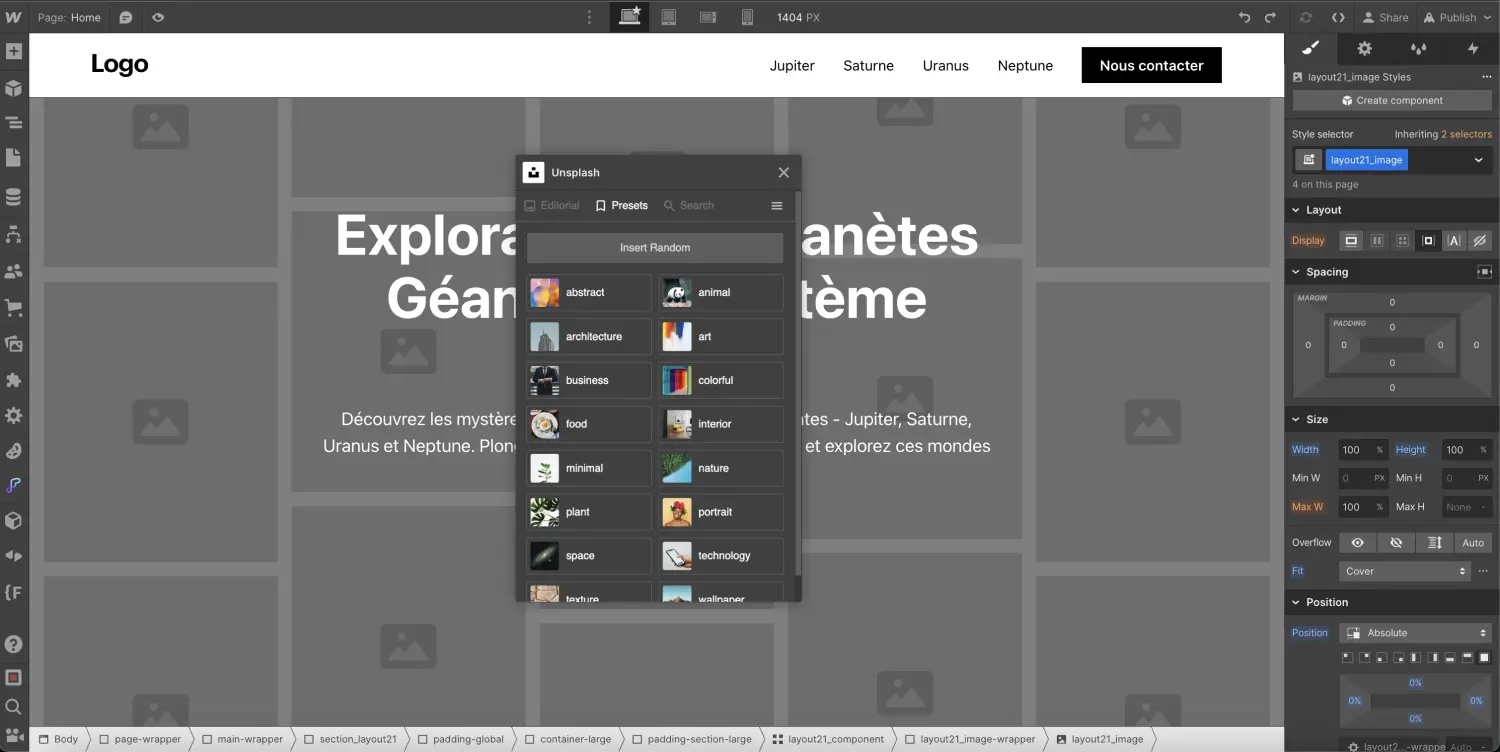
- Add random images based on themes (Animals, Abstract, Business, etc.)
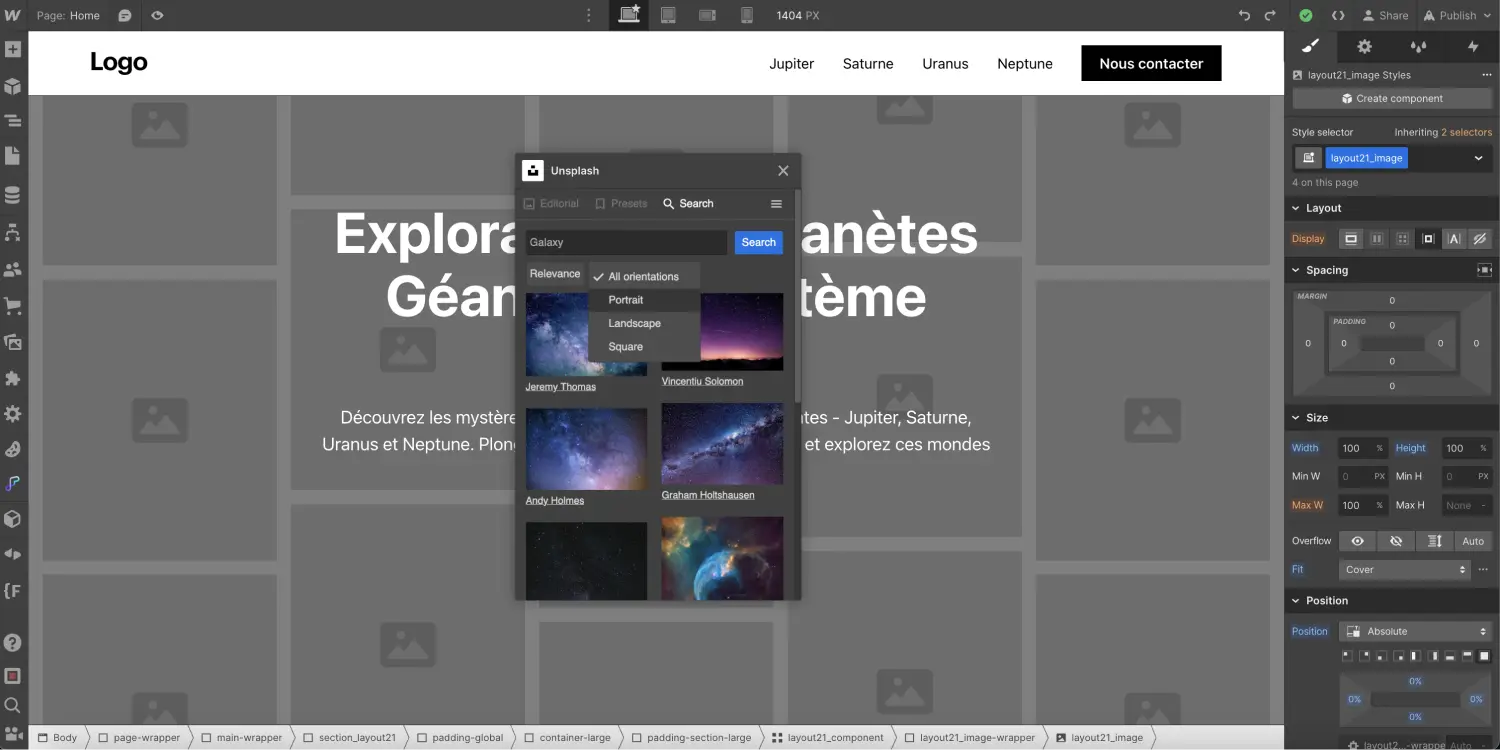
- Search for images via a search bar and filters (Orientation and New or relevance)
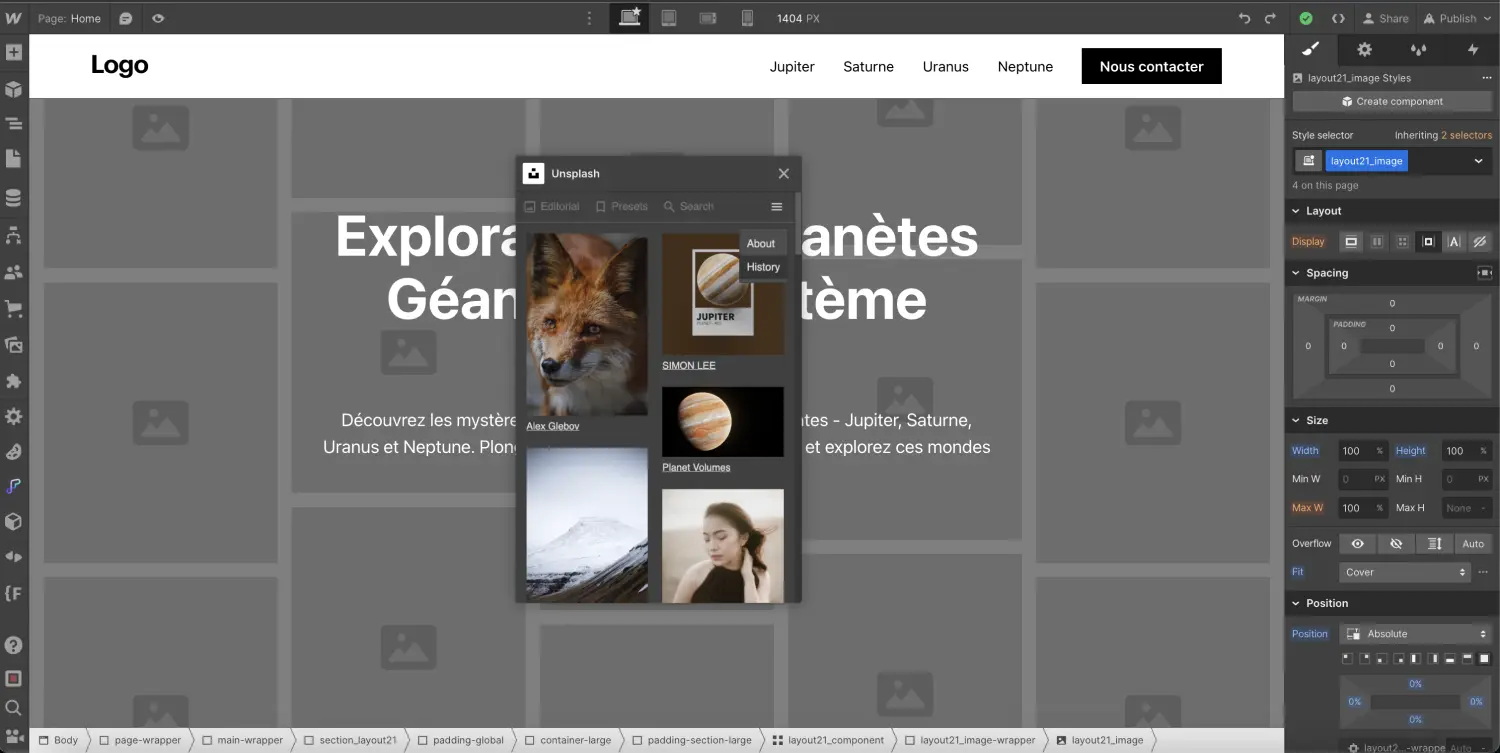
- Access the history of added images (by clicking on the 3 lines to the right of "Search")
Specifics of the Unsplash App
You will quickly notice the specifics of unsplash elements, but here they are:
When you add an image via the Unsplash app, it does not appear in your assets as it is sourced directly from Unsplash (you can go into the settings of the unsplash element and see the source, src, of it in the attributes).
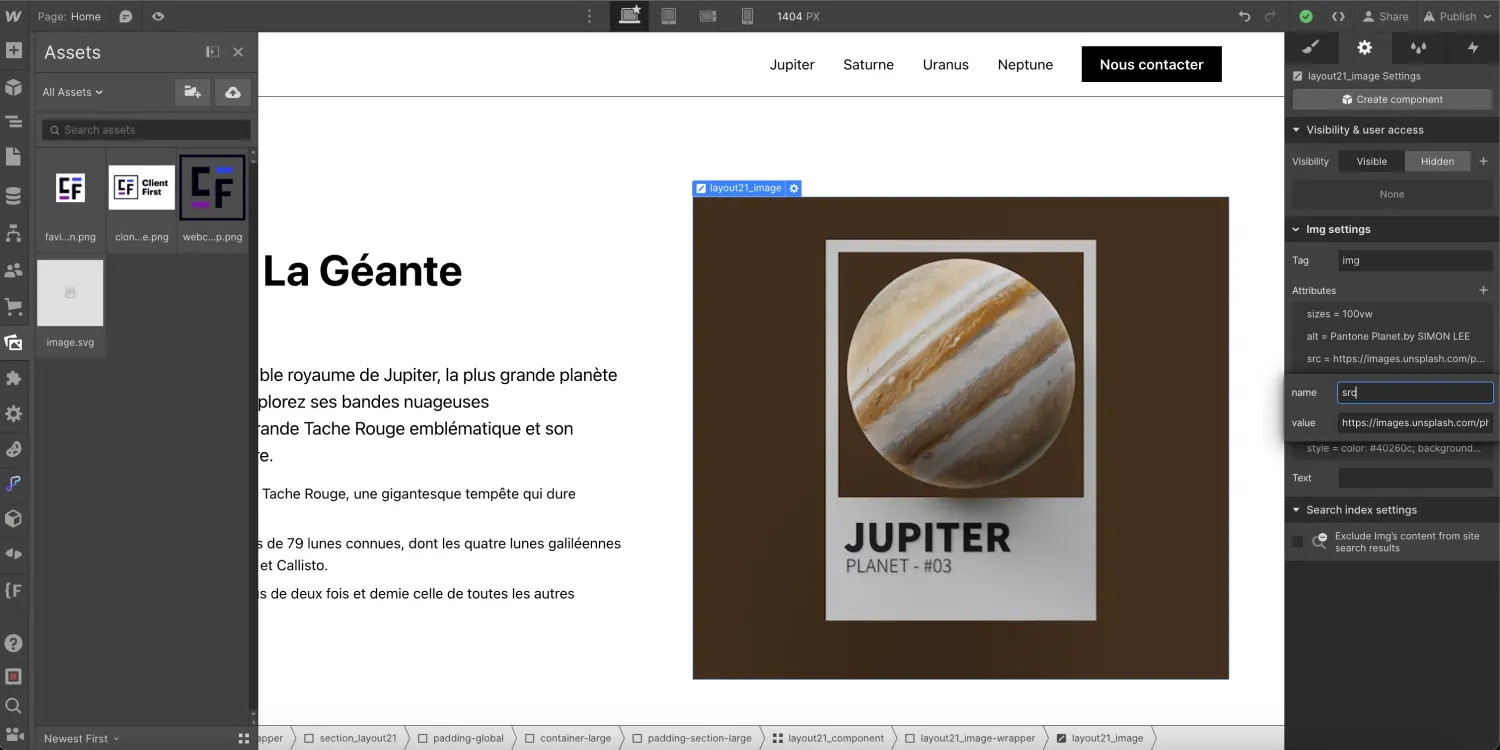
Many attributes are automatically added when you insert an unsplash image:
- Sizes : The "sizes" attribute with the value "100vw" indicates that the image should adapt to the full width of the user's screen for an optimal visual experience across different devices.
- Alt : The "alt" attribute provides an alternative text that displays when the image cannot be loaded or when the user is using a screen reader, thereby improving accessibility for users with disabilities.
- Src : The "src" attribute specifies the URL of the image source to display, pointing to the specific photo on Unsplash.
- Srcset : The "srcset" attribute lists different versions of the image with varying resolutions, allowing the browser to choose the best version based on the screen size.
- Width : The "width" attribute sets the actual width of the image in pixels, helping the browser allocate the appropriate space before the image is fully loaded.
- Height : The "height" attribute sets the actual height of the image in pixels, similar to "width," ensuring proper layout before the image is displayed.
- Style : The "style" attribute allows adding inline CSS styles to the element, such as text color or background color. These styles are particularly useful if the image takes time to load.
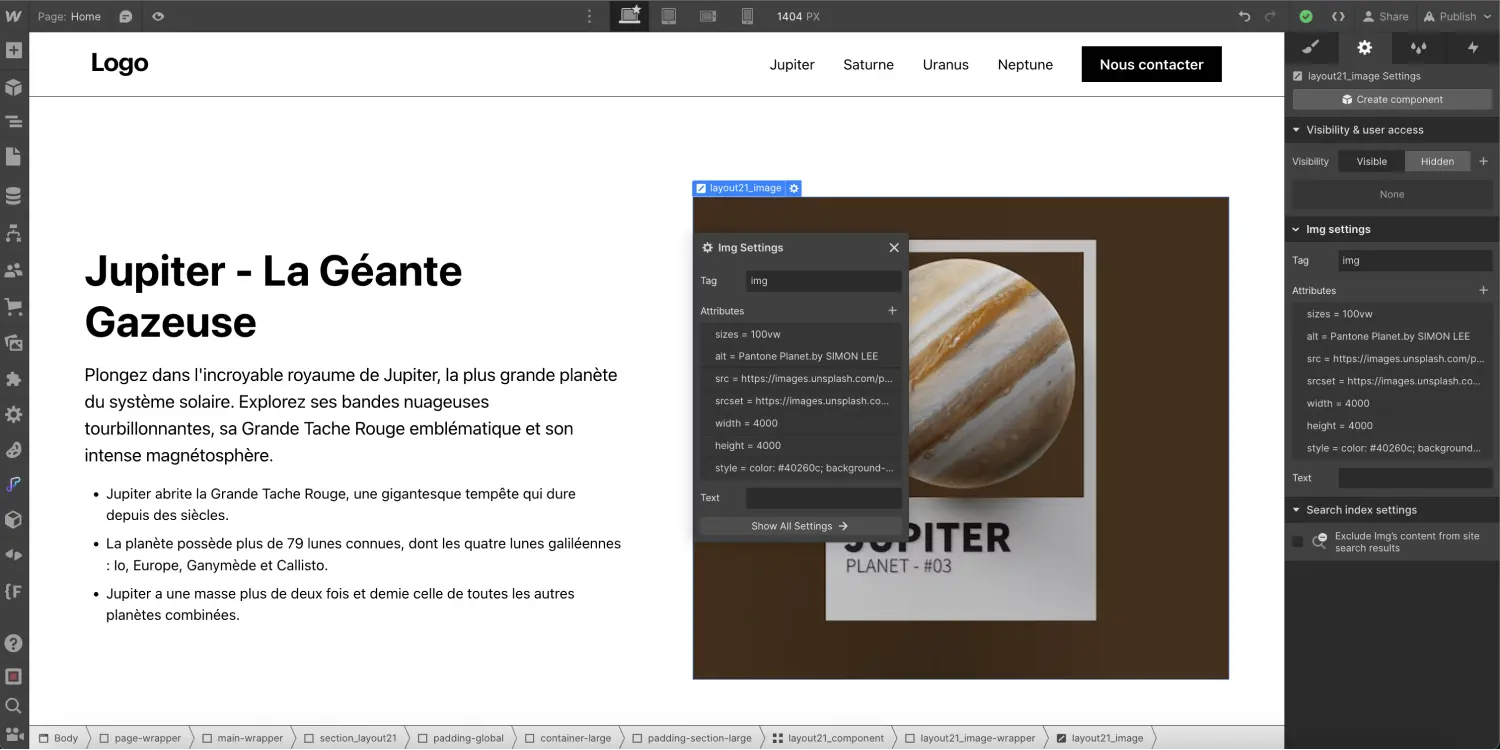
We recommend modifying these attributes to optimize your images effectively. For instance, in my image above, my "sizes" attribute equals 100vw (the entire width of my screen), yet my image only takes up about 45% of the screen width, so I should adjust this attribute to 45vw, for example. Additionally, the width and height of 4000px are way too high; I should reduce these values to better match the actual dimensions of the image.
The judicious use of these attributes in your image tag can positively impact your site's SEO.
The "alt" attribute, by providing an alternative textual description, enhances accessibility and ensures that even when images do not load, users receive contextual information.
The "srcset" attribute allows search engines to choose the best version of the image based on the device resolution, thereby improving performance and fast page loading, an important factor for SEO ranking.
The "width" and "height" attributes ensure proper layout, contributing to a consistent user experience. They particularly help avoid the error "Image elements do not have explicit width and height" in a Lighthouse audit.
Complete SEO Guide for Webflow
In summary, the Unsplash App adds a captivating visual dimension to web design via Webflow, allowing designers to easily integrate stunning images into their projects. Its seamless integration into the workflow, combined with diverse features, opens new avenues for creative expression and SEO optimization.
However, the story doesn't stop here. With Webflow's constant evolution and ongoing commitment to innovation, new exciting features may further enrich user experience in the months to come. Stay tuned for these exciting developments that will continue to redefine how we design and develop our sites, providing even more remarkable and impactful online experiences.


.webp)


