Introduction:
Until recently, HTML tables were a missing link in Webflow's design arsenal. You could fiddle with Grid elements to create the illusion, but it often felt more like acrobatics than intuitive design.
With the new Webflow App Finsweet Table, you can now create HTML tables directly within the Webflow environment without any hassle.
In this article, we will explore Finsweet Table, discover how it simplifies HTML table creation in Webflow, and show you how to create and customize your tables step by step in Webflow.
The Advantages of Finsweet Table
Tables are a fundamental element of web design, but creating them in Webflow could sometimes be a headache. Finsweet Table significantly simplifies this process.
Semantic HTML Tables
This was a highly demanded feature in Webflow: you can now create real HTML tables without compromises, and they are easily customizable in Webflow.
Simplified Data Creation and Addition
Until now, to display data in a table format on Webflow, you had to use Grid elements, which was quite unintuitive. With Finsweet Table, you can now create tables visually and, most importantly, add data very easily, just like you would in a Google Sheet, which can represent a considerable time-saver.
Tables with Improved Accessibility
Another advantage of being able to create real HTML tables is the improvement in their accessibility. The tables you create with Finsweet Table are naturally accessible to screen readers and comply with web standards, thus enhancing the user experience for everyone and improving your site's SEO.
Customization at Your Fingertips
Finally, Finsweet Table gives you complete control over the design of your tables. You can add CSS classes to each element to customize its appearance according to your needs, all without leaving the Webflow Designer.
Now that we've covered the advantages of Finsweet Table, in the next section, we dive into a tutorial to show you step by step how to leverage it by creating your own HTML table. Get ready to see how much it can simplify your workflow in Webflow!
How to Create HTML Tables with Finsweet Table
Now that we've explored the advantages of Finsweet Table, let's get into the practical side! In this section, we will guide you through a step-by-step tutorial on creating an HTML table.
Step 1: Install Finsweet Table
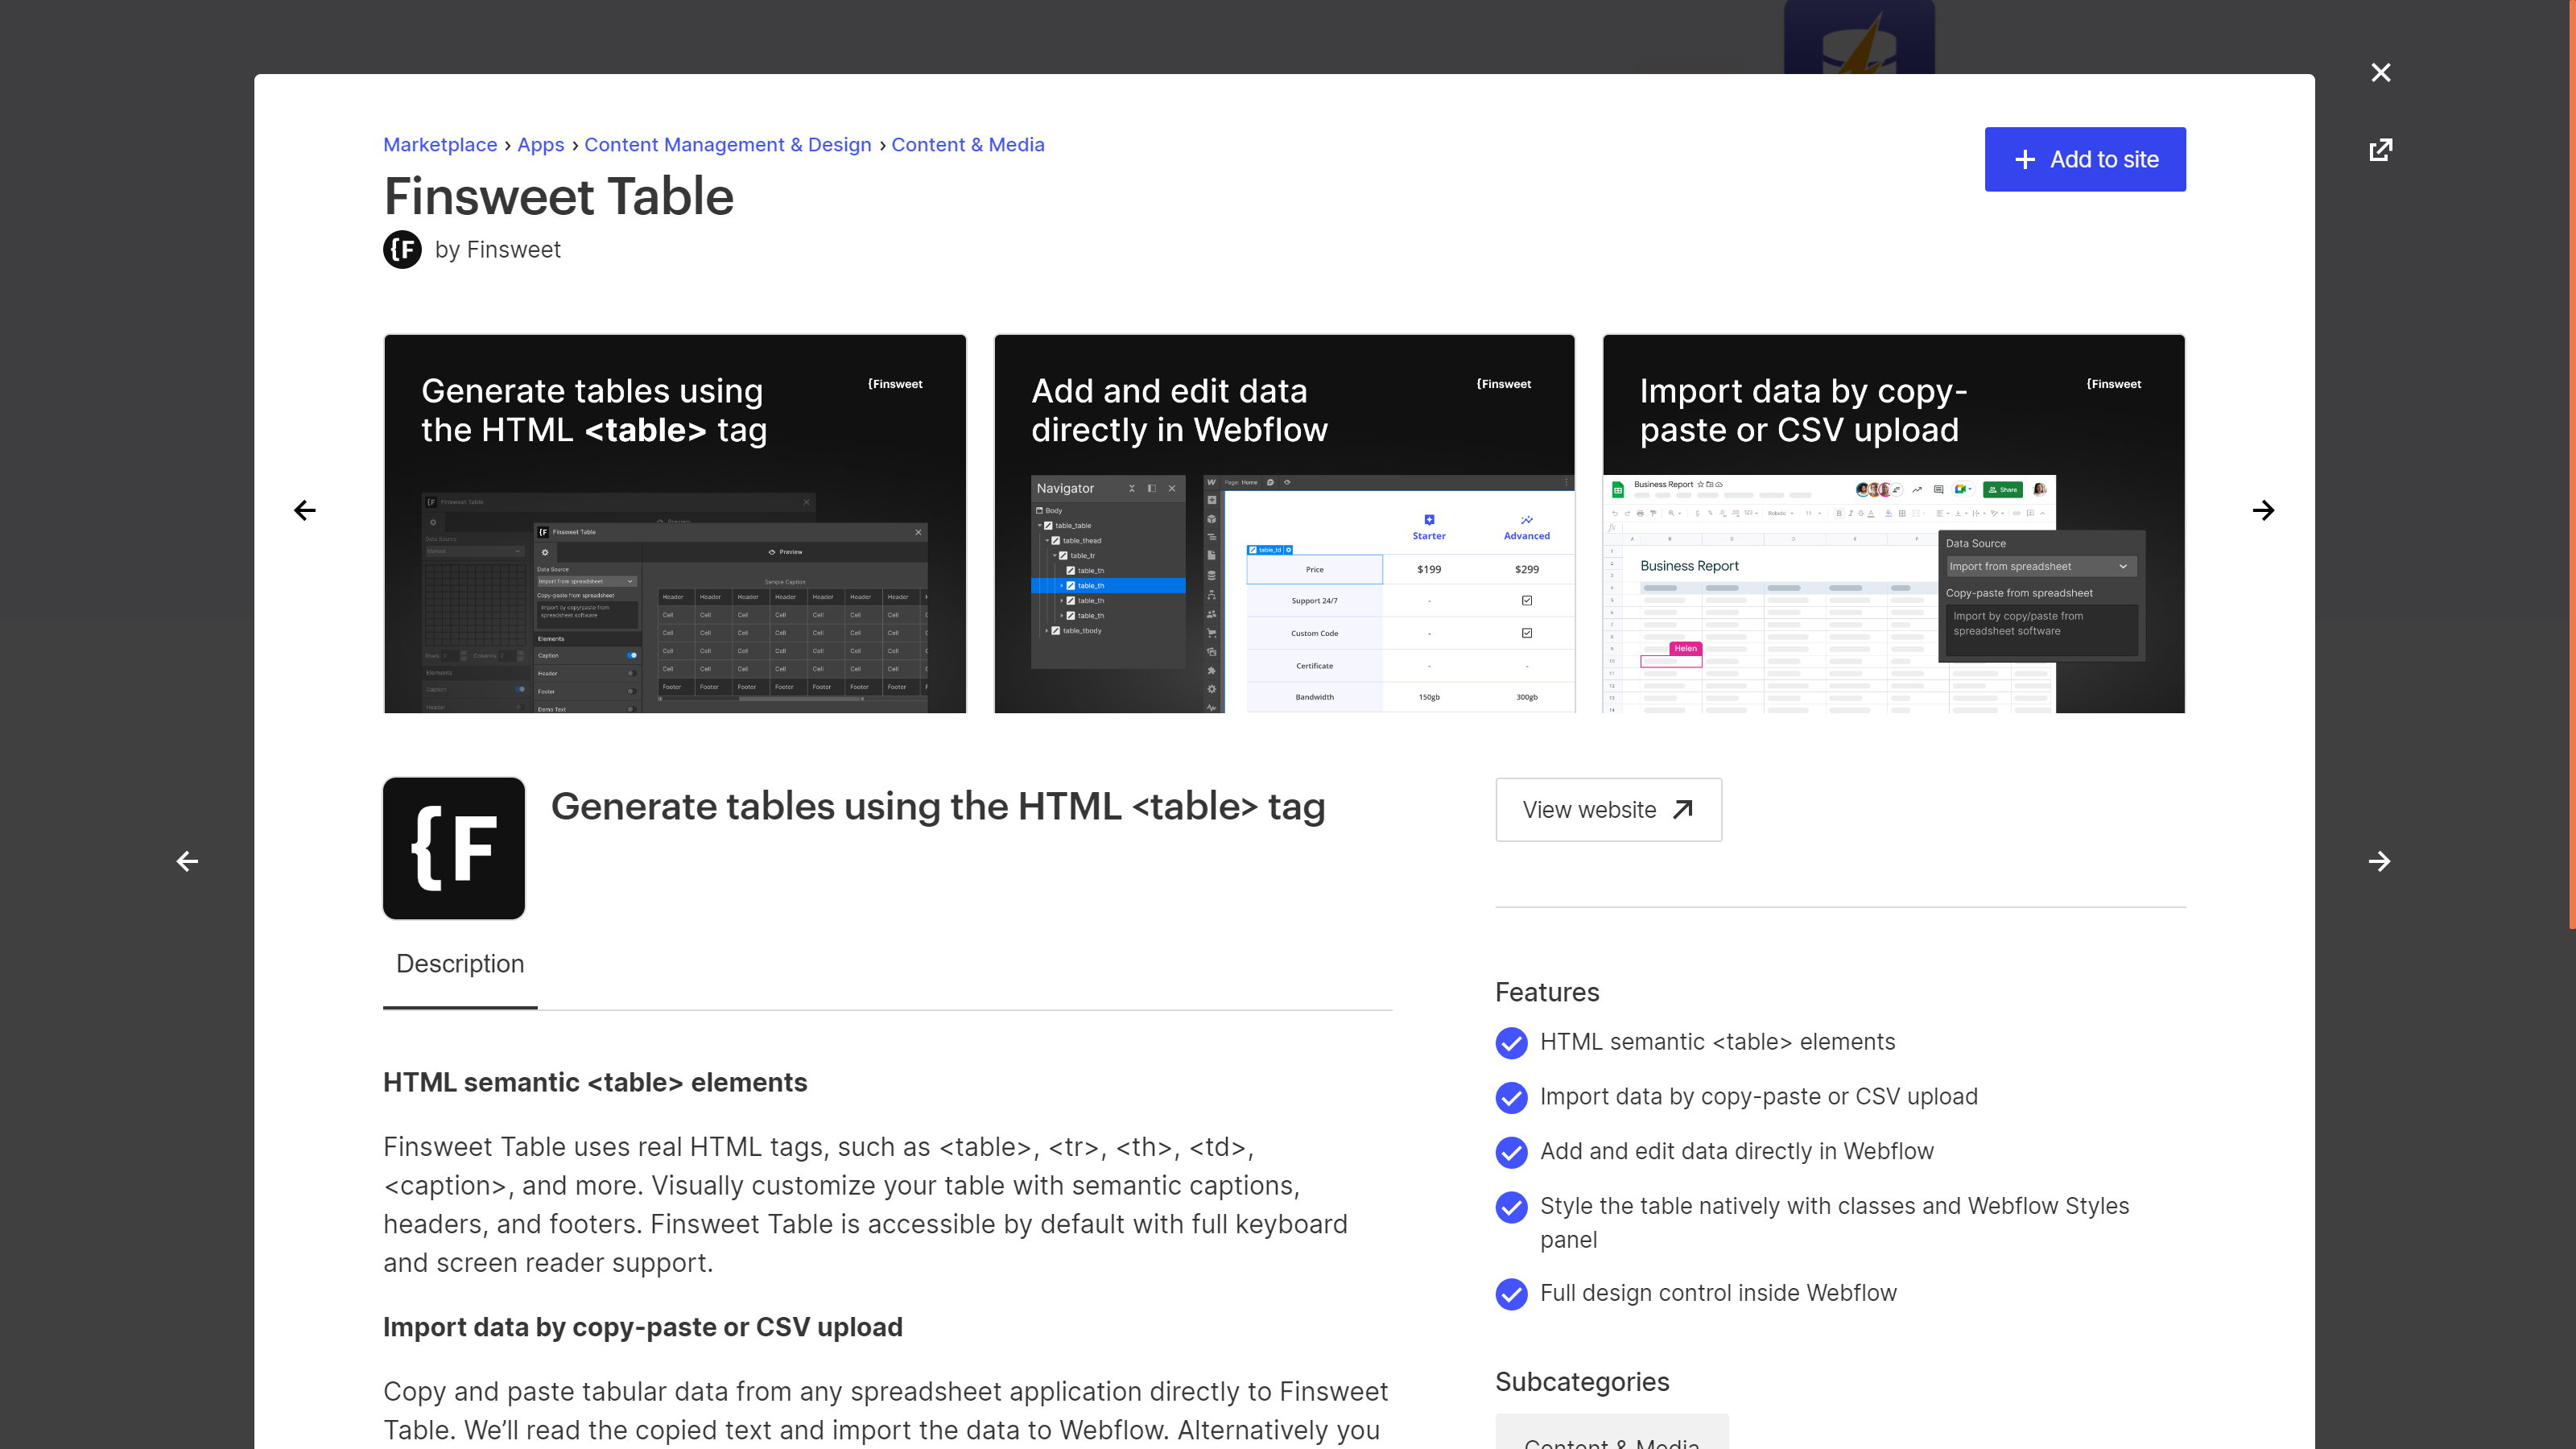
The first step is to install Finsweet Table in your Webflow project. You can do this from the Webflow Apps panel. Once you've installed the tool on your site, you're ready to begin.
Step 2: Create Your Table from Your Designer
Once Finsweet Table is installed, you can launch the application from the Webflow Designer. Click on the Apps tab in the left sidebar and launch Finsweet Table.

You will be greeted by an interface that will allow you to create your table, choose the number of rows and columns, and adjust all sorts of options. This flexibility enables you to create simple or complex tables based on your needs.
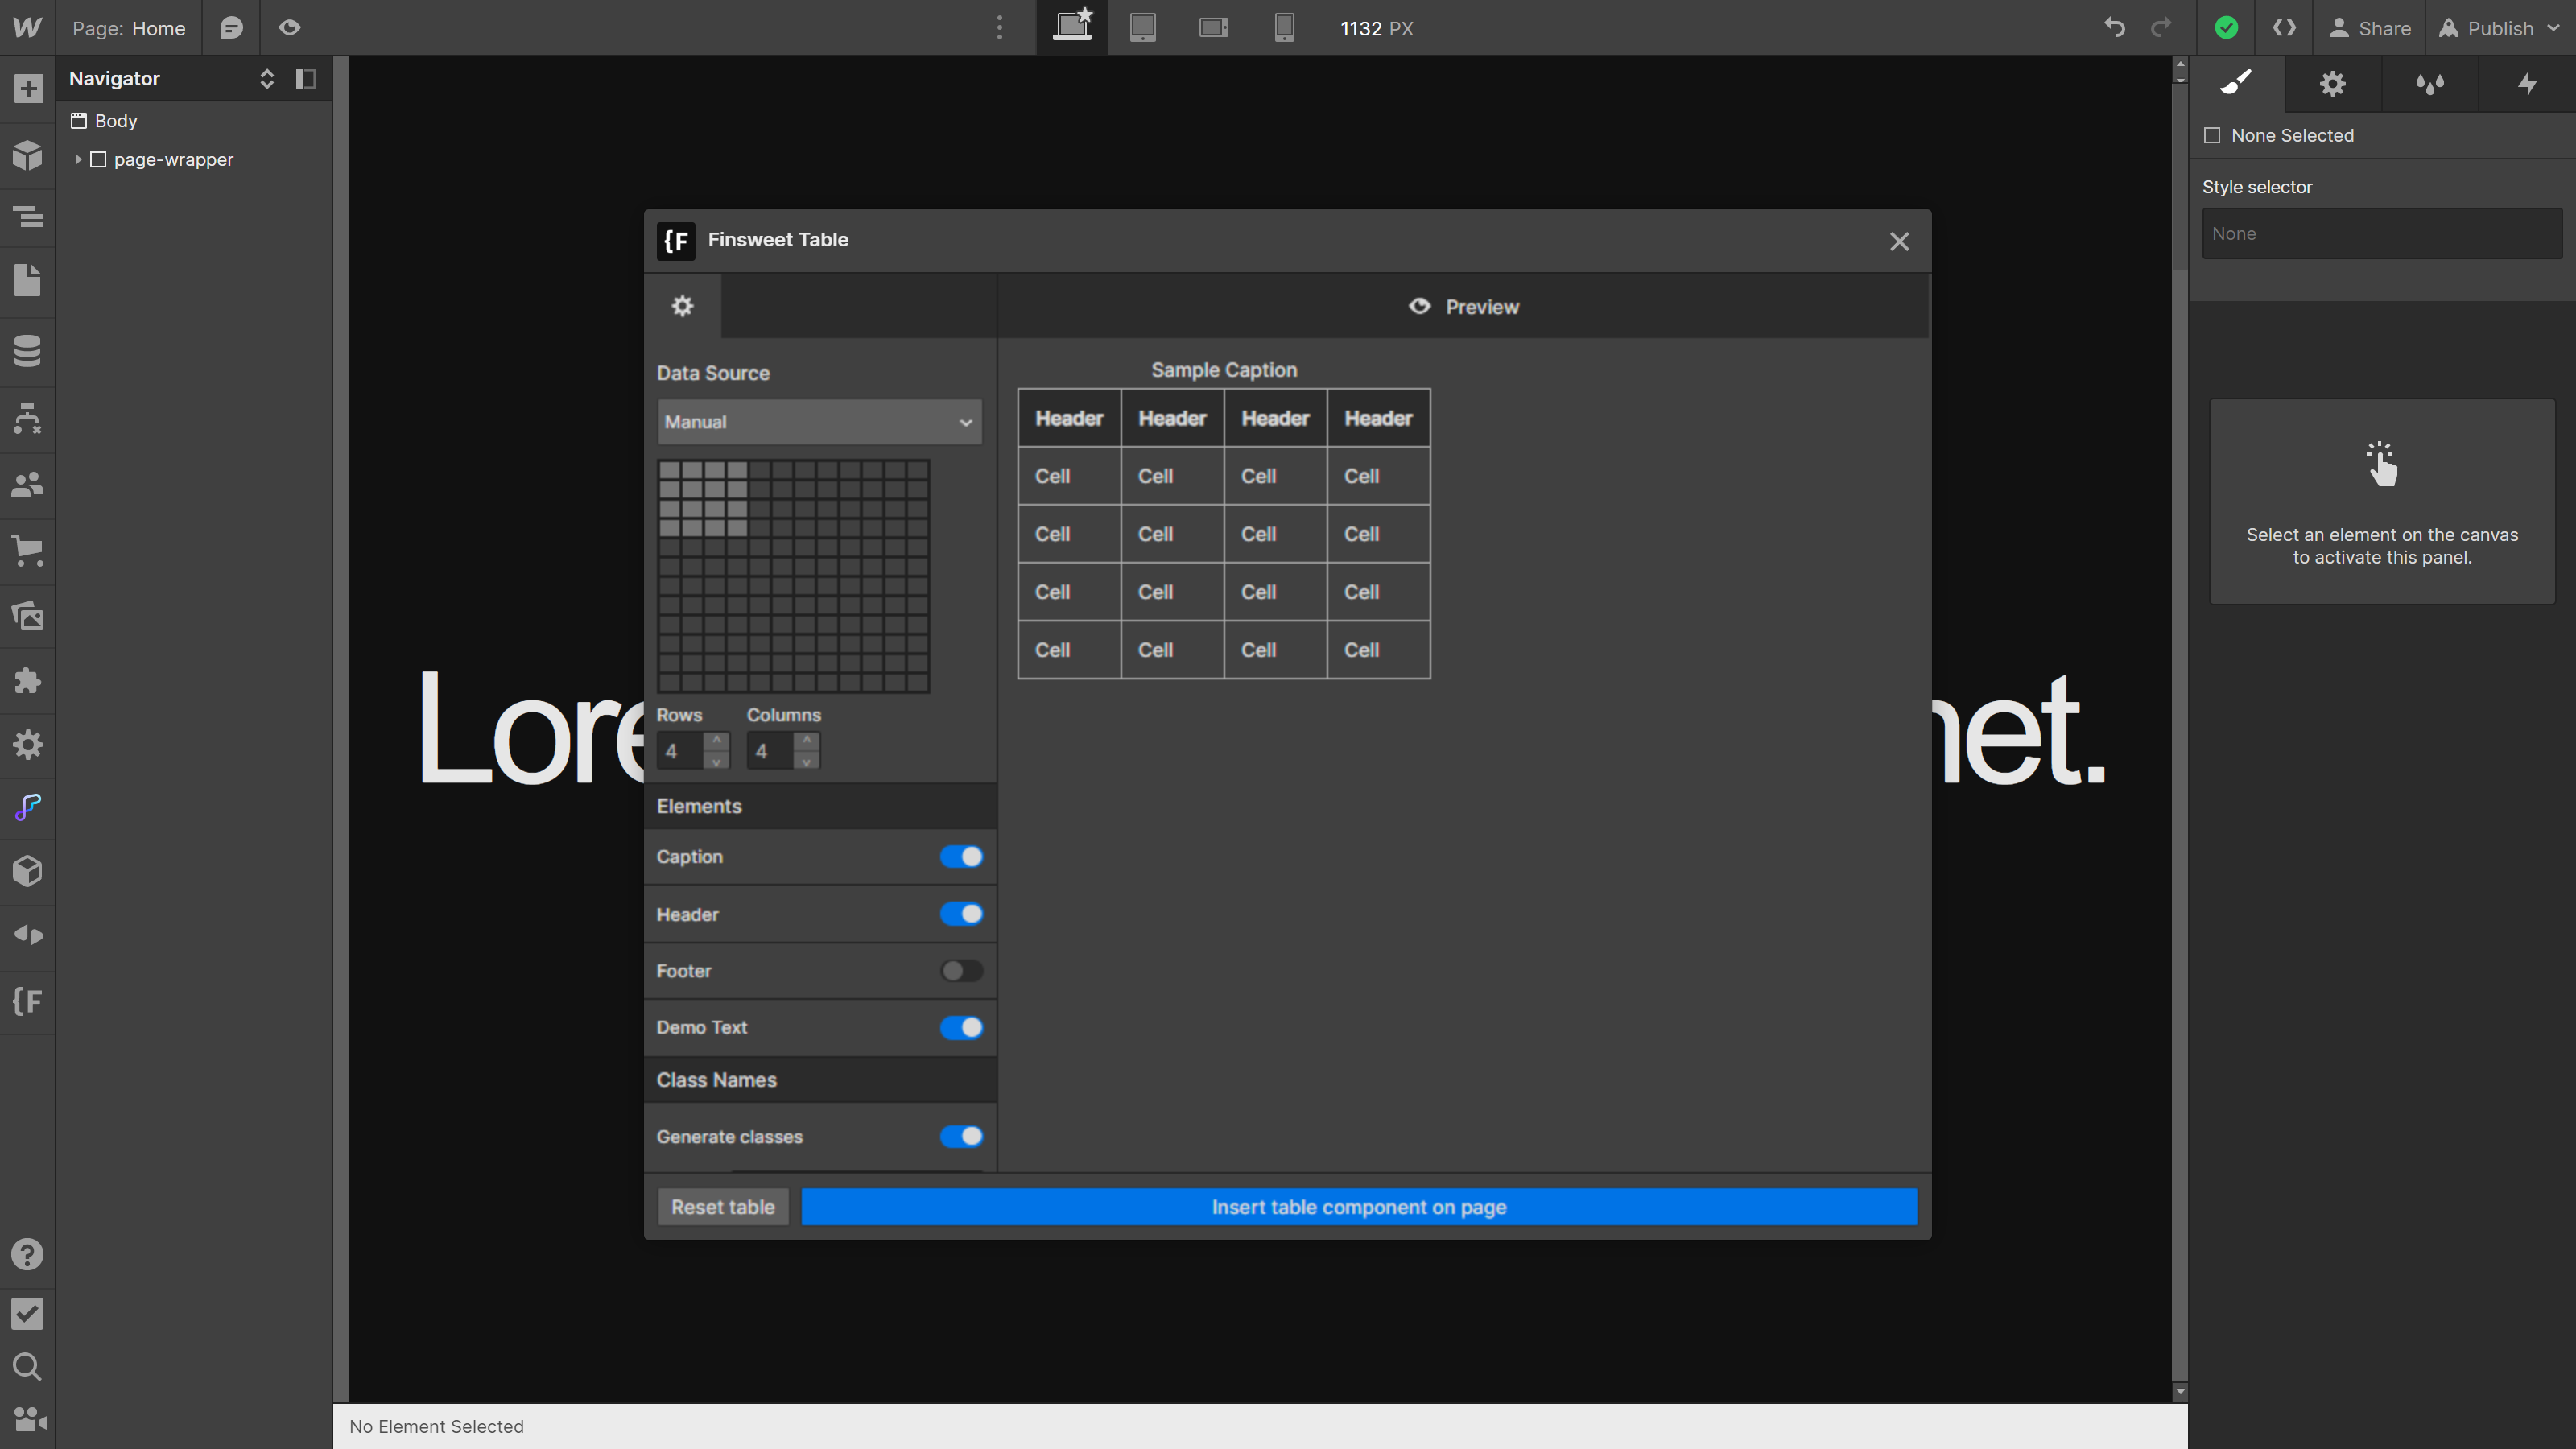
Finsweet Table also simplifies data import. You can simply copy and paste tabular data from spreadsheets or any other source into the tool. The App recognizes this data and automatically imports it into your table.
All available options:
- Data entry mode: manual, copy-paste from a spreadsheet, or upload a CSV file.
- Number of columns and rows.
- Presence or absence of specific elements: caption, header, footer.
- Modification of CSS classes for different elements:
table component (table),
row (tr),
cell (td),
header row group (thead),
header cell (th),
body row group (tbody),
footer row group (tfoot),
caption (caption).
Add your data, adjust the options according to your needs, and once your table is ready, click on “Insert component on page” to add your table to your page. Once the component is added, you will be ready to customize its appearance.
Step 3: Customize Your Table’s Appearance
One of the major advantages of Finsweet Table is the ability to deeply customize your table very easily. Once added to your page, you can change the appearance of your table by simply modifying the CSS classes of each element (rows, headers, cells, etc.).
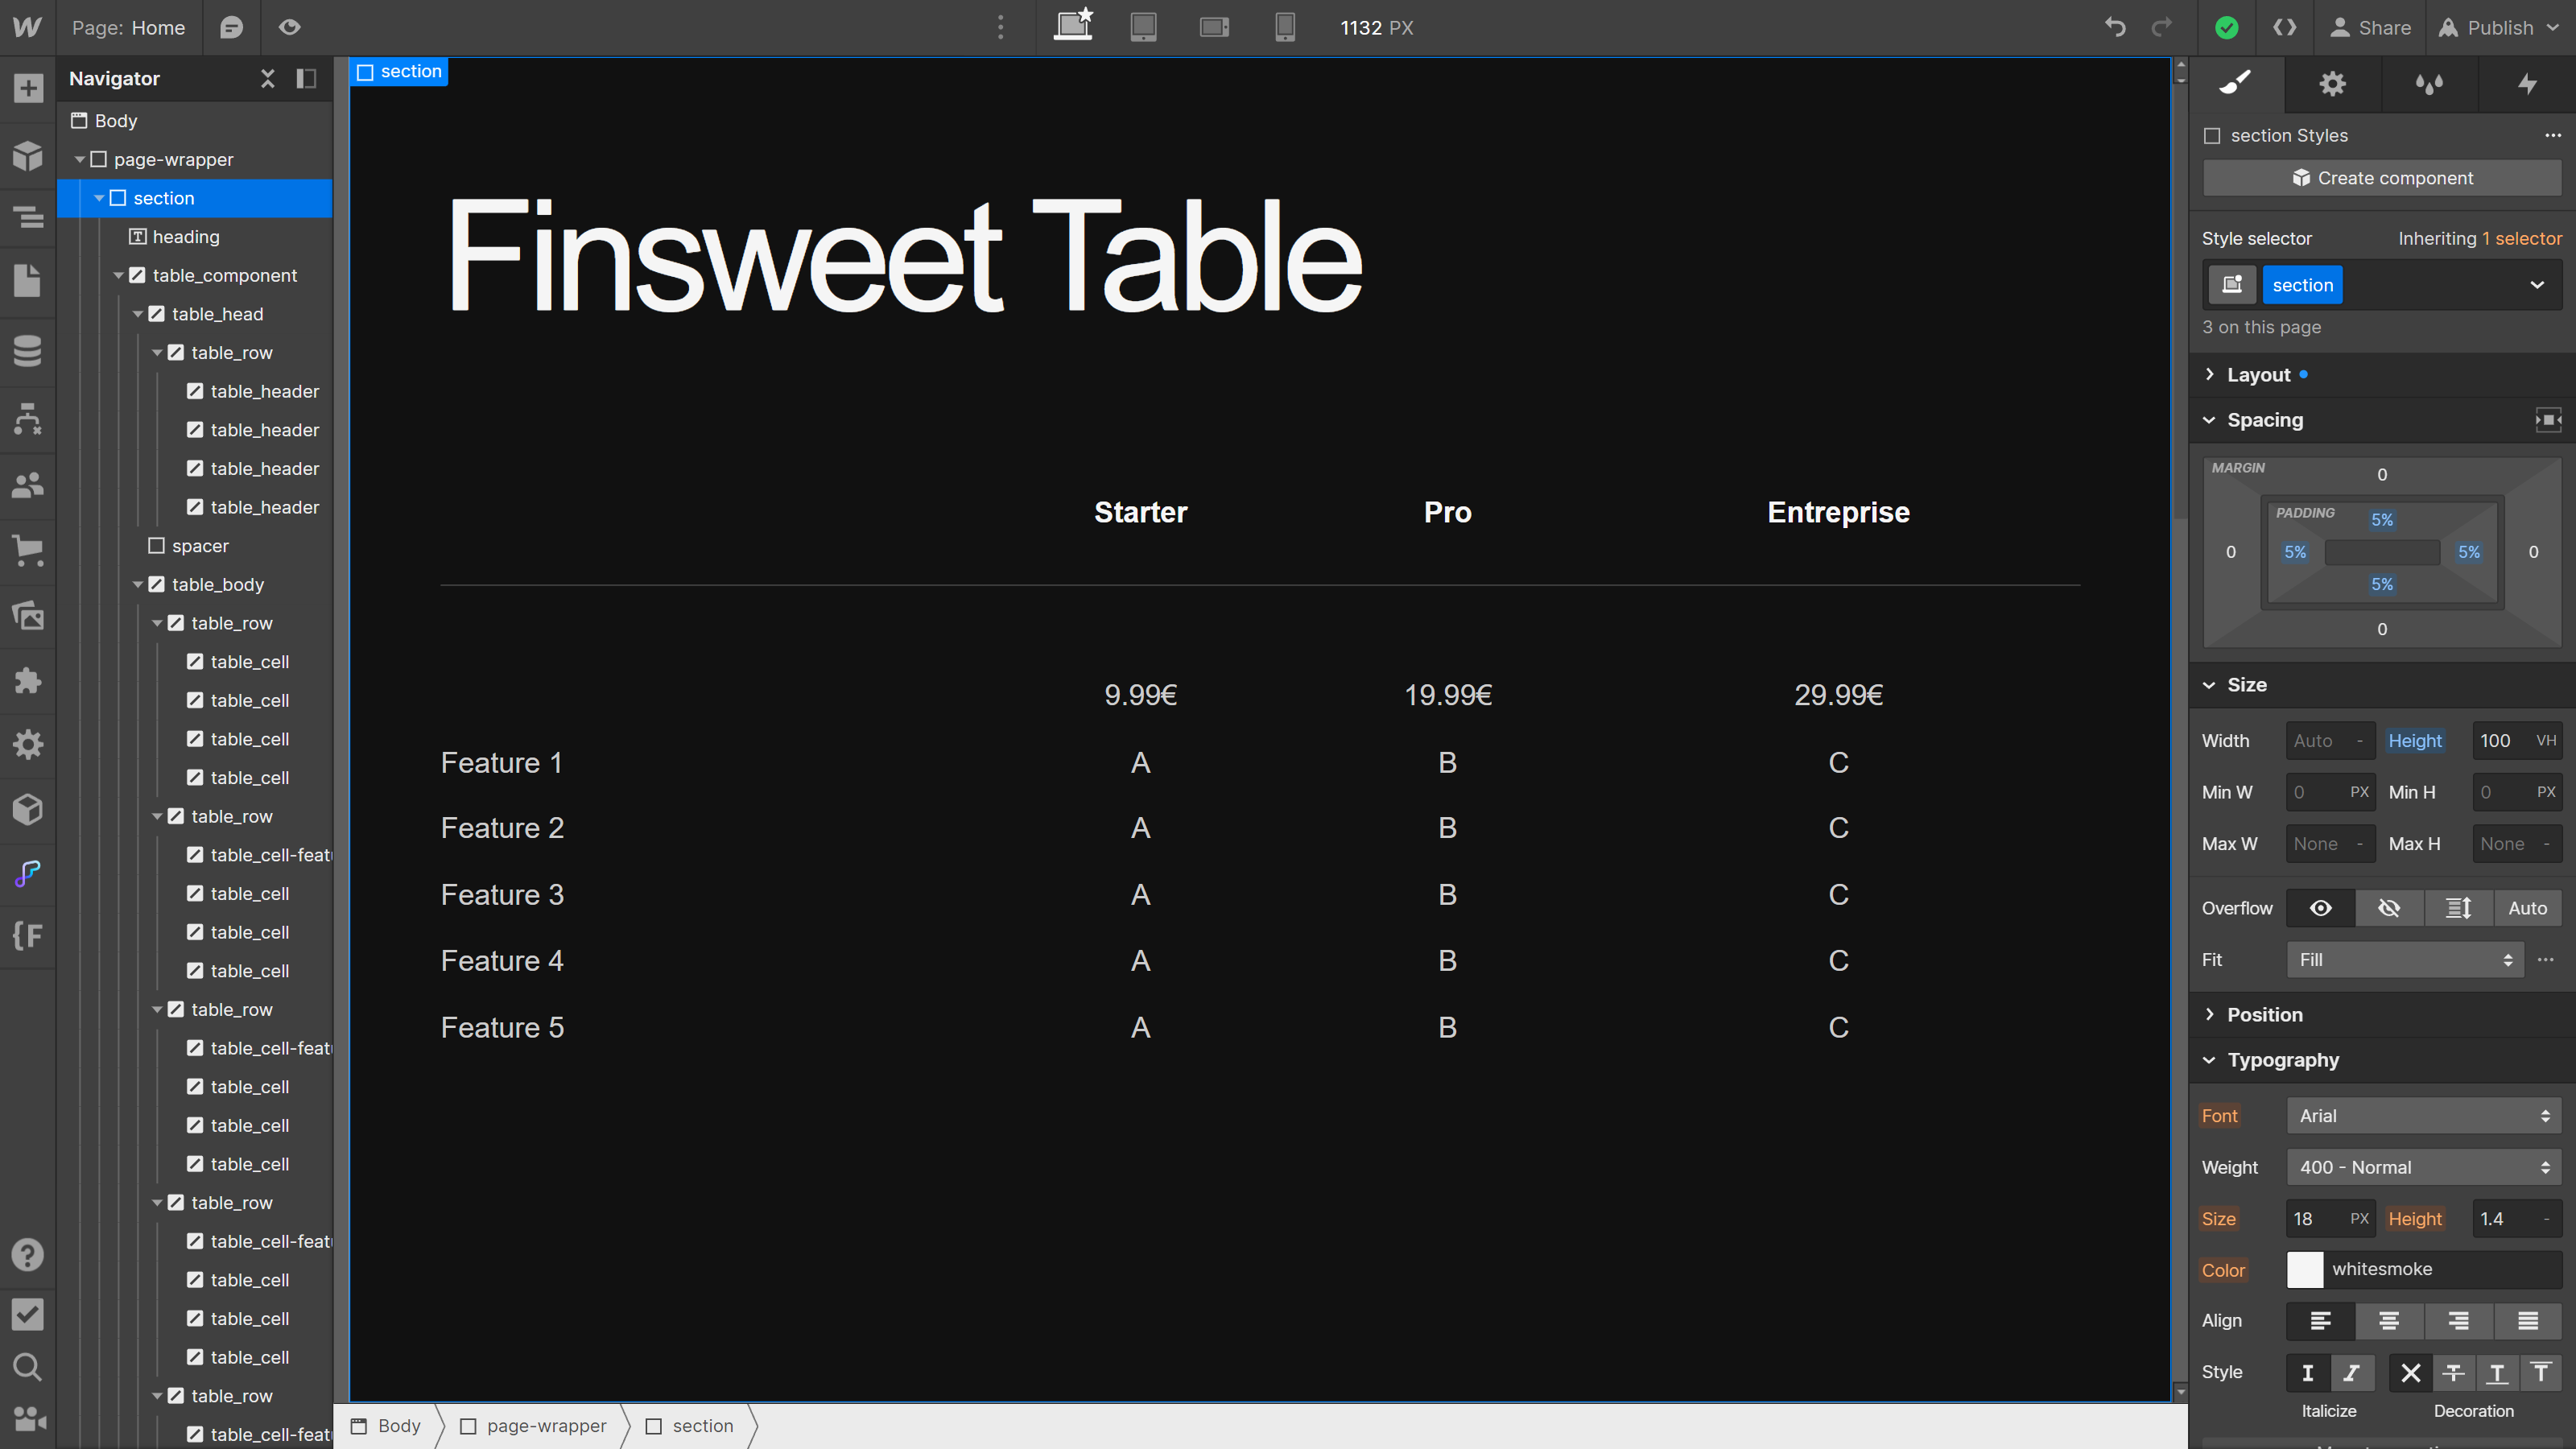
You are only limited by your creativity, and this customization allows you to create tables that fit perfectly within your Webflow design.
Step 4: Edit and Update in Real Time
Finally, once your table is embedded in your page, you can still edit and update it from the Designer, just like any other element created in Webflow.
In the next section, we explore some use cases of Finsweet Table to give you ideas on how the tool can enhance your Webflow projects!
Some Use Cases of Finsweet Table
To conclude, let’s see how Finsweet Table can be a valuable asset in your toolkit. Let’s explore some concrete examples of using the App.
Example 1: Pricing Table
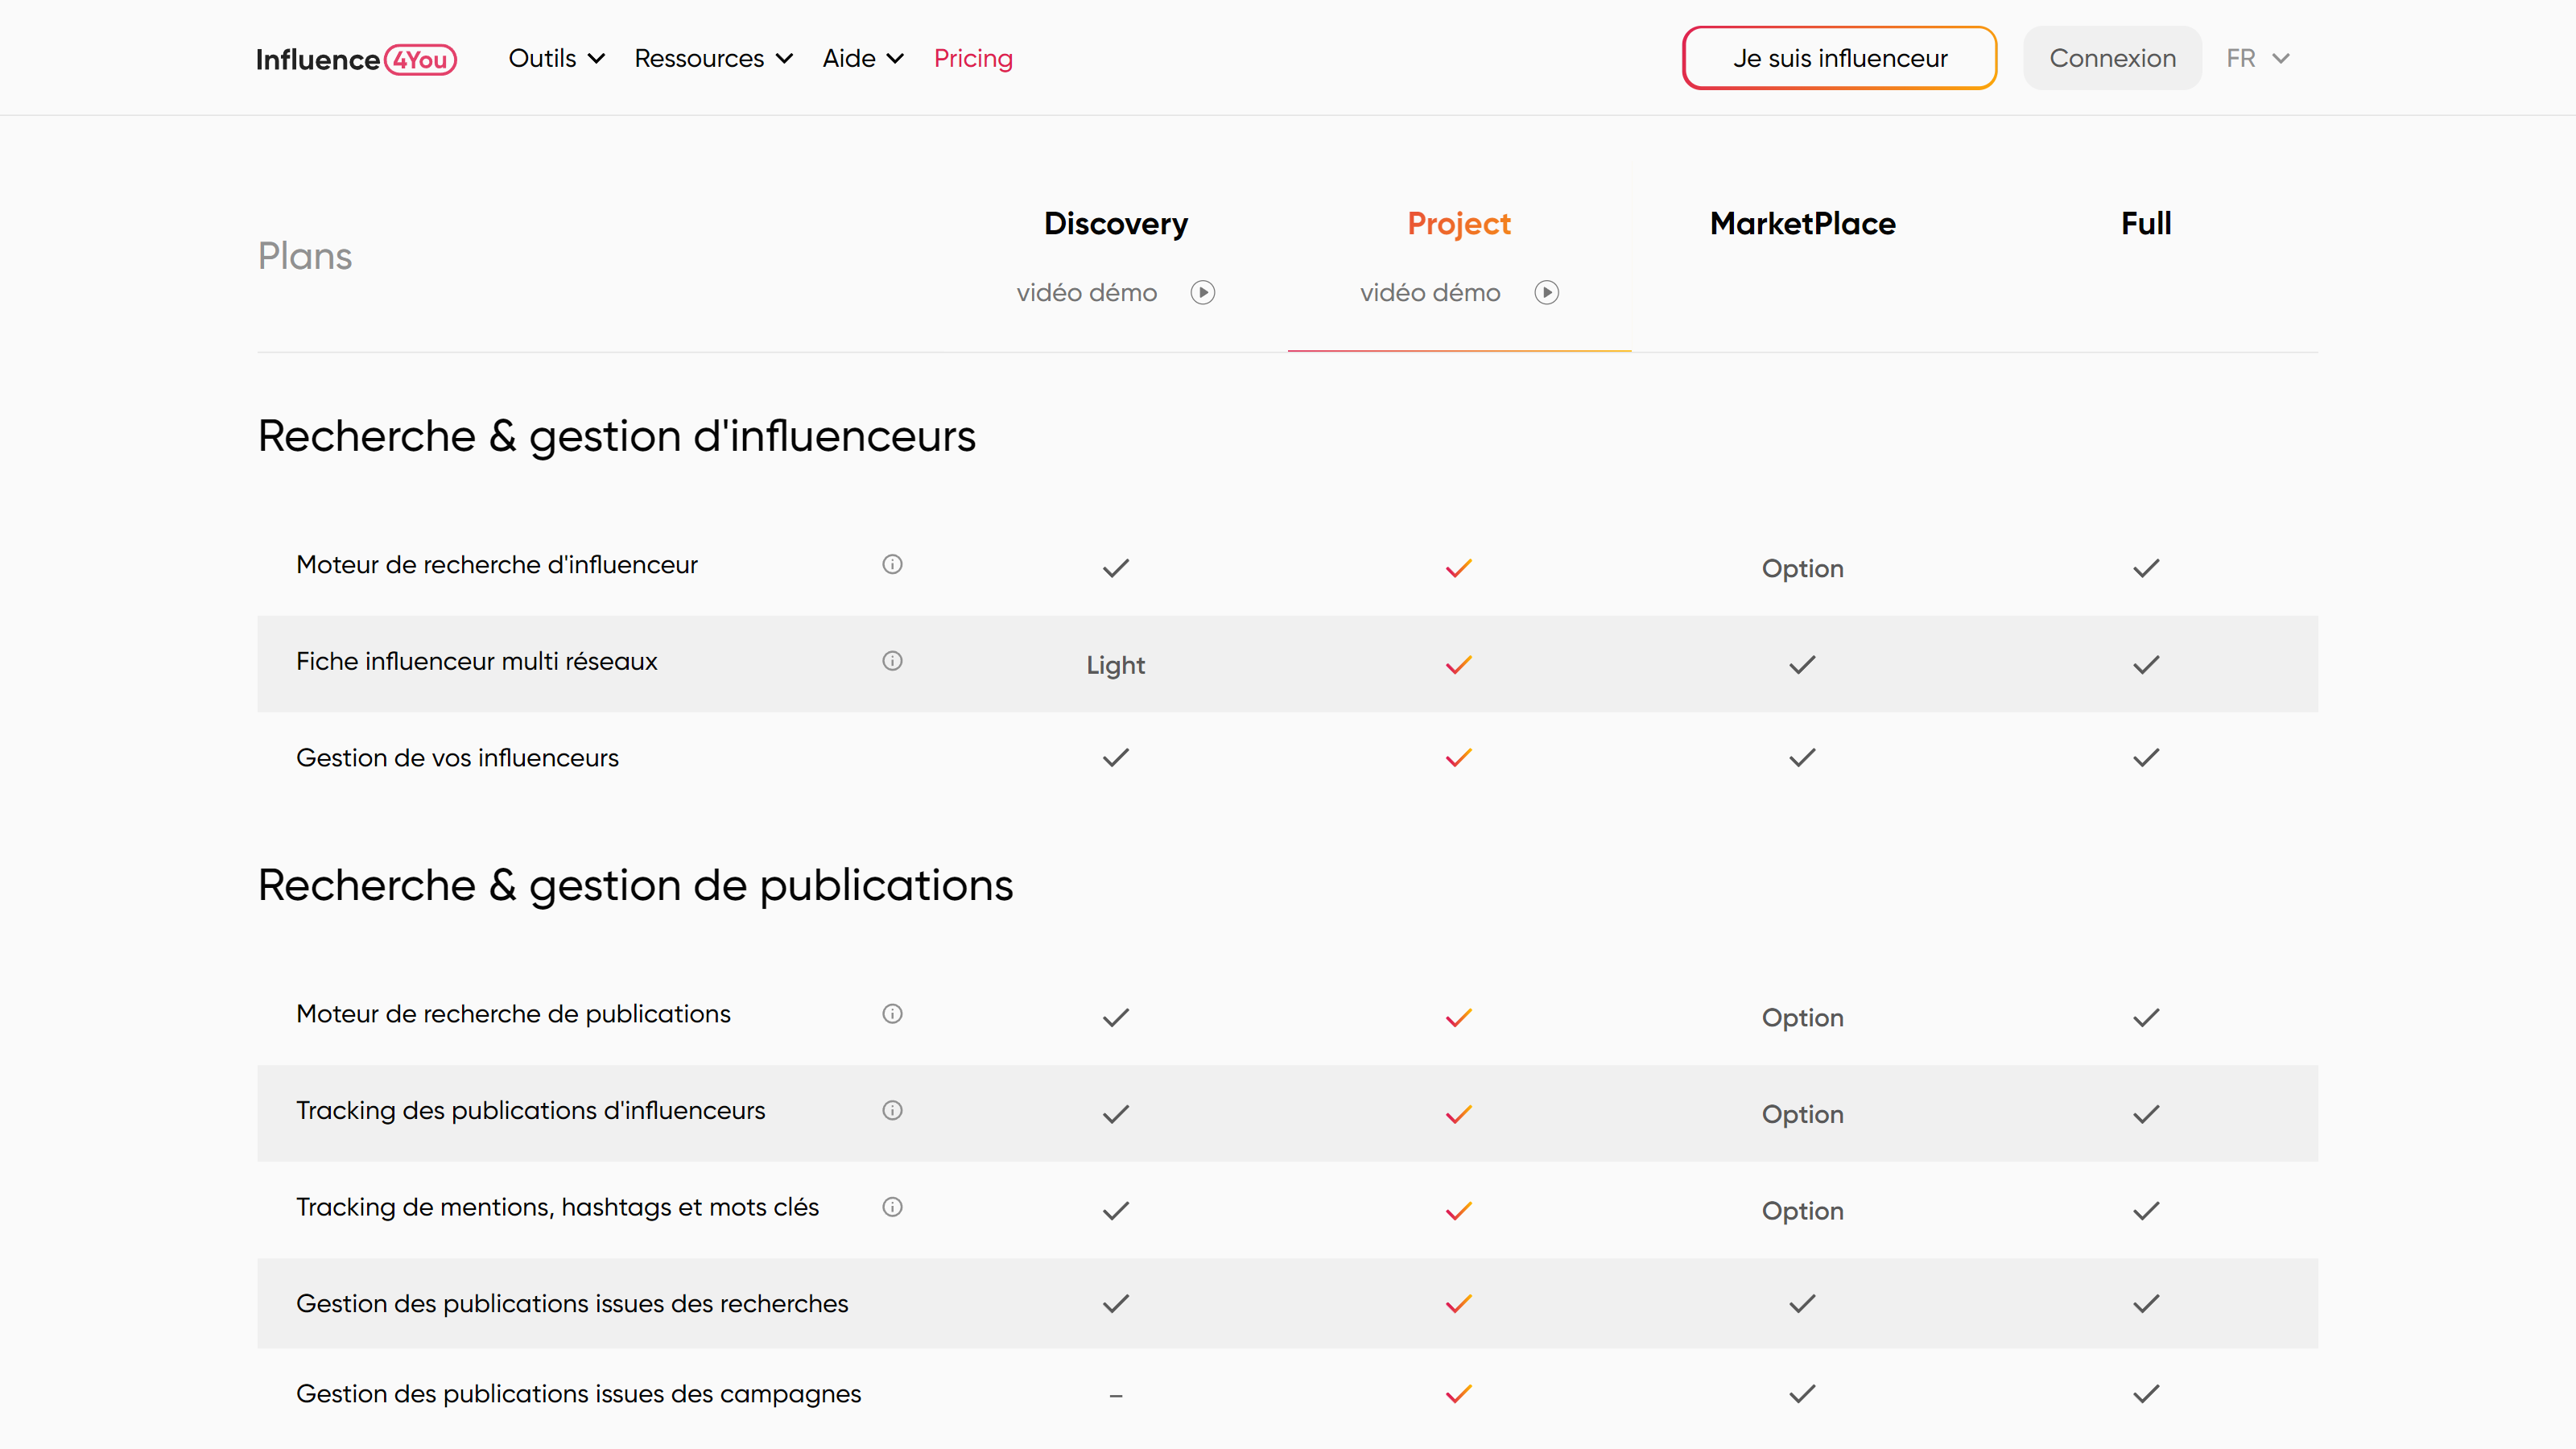
Example 2: Product Comparison Table

Example 3: Ranking Table
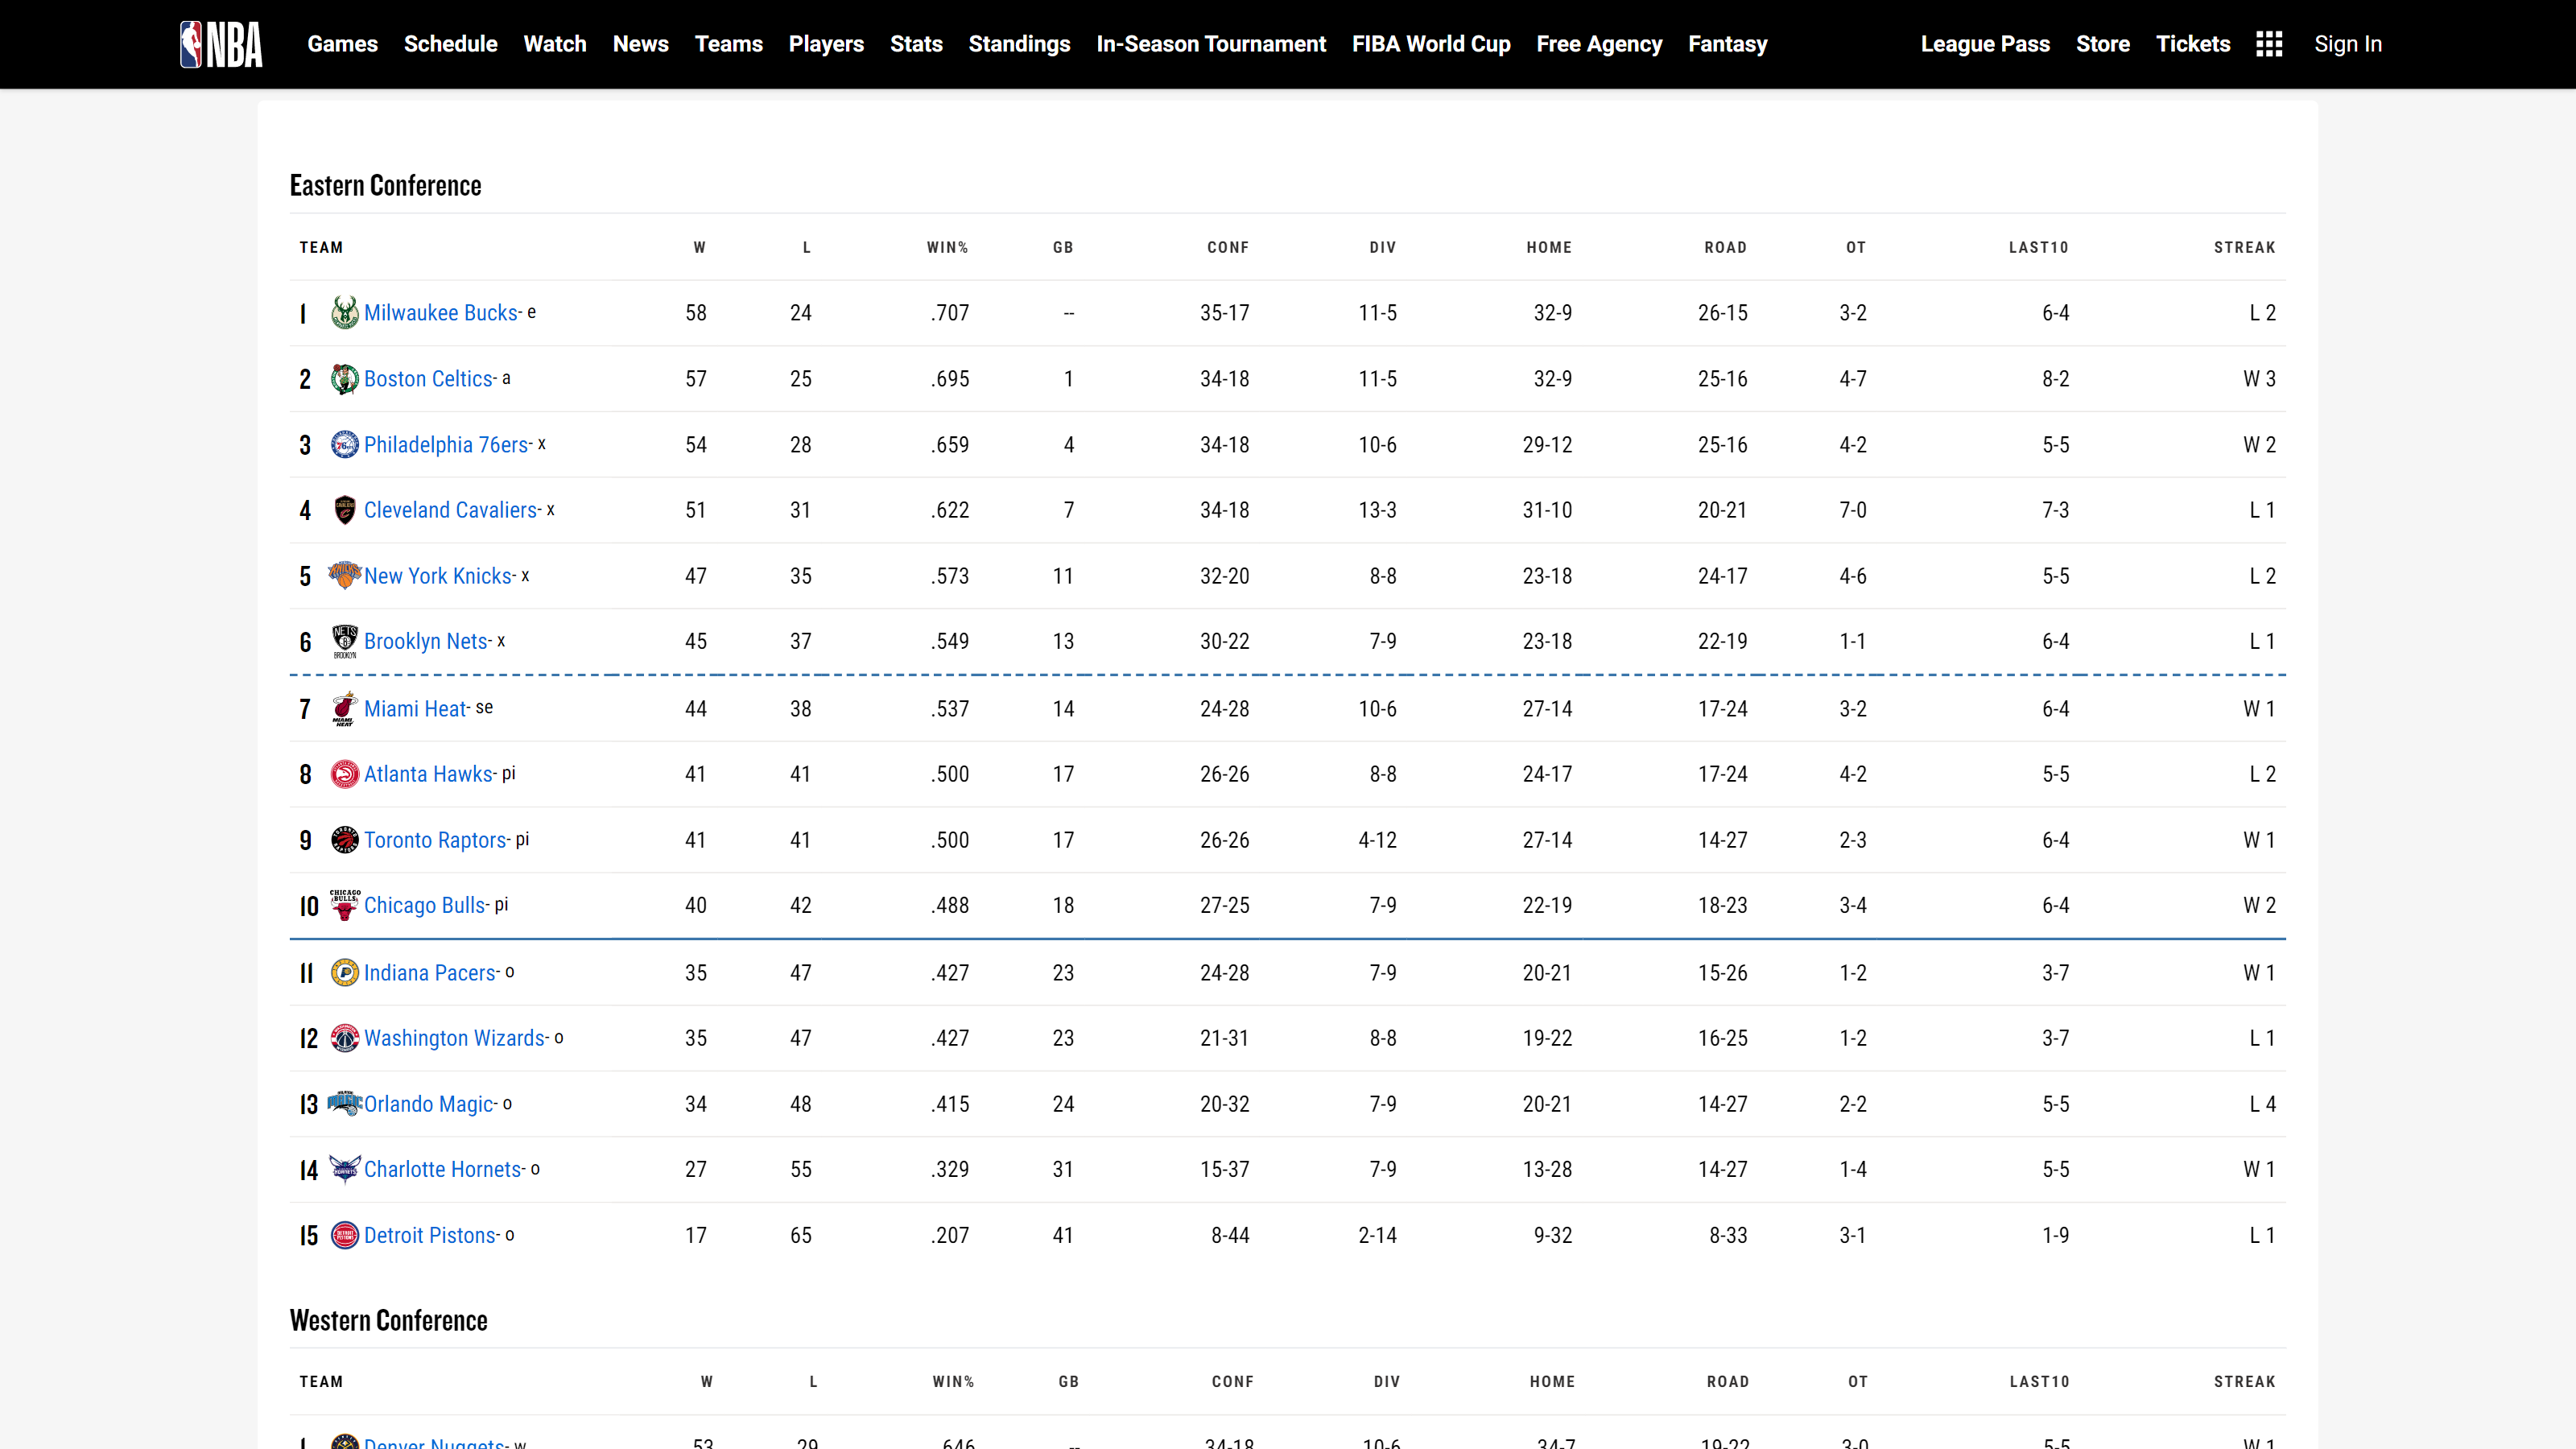
These examples are just the tip of the iceberg. Finsweet Table offers new versatility for creating HTML tables in Webflow, and the possibilities are endless.
Conclusion
And there you have it, you now have all the keys to make the most of Finsweet Table, the new Webflow App that makes creating HTML tables easier than ever in Webflow.
Feel free to explore further Finsweet Table, experiment with its features, and integrate it into your Webflow projects.
To go further:
- Read the article: Discover the new Webflow Apps (+7 Apps to use for your next projects)
- Read the article: Enhance your designs with images from the Webflow Unsplash App
- Read the article: How to integrate HubSpot on Webflow using Webflow Apps
- Watch the YouTube video: HubSpot integration on your Webflow site with Webflow Apps


