In today's tutorial, we will demonstrate how, using Webflow and a small piece of code, we can add buttons to our project that enable horizontal scrolling.
Step 1: Overflow Auto
For this tutorial to work, it is essential that one of the elements on your page has an overflow set to auto, allowing for basic horizontal scrolling.

Step 2: Create 2 Buttons (or Link Blocks)
In your section, you will need to insert two buttons (or link blocks). The first will allow scrolling to the left, and the second will allow scrolling to the right.
You can customize them as you wish.
We recommend adding a custom attribute aria-label to describe the buttons for the sake of web accessibility.
Step 3: Add IDs to the Buttons
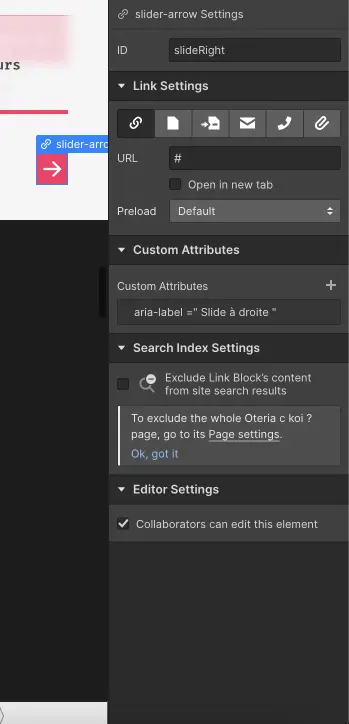
For your left button (which scrolls to the left), you can add the following ID: slideLeft
For your right button (which scrolls to the right), you can add the following ID: slideRight
Step 4: Add an ID to Your Horizontally Scrollable Element
It is necessary to add an ID to the element that has overflow set to auto. You can give it any ID you desire.
Step 5: Insert Code into Your Page
You will now go to your page settings. In the "Before body Tag" section, simply copy and paste the following code (make sure to replace ID-element-scrollable with the ID you defined in step 4):
You can manage the "length" of the scroll by modifying the values of 500, and you can control the duration of the animation by changing the values of 1000.

If you wish, you can also hide the scrollbar by adding the following code (make sure to replace class-name-scrollable-element with the name of the class you assigned to your horizontally scrollable element):
Step 6: Publish Your Project to See the Results
The JavaScript code only works when the site is live. Therefore, you will need to publish your project to use this feature.
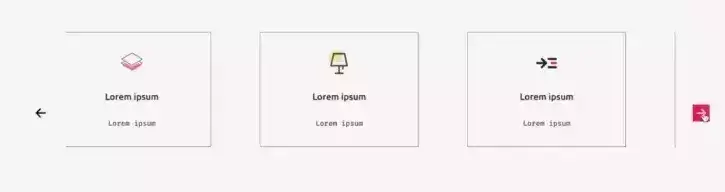
And there you go, your new buttons now allow for horizontal scrolling (to the right or left) in your element.
Discover how to create a progress bar in Webflow!
.webp)

.jpg)