Webflow is a magical tool for creating custom websites. With its visual interface, you can style elements to your liking. In addition to the visual interface, you also have the option to add your own code to your pages. As a result, the possibilities for creation are endless.
In today's Webflow tutorial, we will focus on videos. More specifically, we will show you how to add a video playback animation on mouse hover with a little bit of code. If you're not familiar with coding (HTML, CSS, Javascript), don't worry, we will guide you through the process from start to finish.
Step 1: Go to Webflow
The first step, and perhaps the most important one in this tutorial, is to navigate to your Webflow project. Go to the page and section where you want to add your video.
Step 2: Background Video
Once you're in the section, you can add the background video element.
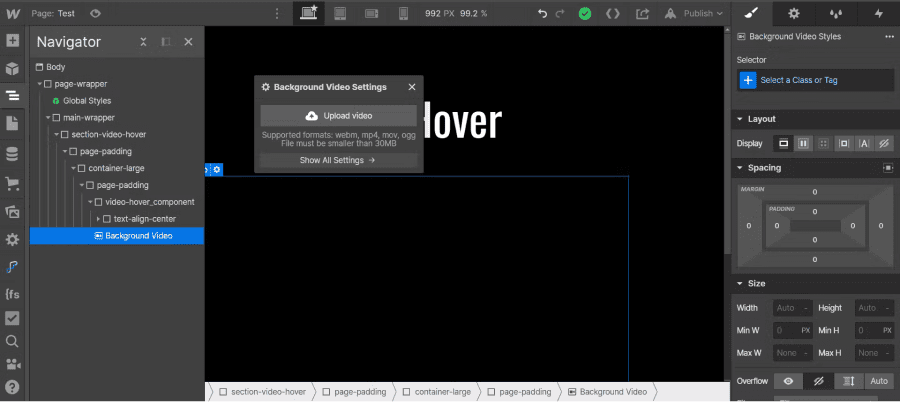
You can then upload your video and assign it a class. It is important to give a specific class to this element. In the style manager, make sure to adjust the z-index of the video to ensure it displays correctly.
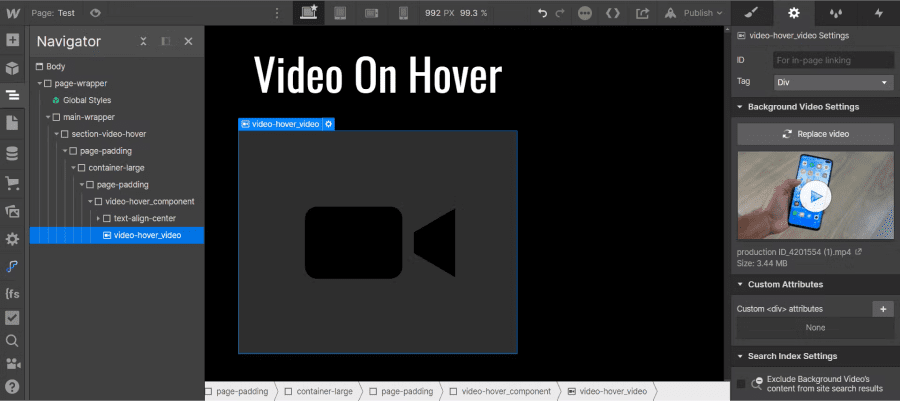
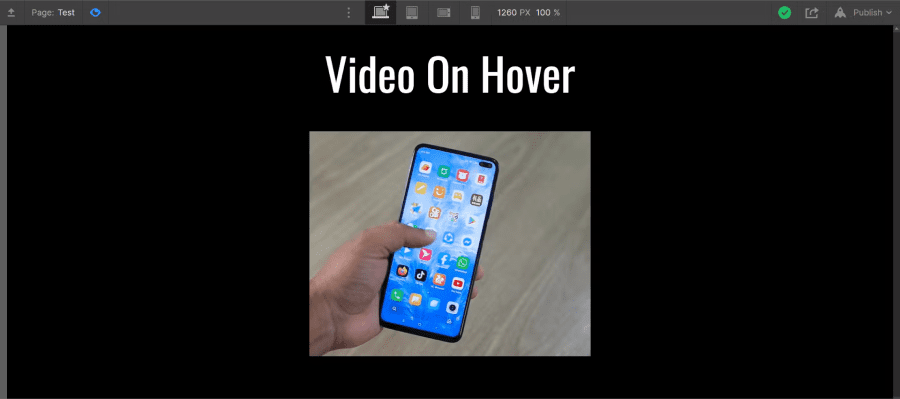
We can now see that our video is embedded; however, it automatically plays and loops if you have selected that option. To add our hover animation, we will insert a small piece of JavaScript code.
Step 3: JavaScript Code
Once you have added your video to the background video element and assigned it a class, you will be able to access your page settings.
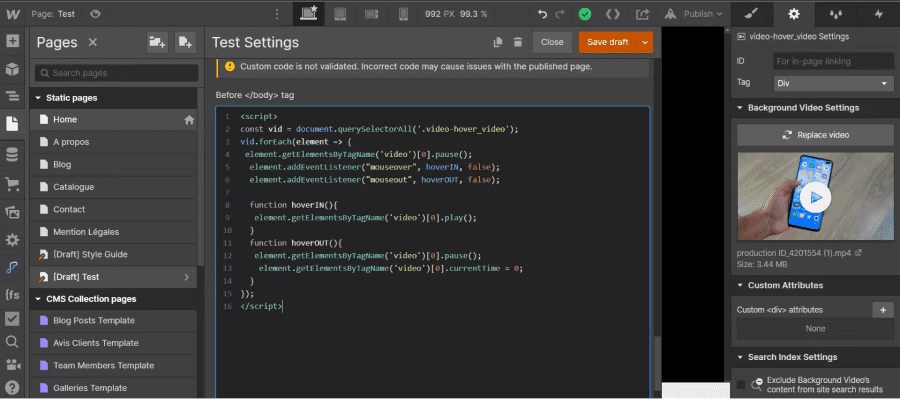
In the page settings in Webflow, you will find several places where you can add code. In our case, we will add the JavaScript code in the Before Body Tag editor. At this point, you just need to copy and paste the following code.
Note that in the parentheses of the first line after the dot, you must insert the name of the class you gave to your video (in our case, we added: video-hover_video). This way, all videos with that class will automatically have the animation.
The JavaScript code:
Step 4: Publish the Site
In Webflow, you cannot see the effects of code applied in the page settings directly in the designer. To verify that your effect has been applied correctly, simply publish your site and enjoy your new animation.
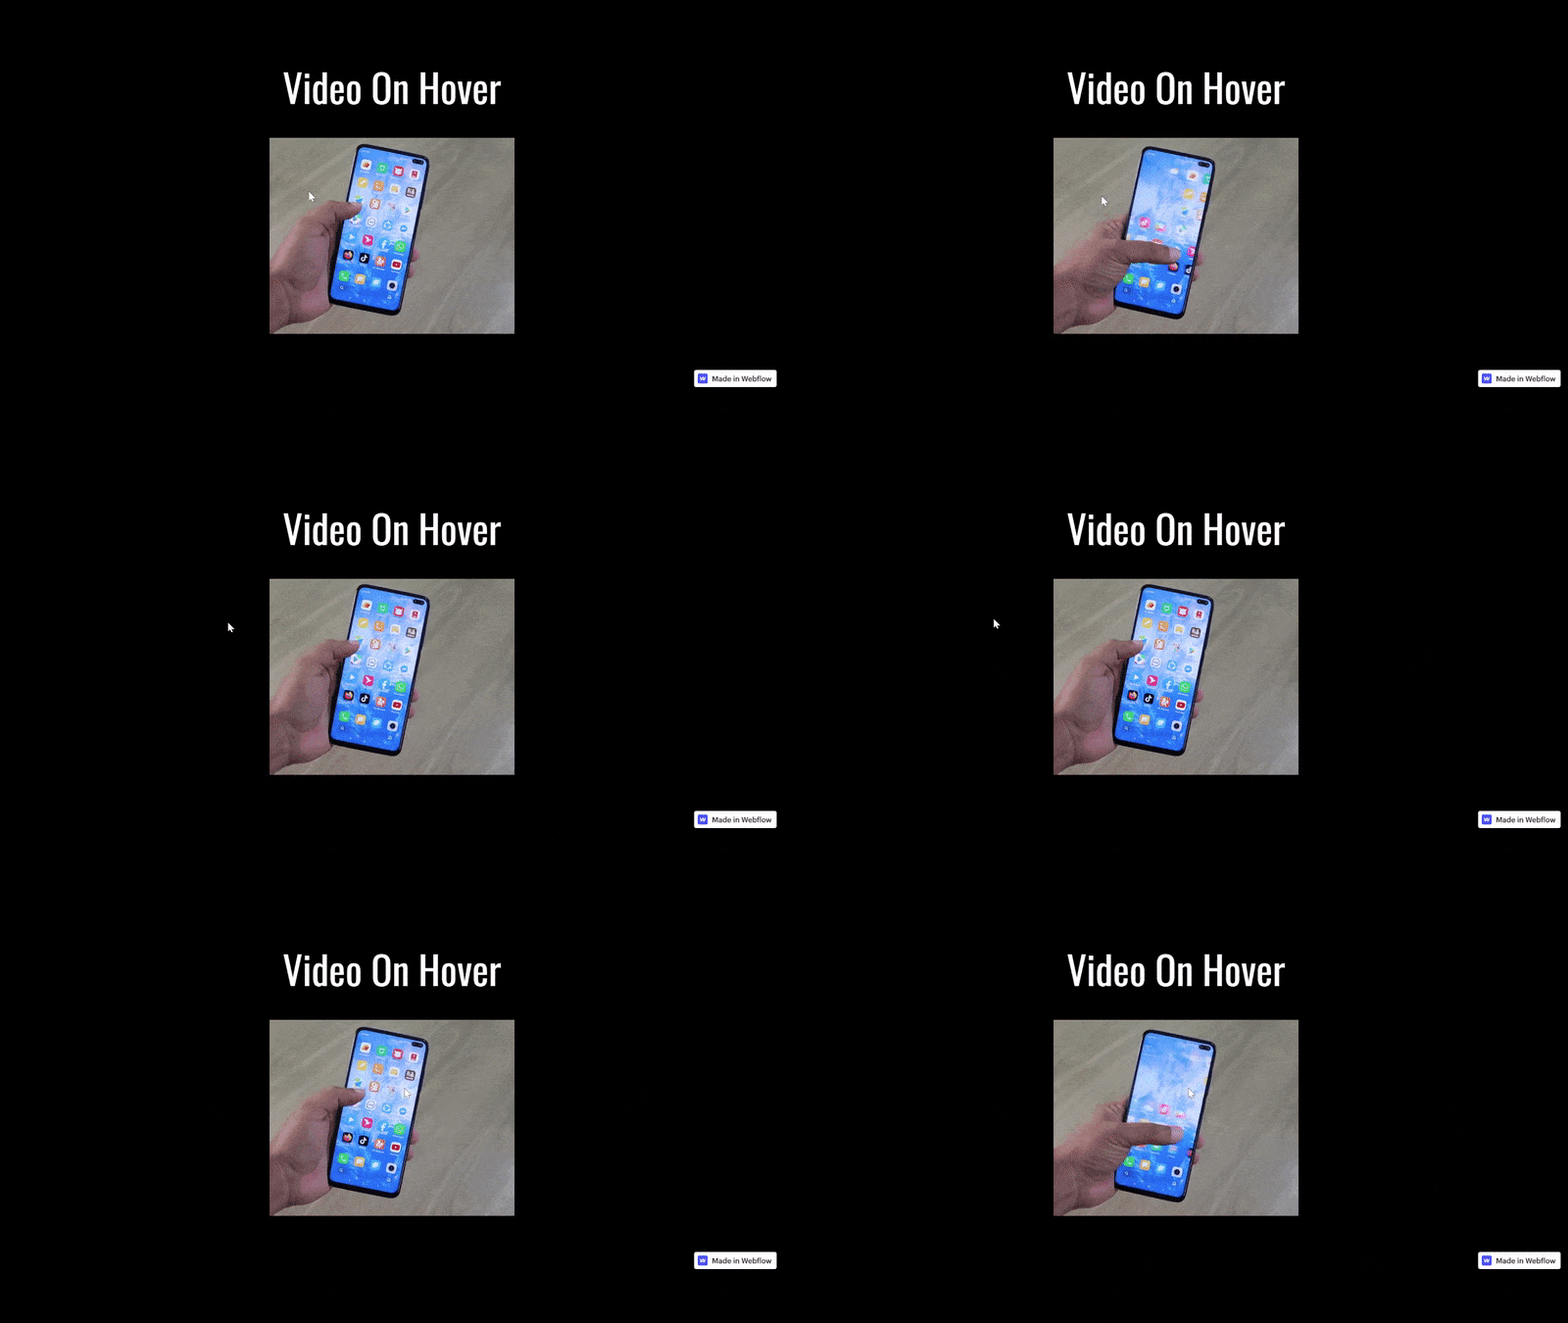
There you go, you now know how to add the 'Play video on hover' animation in Webflow.
To learn more about Webflow, you can check out our blog or our YouTube channel!
{{custom-blog-cta}}
Tutorial for applying the glassmorphism effect in Webflow


.webp)

